MOTION CAPTURE:
UNIVERSITY THIRD YEAR MODULE PROGRESSION
(please scroll from bottom to top to see my full progression)
For this module, I need to create a 30s-1.30seconds long film, using full motion capture production processes - from storyboarding, collecting data, clean up to finally creating a fully finished cinematic.
I plan to use a mixture of Unreal Engine, Blender and Adobe After Effects.
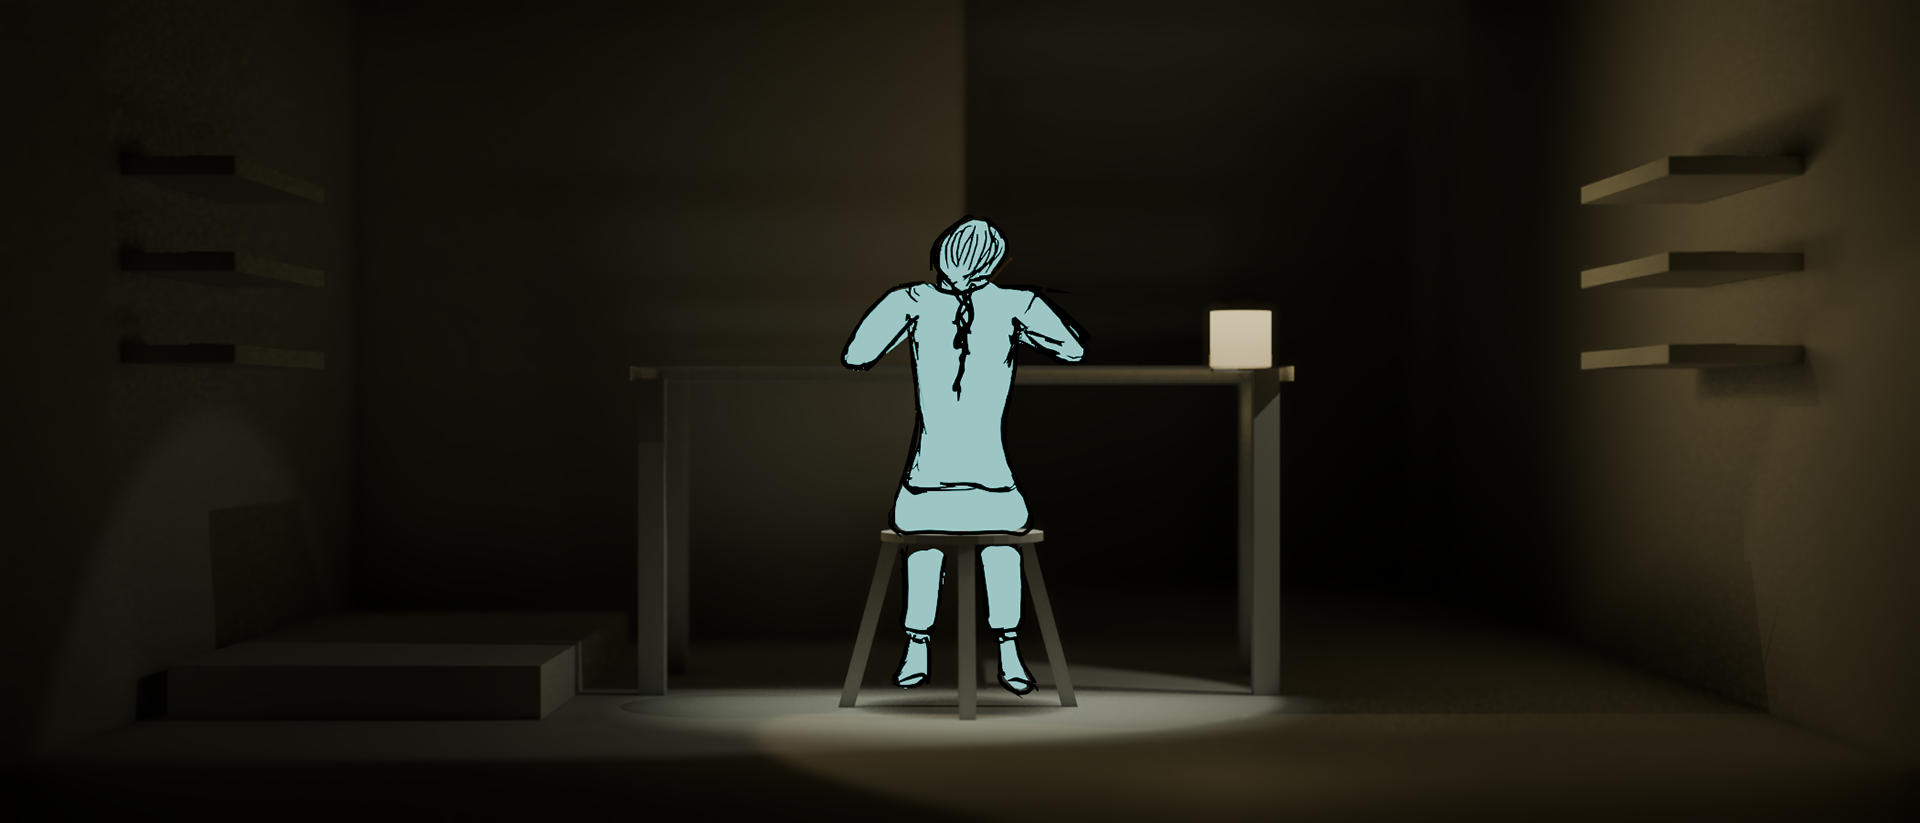
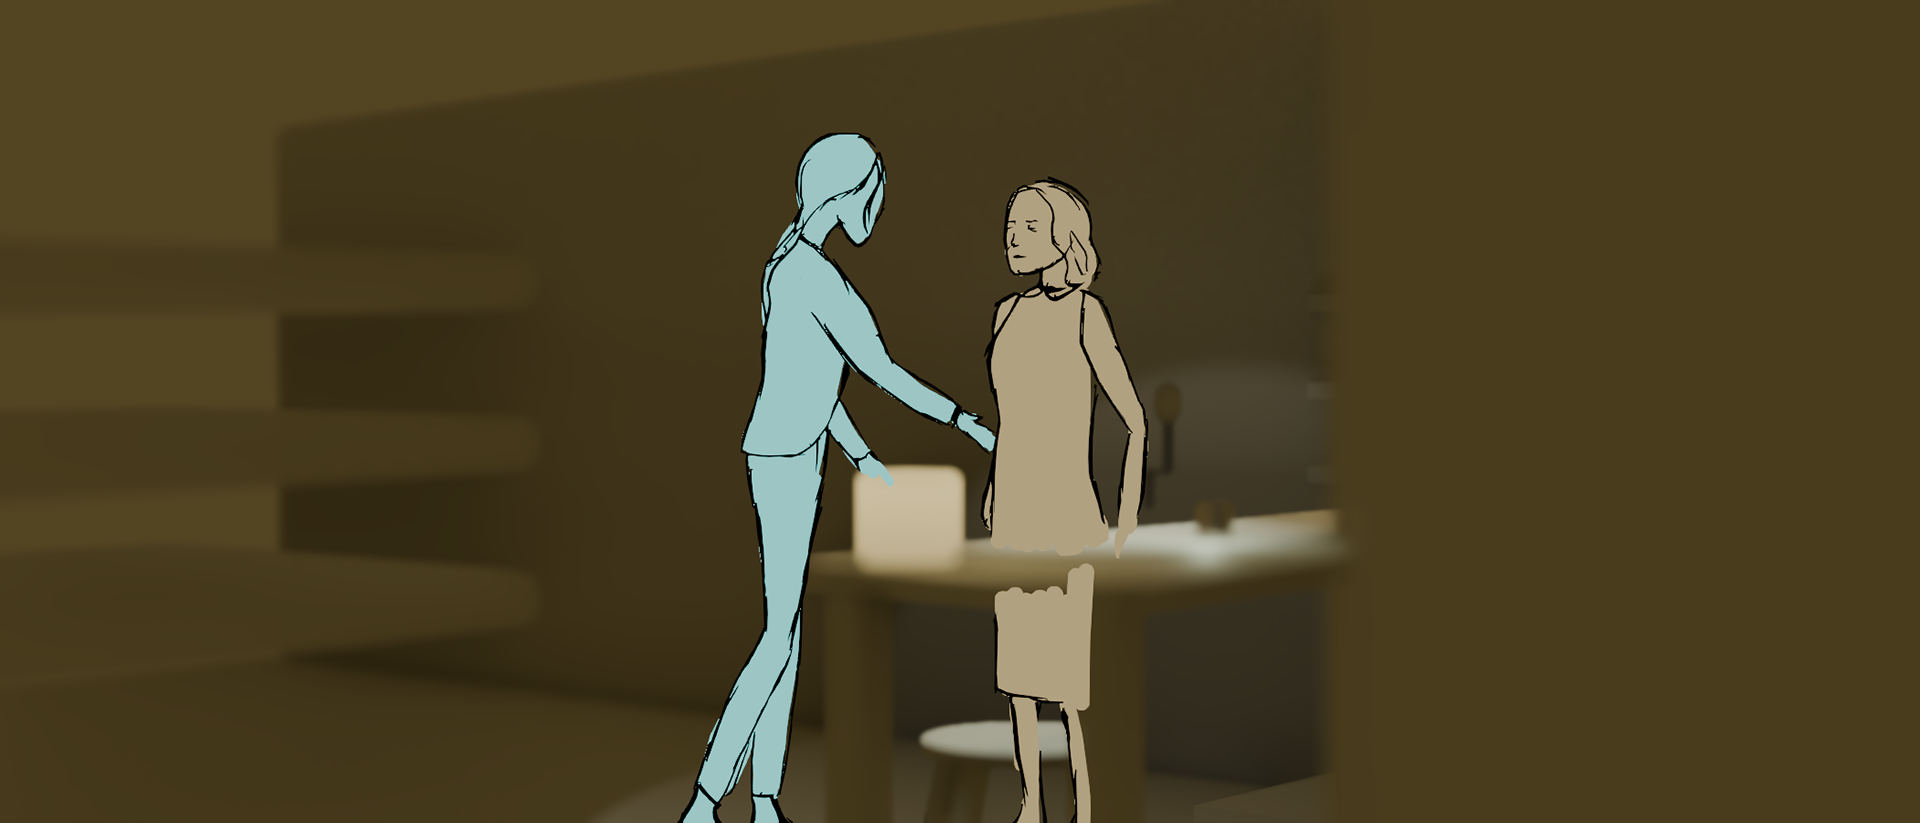
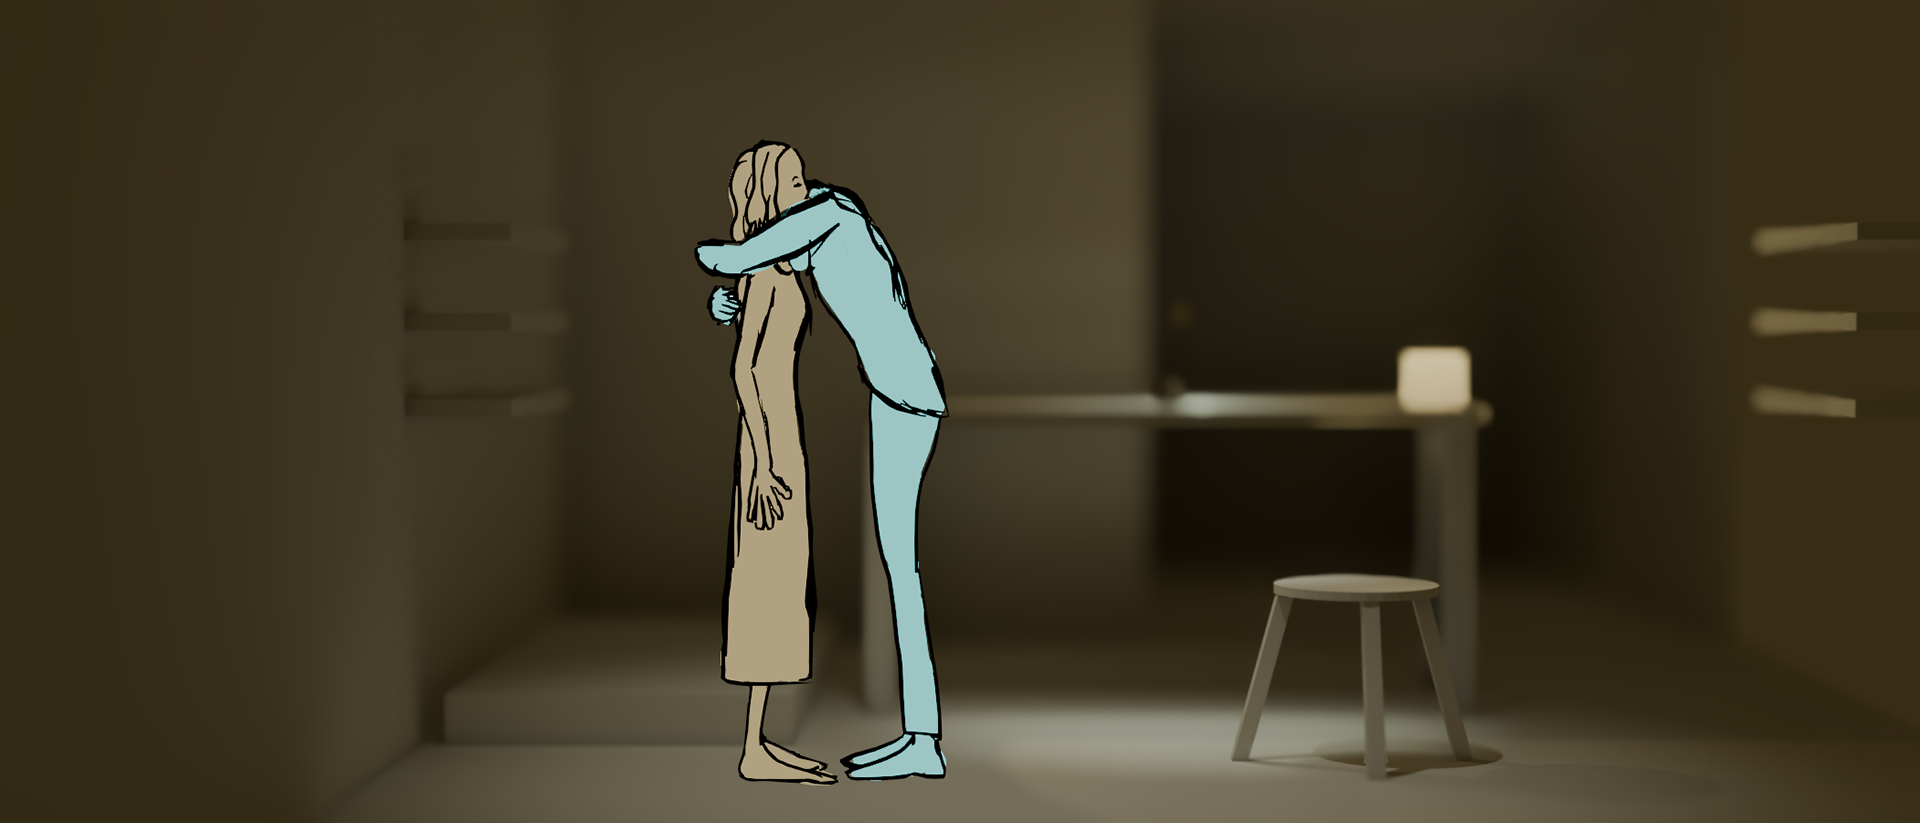
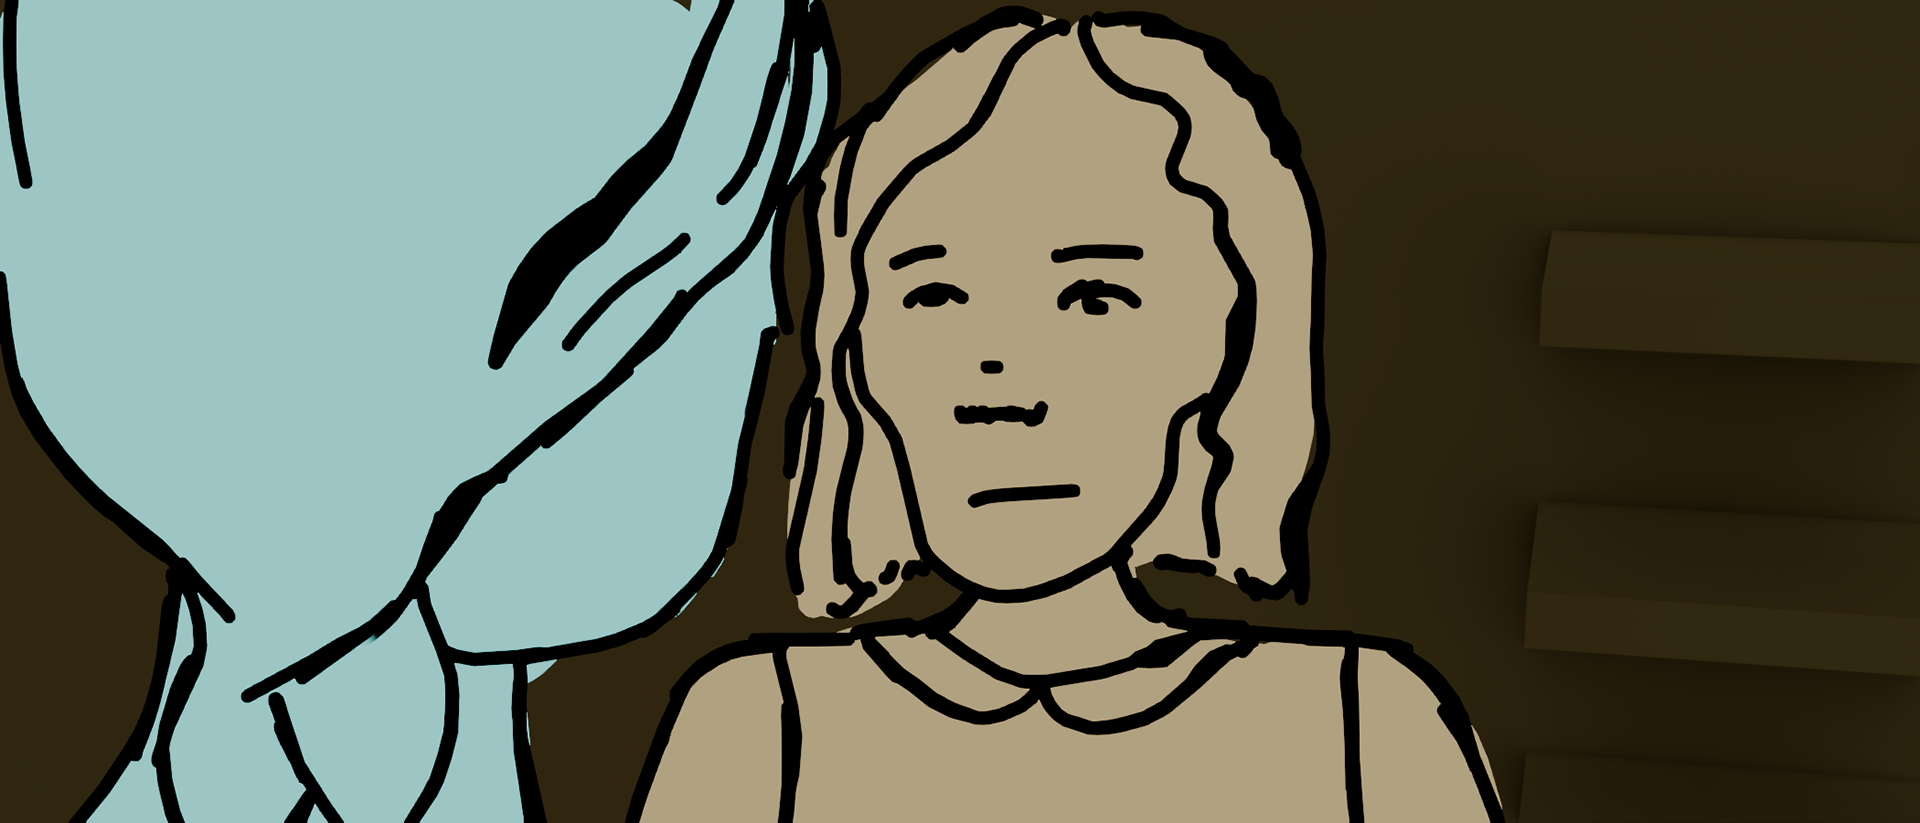
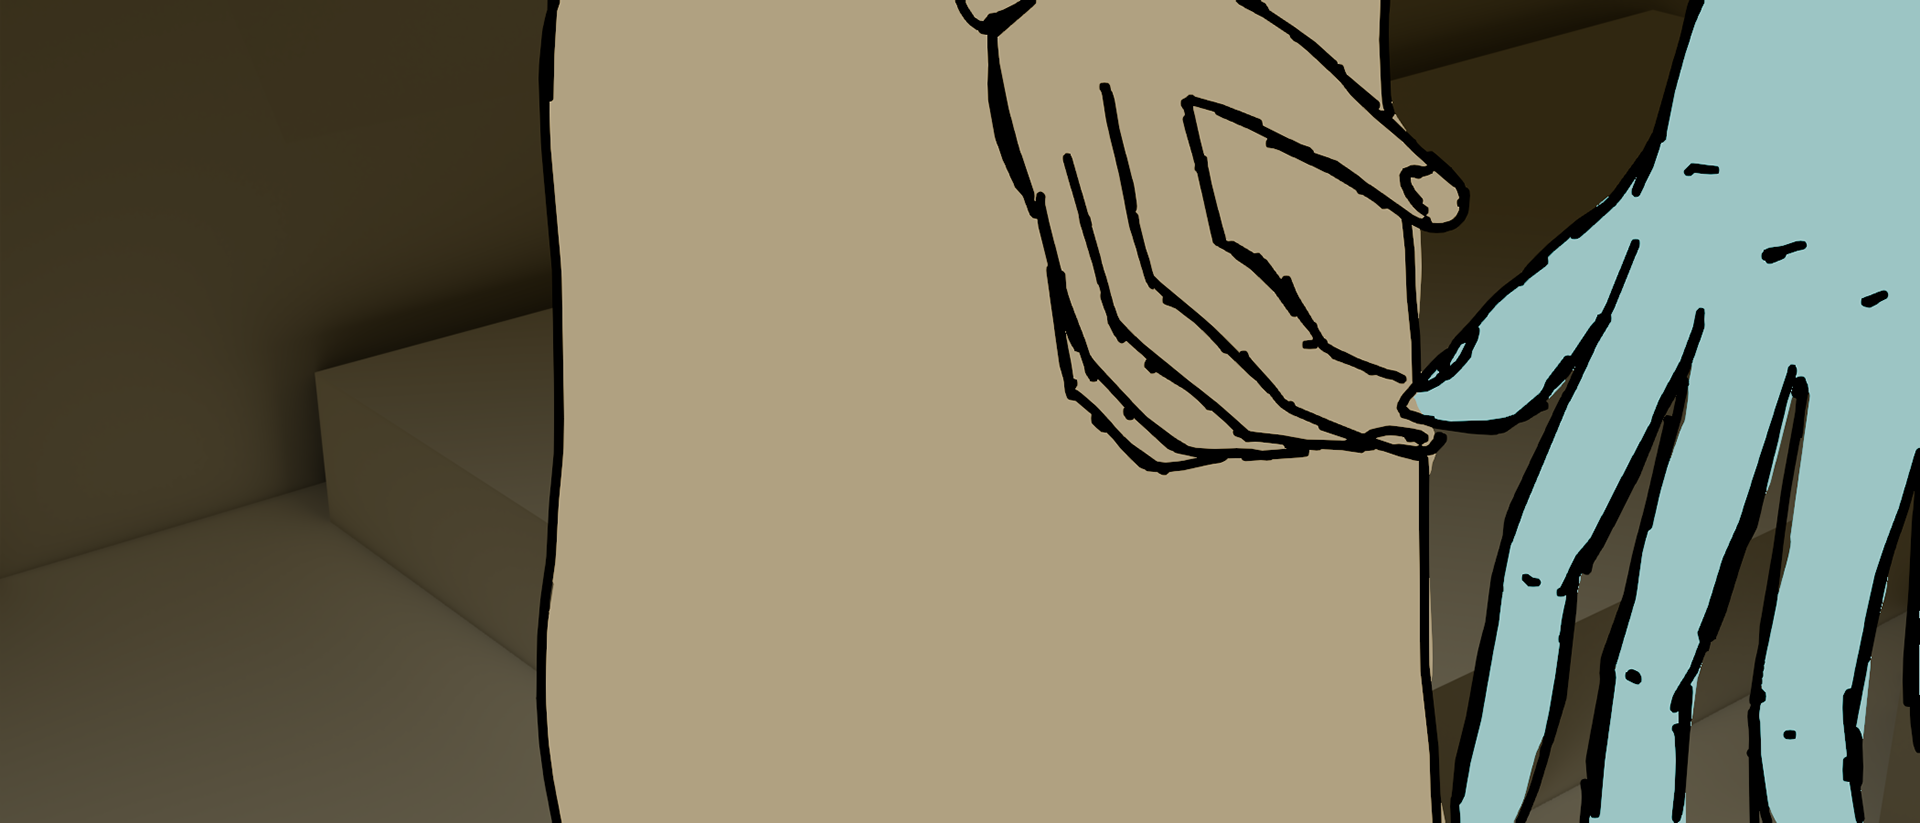
Synopsis: a lonely young woman 'creates' her grandmother from wood. Inspired by films such as Pinocchio, Frankenstein's monster and Coraline.
THE ENDING WEEKS
April - 15th May
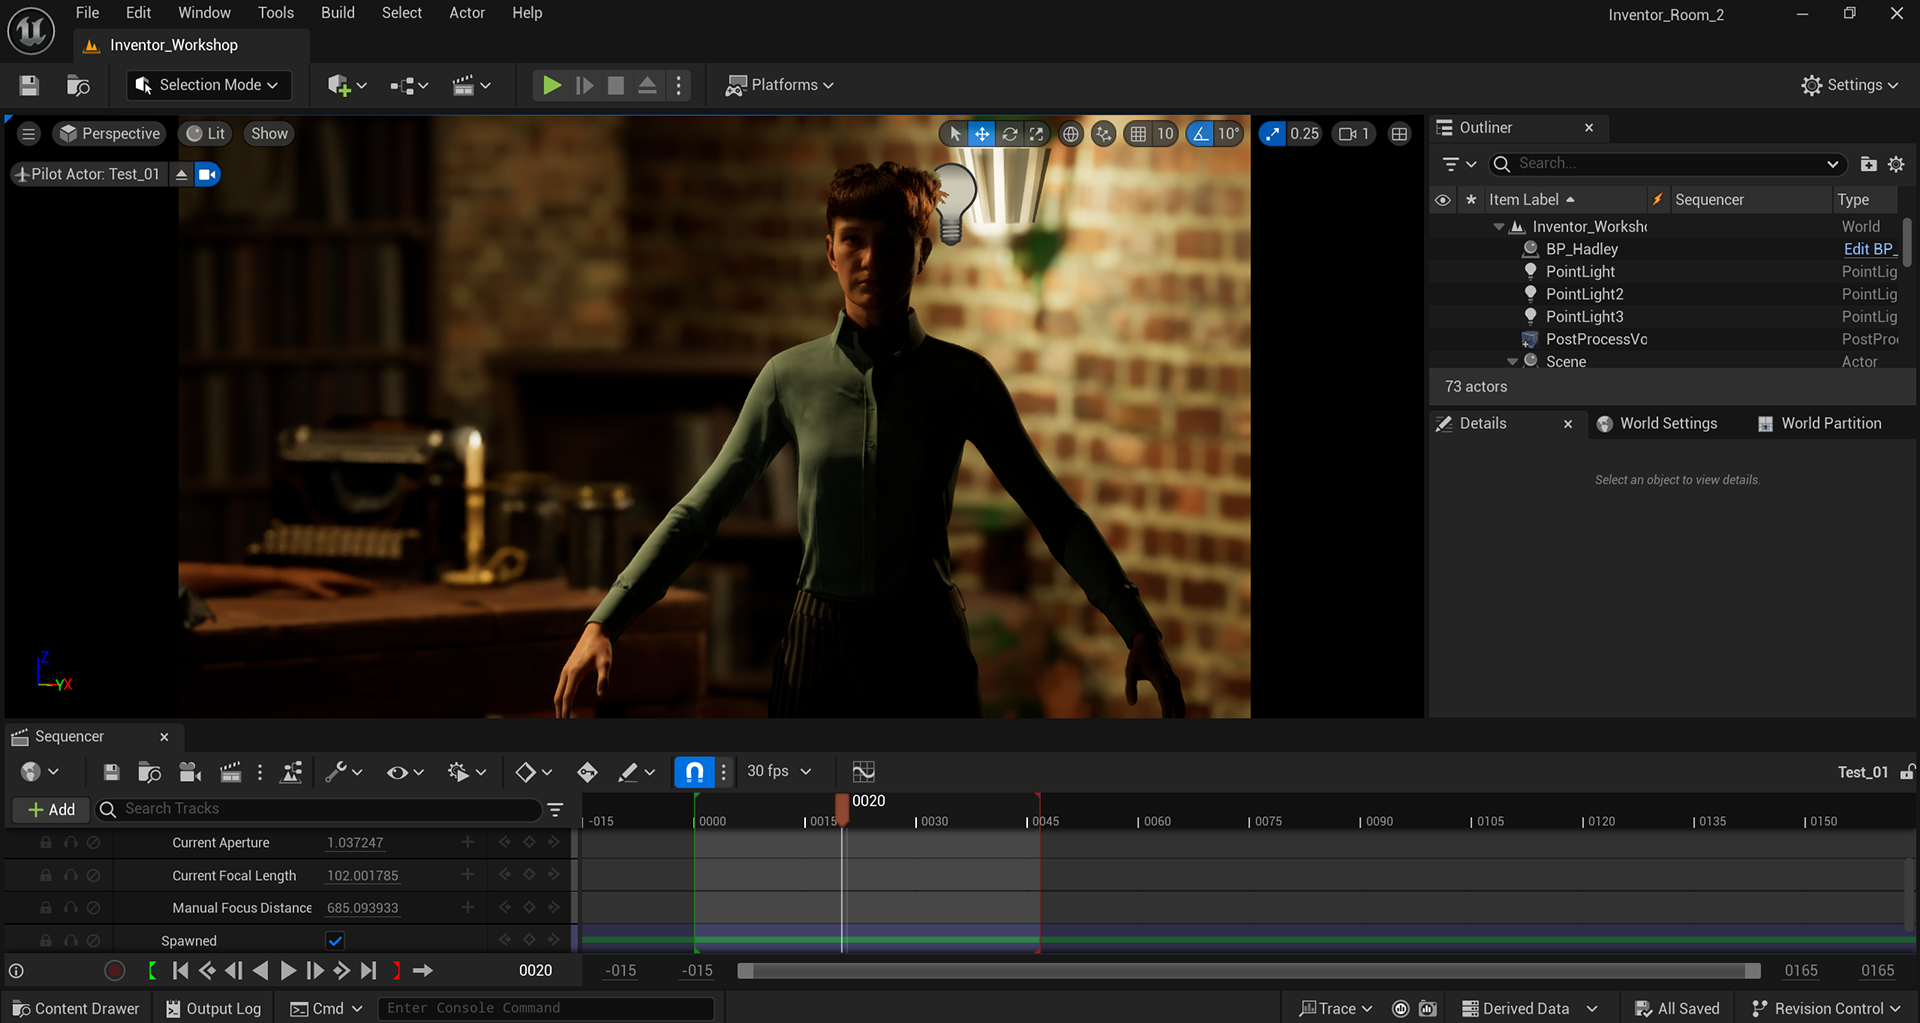
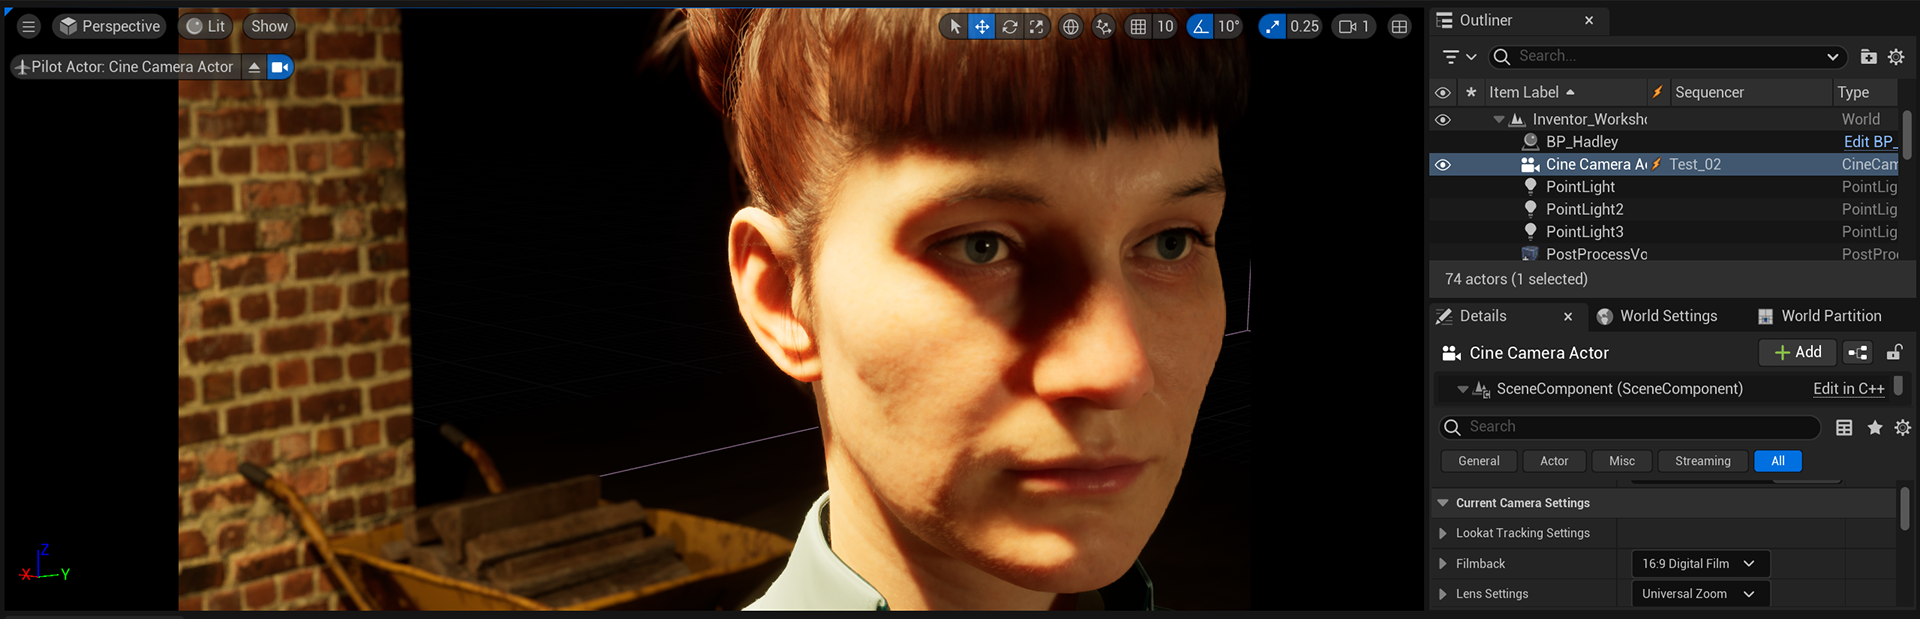
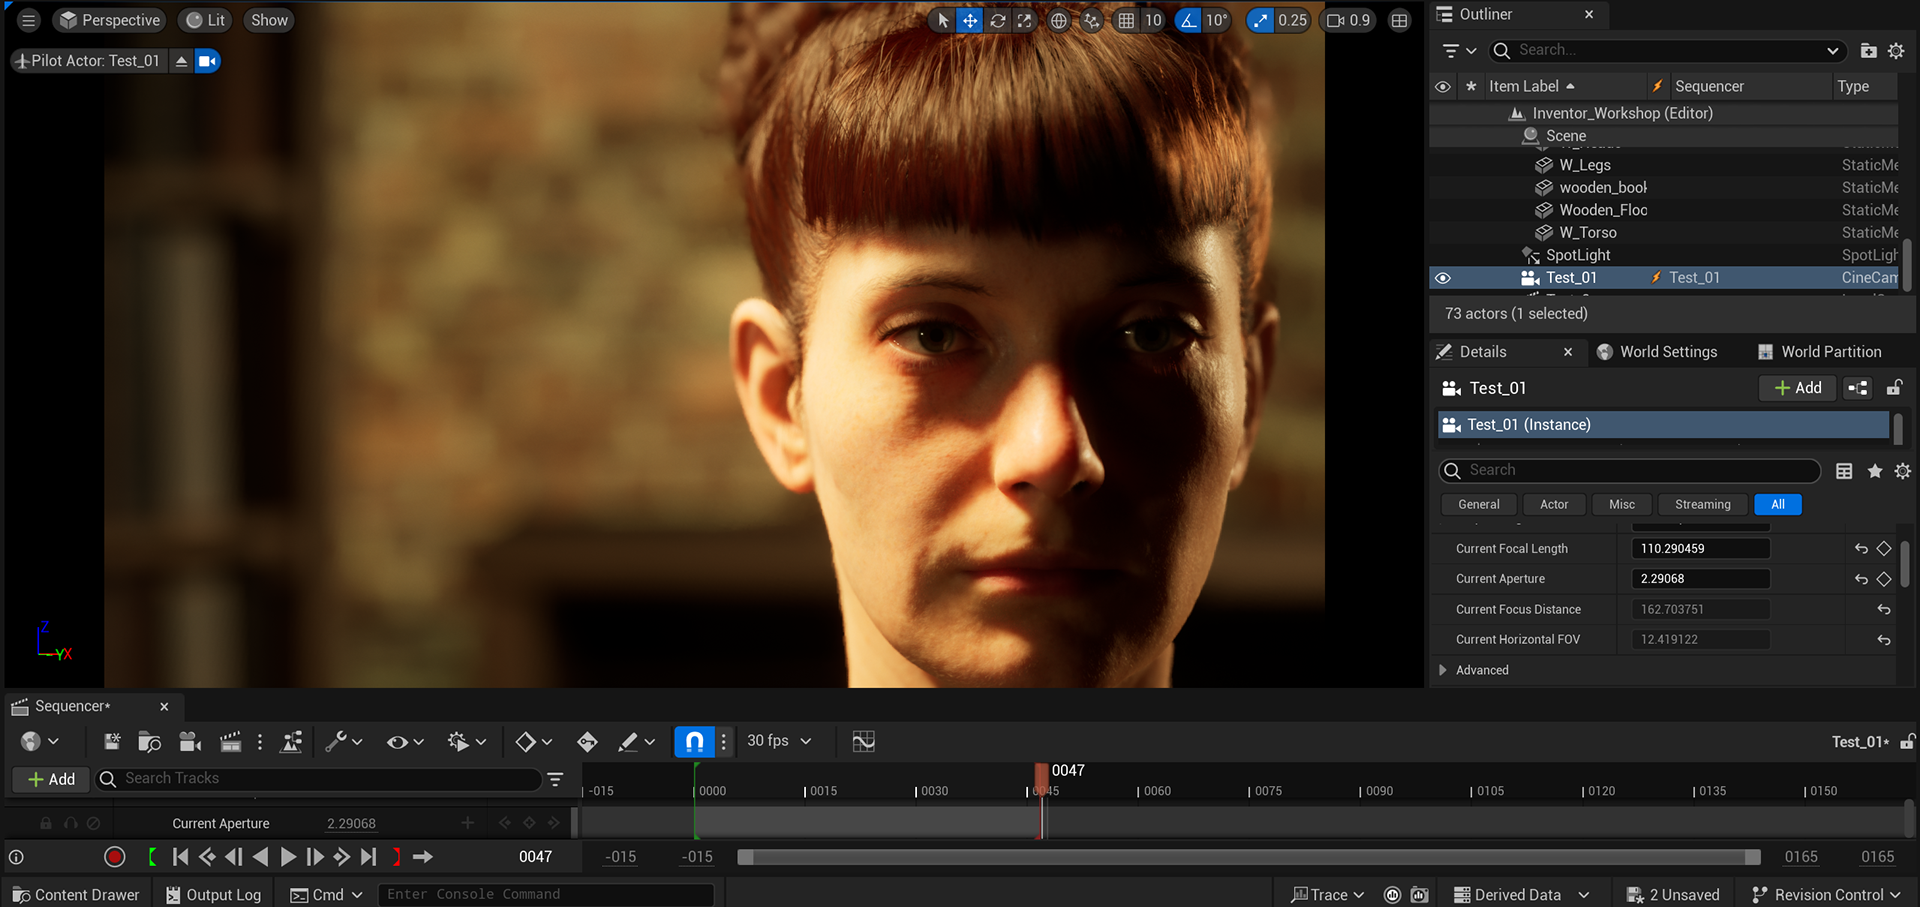
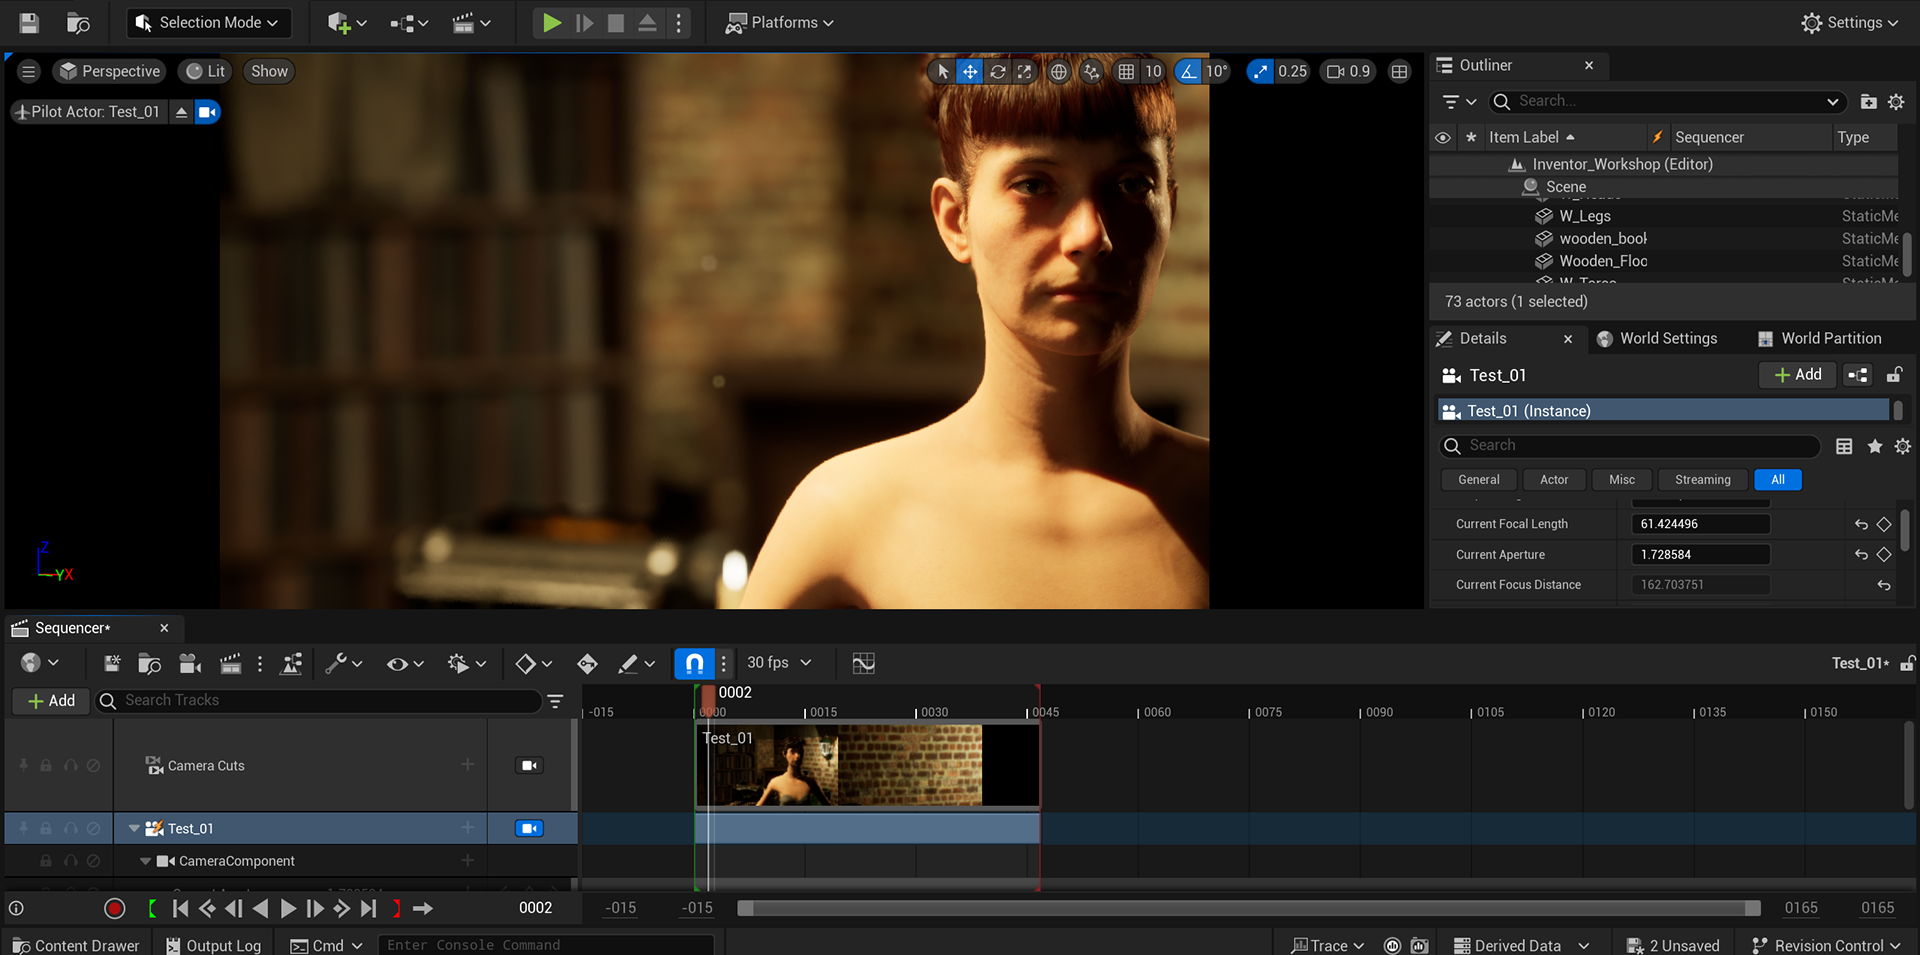
The last few weeks of this module, I have been using the sequencer in Unreal to create the scenes, and have been editing it all together using Adobe After Effects. I am happy with the results, although I would have liked to have cleaner data overall, and to have properly retargeted props.
See the final film below, or on YouTube: https://youtu.be/7lstPaMzlvA
EASTER BREAK
07/04/25
I have spent most of the Easter break cleaning the mocap data, getting it into Unreal, assigning props, using the take recorder to capture the footage, and finally editing in Adobe After Effects. I now have a stronger understanding of face performance capture, and can confidently record this from home.
WEEK 10 + 11
01/04/25
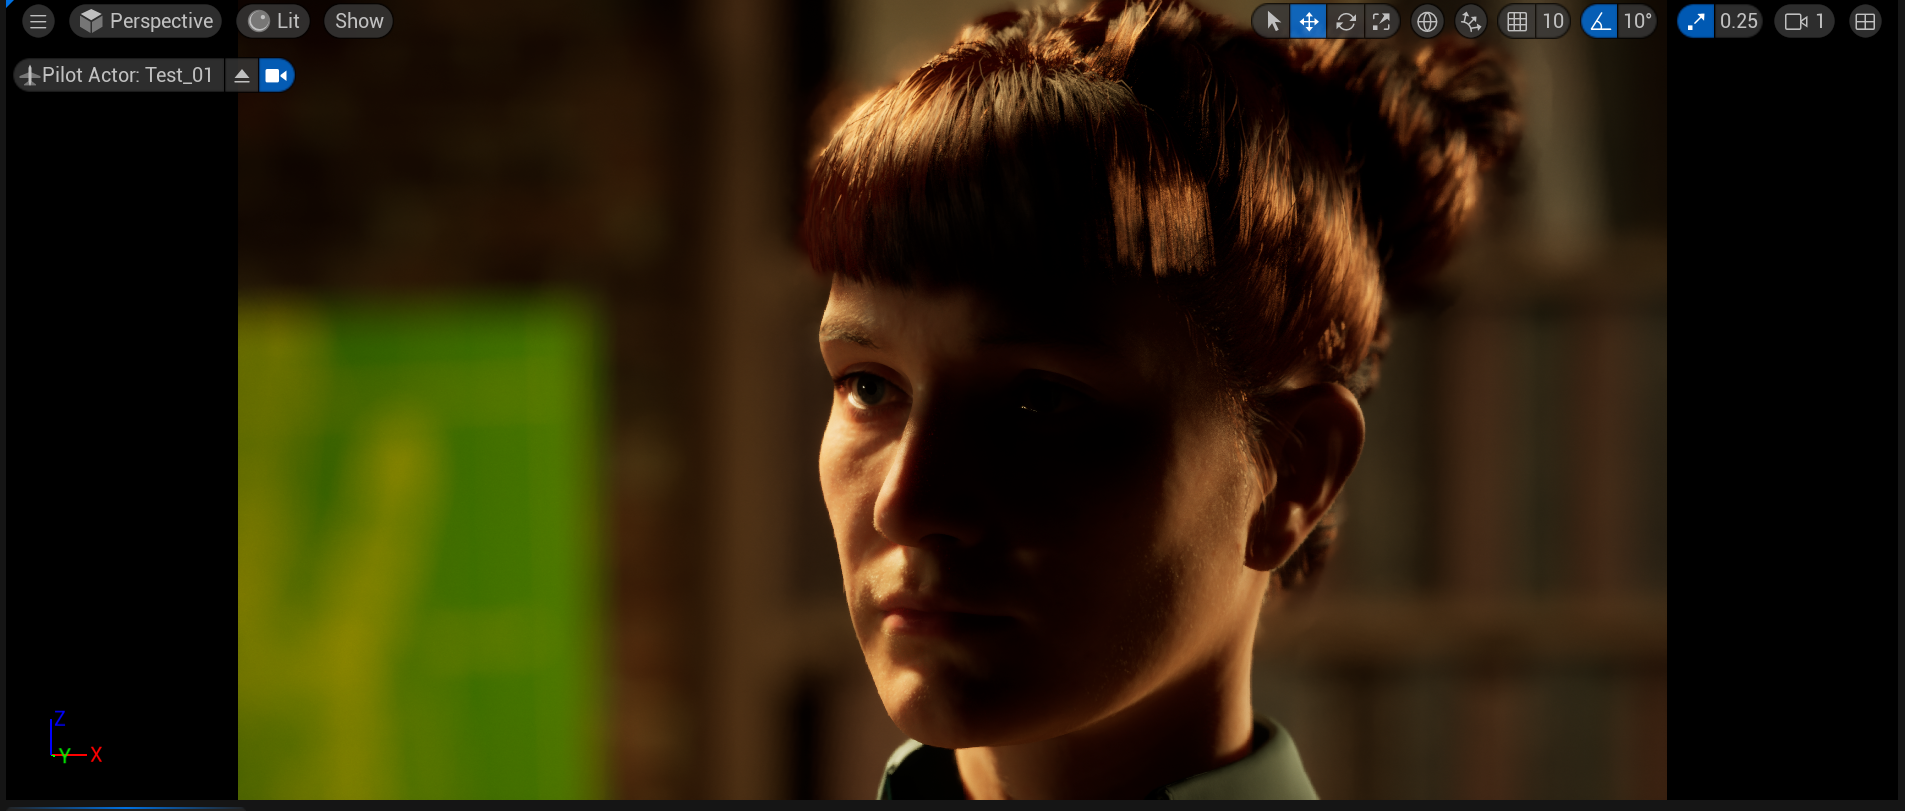
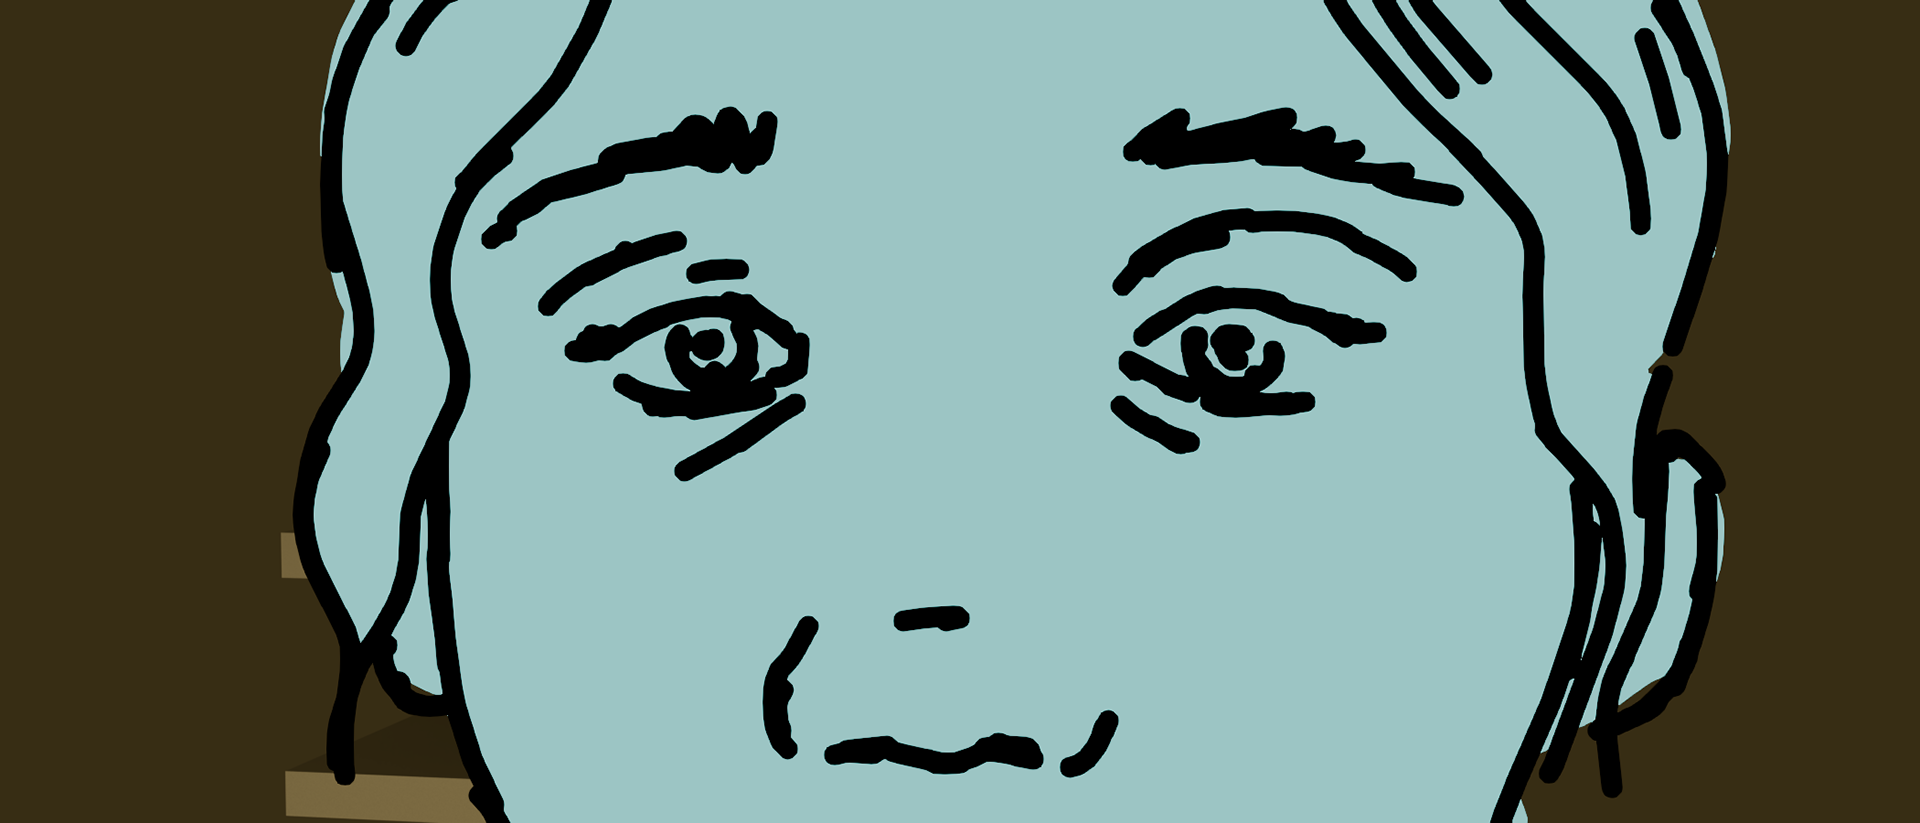
I kept on cleaning my mocap data throughout week 10. For week 11, I tried to get the face performance capture to work alongside the body capture. I was having difficulty exporting it in correctly, and couldn't find the right resources to fix my data, so I decided to learn how to use Live Links within Unreal Engine, and used their Metahuman Animator app on my Ipad to record my own face performance and apply it to my character.
This seemed to be a really quick and effective way to get the performance data I needed, and it also meant I could easily change it at home. Something that needs improving is the frame rate and glitching.
WEEK 9
24/03/25
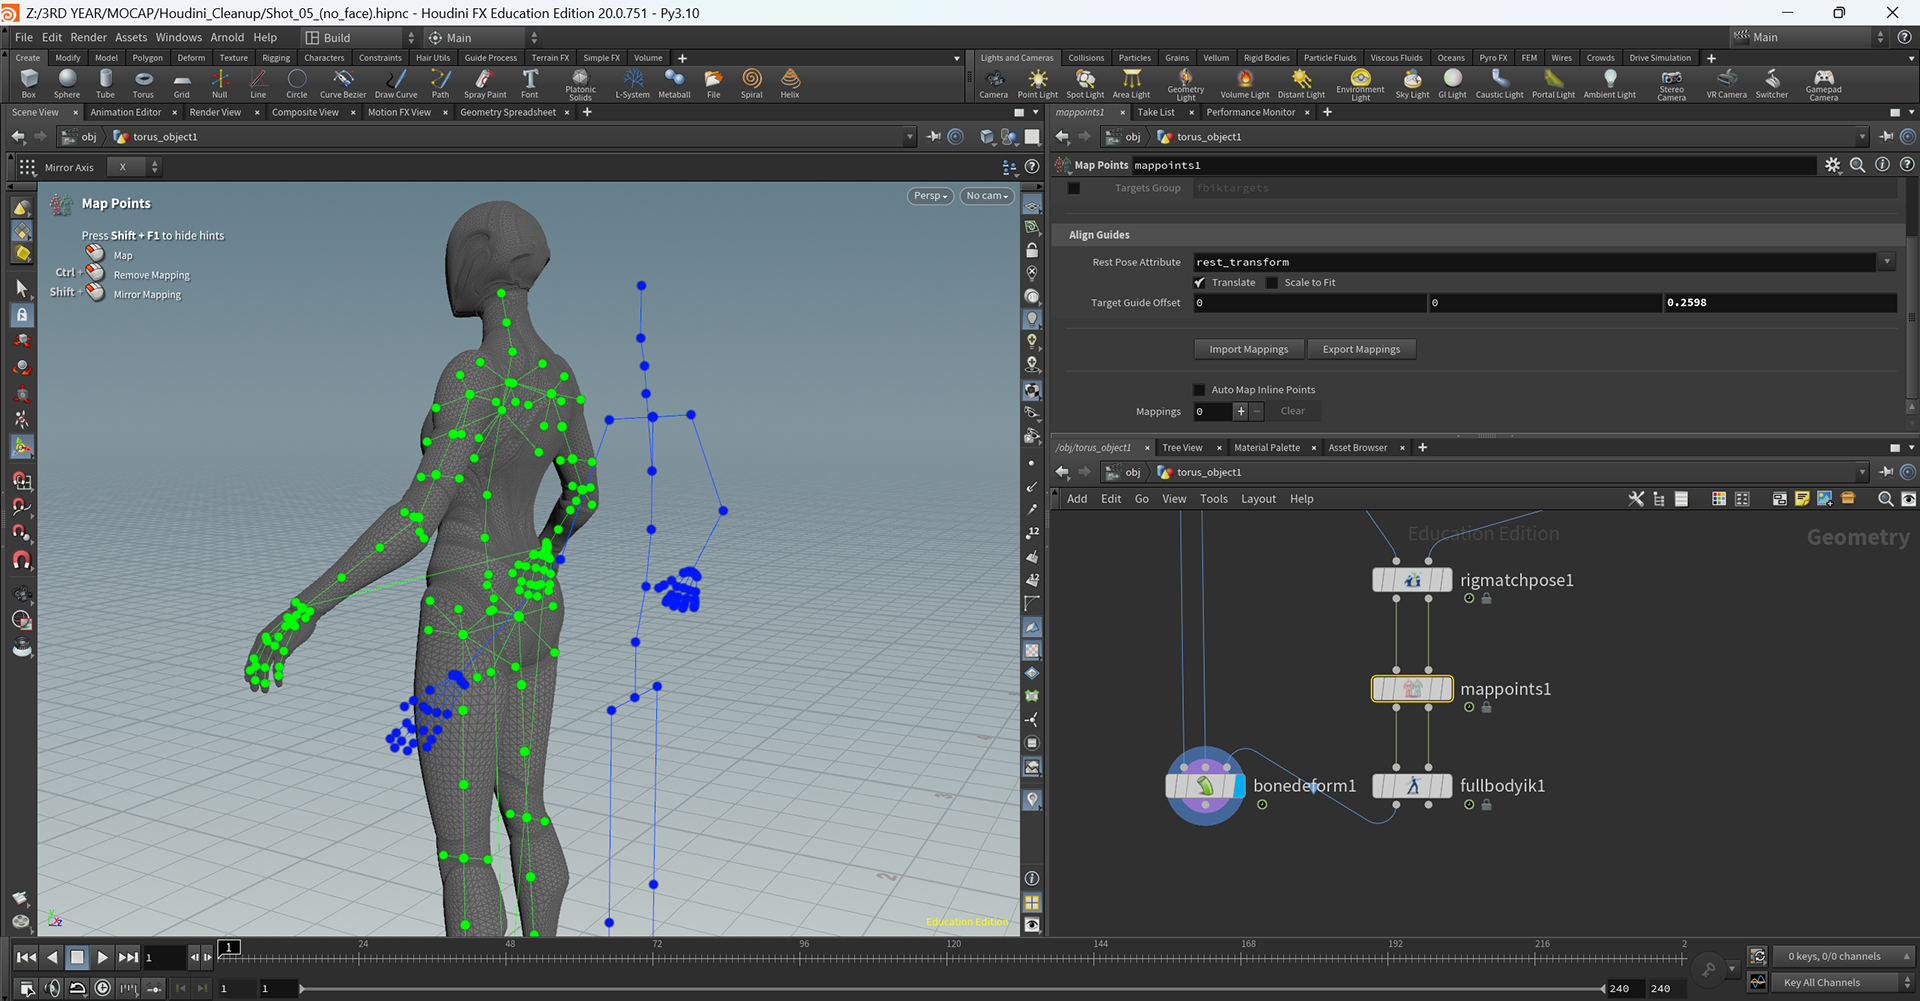
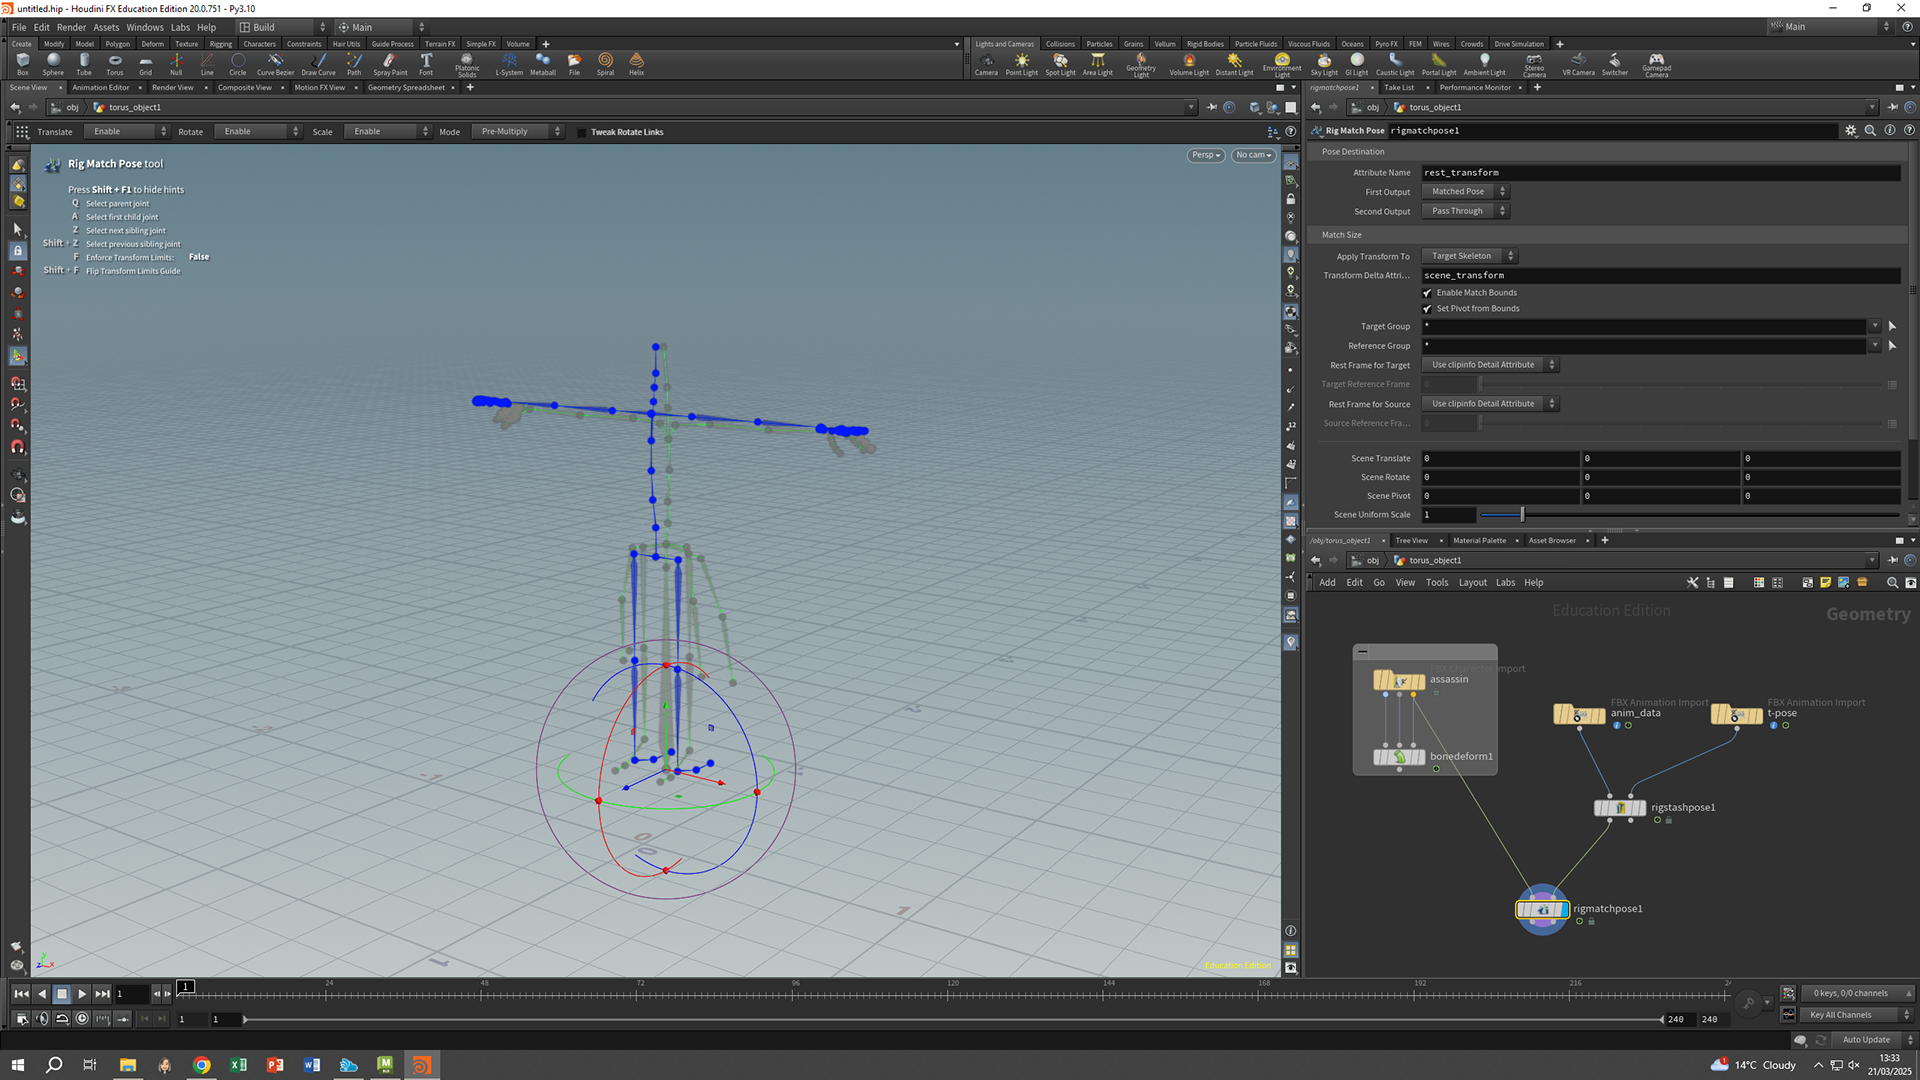
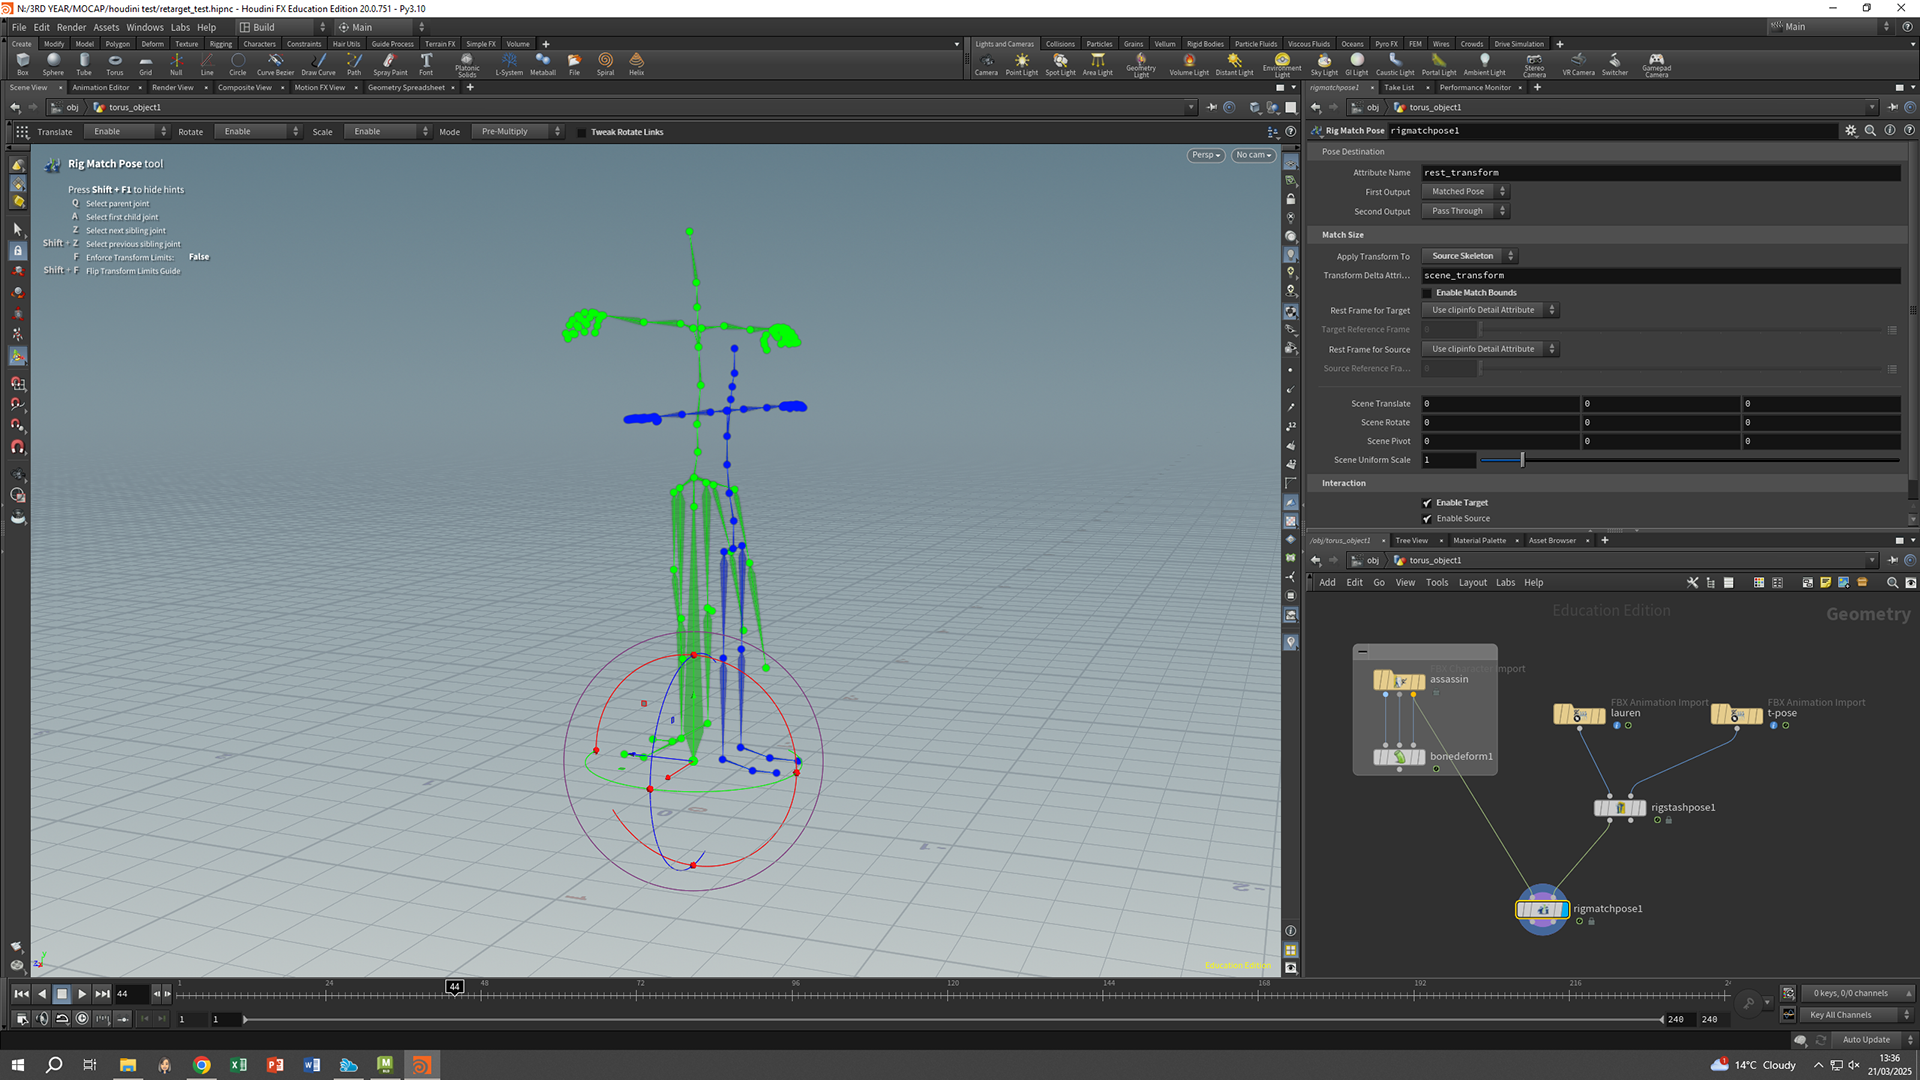
I used this week to retarget the mocap data to my Metahuman using Side FX Houdini. I chose this software over using Motion Builder, as it was a lot easier and allowed me more time to spend on the cinematic side of the work.
Initially, I retargeted to a Unreal's default mannequin. However, this proved to cause lots of issues when re-importing the mannequin back into Unreal, as the bones were mostly mislabelled and my retargeting was quite messy. I decided to re-start this whole process and use the metahuman body FBX straight from Unreal, and retarget using Unreal's built in retargeter.

WEEK 8
17/03/25
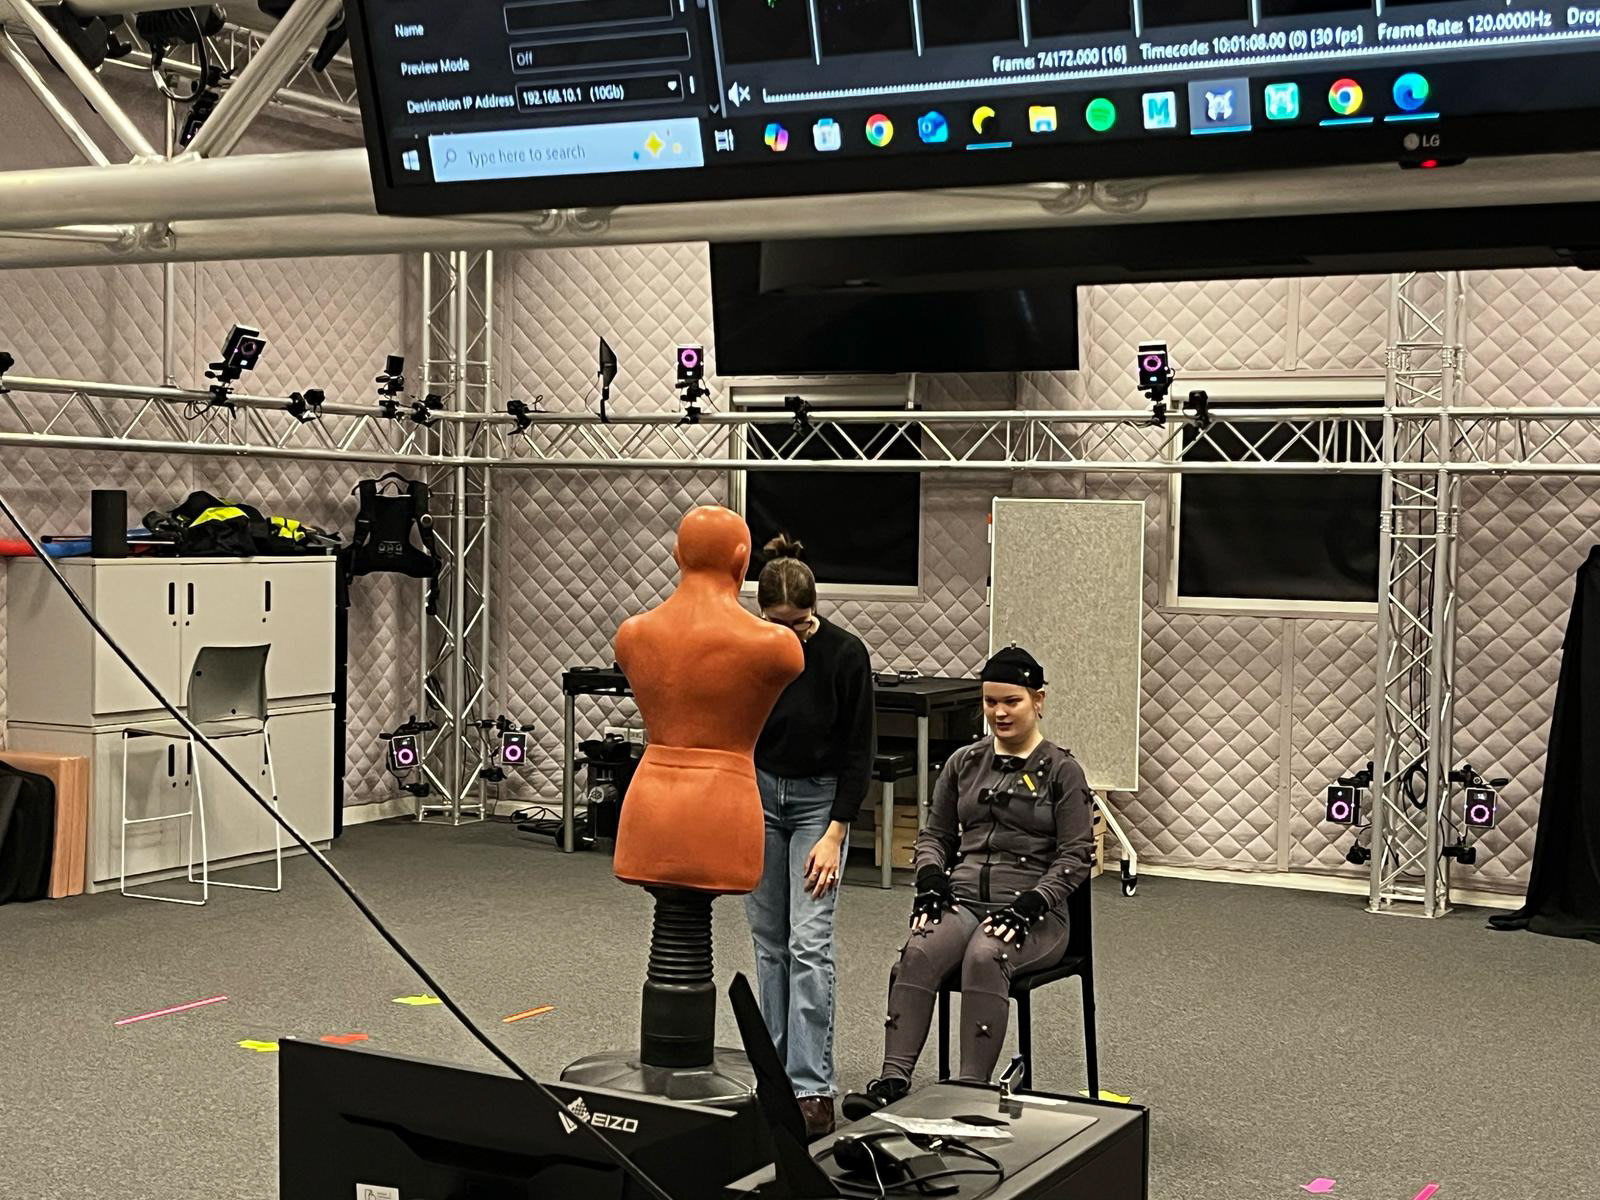
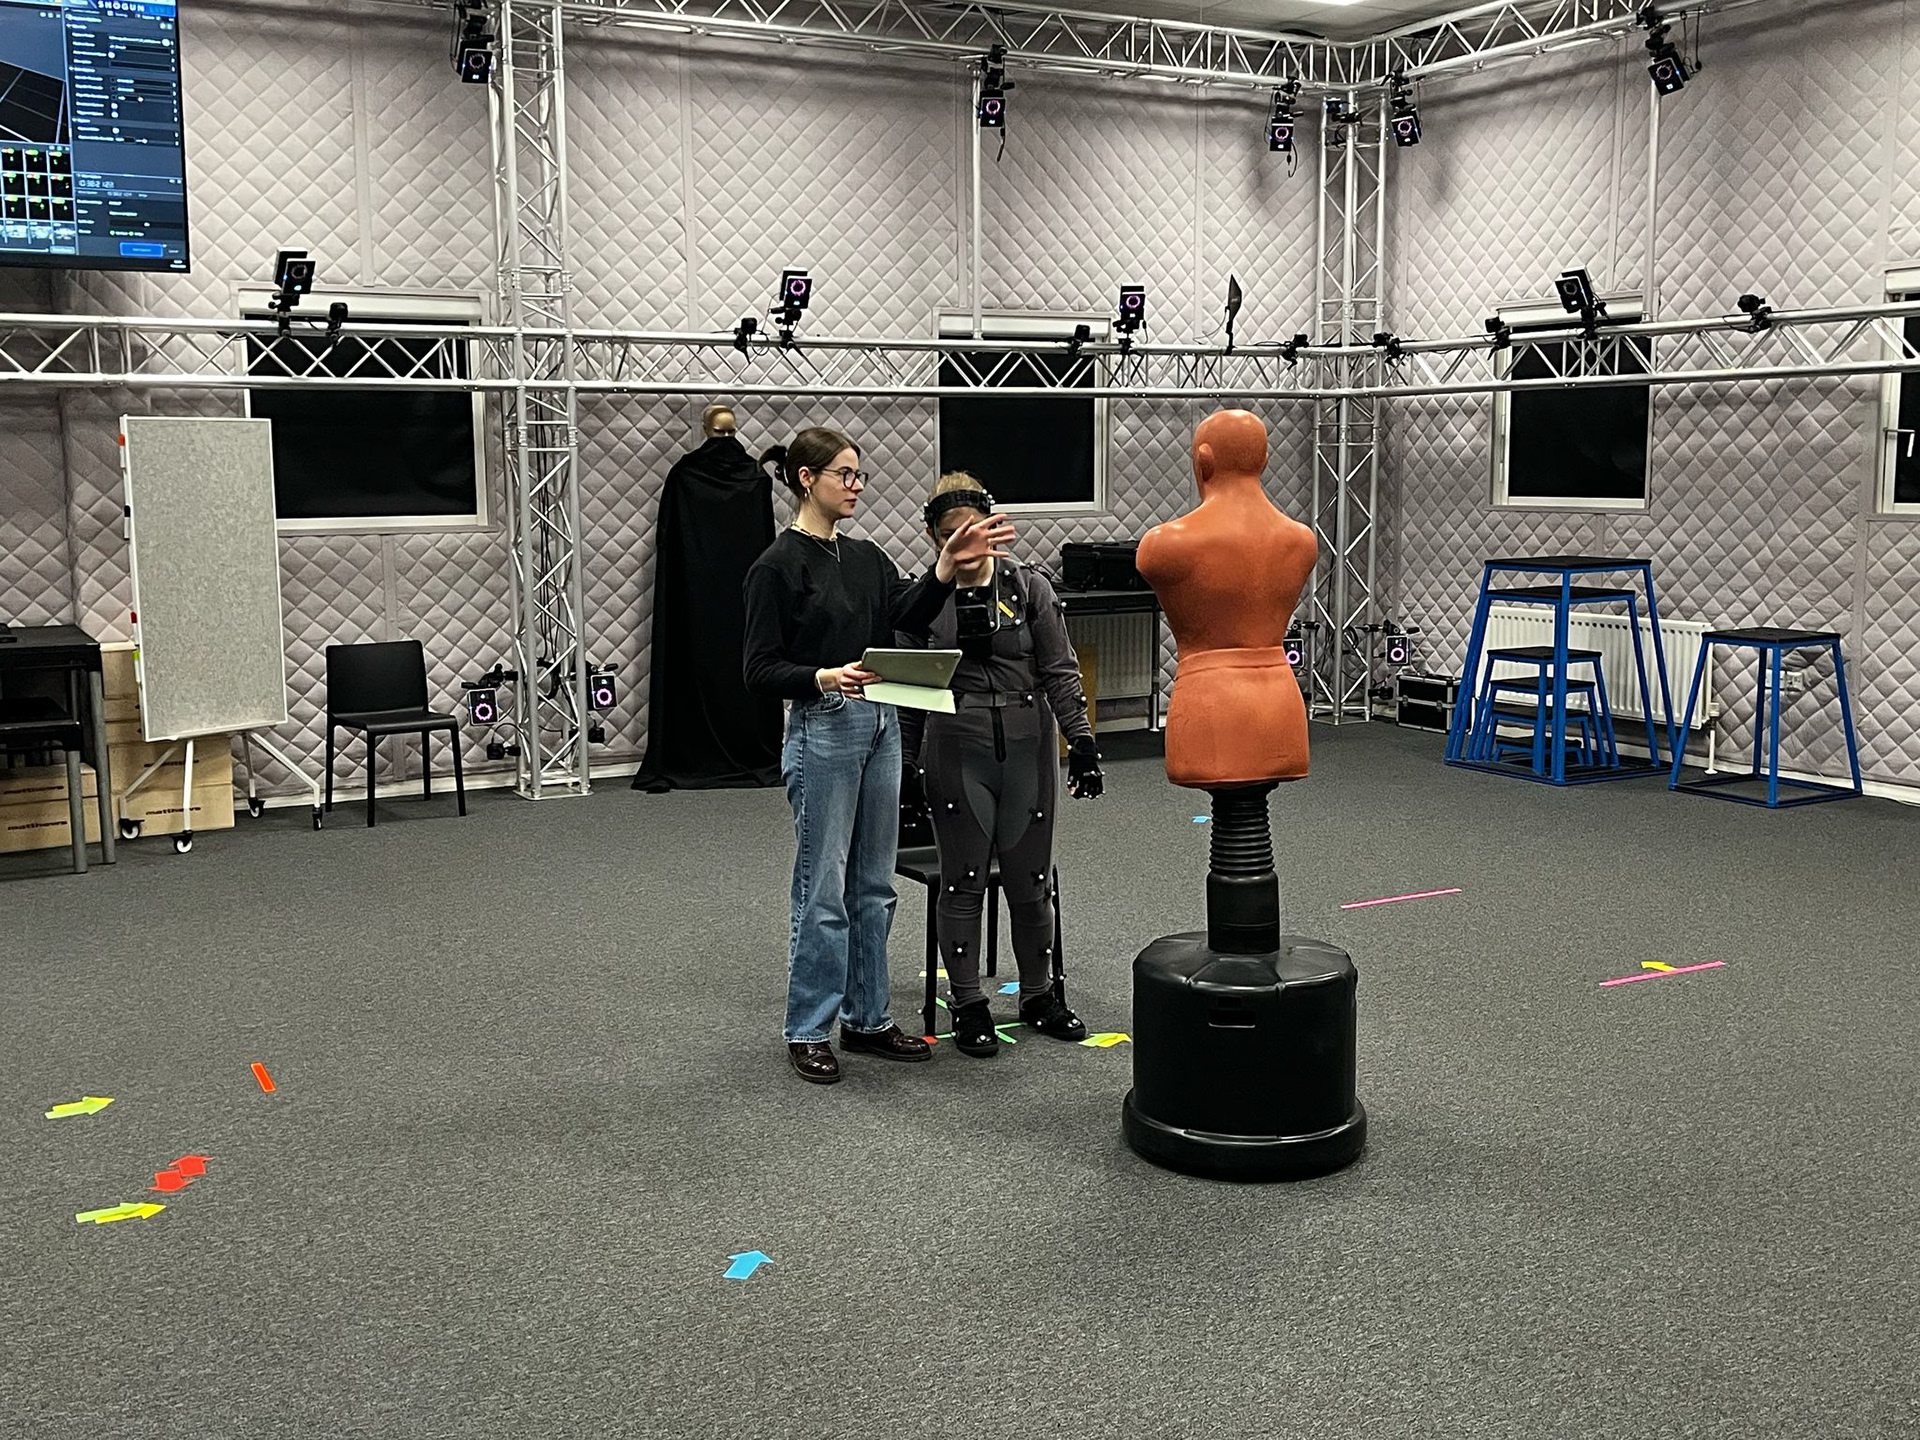
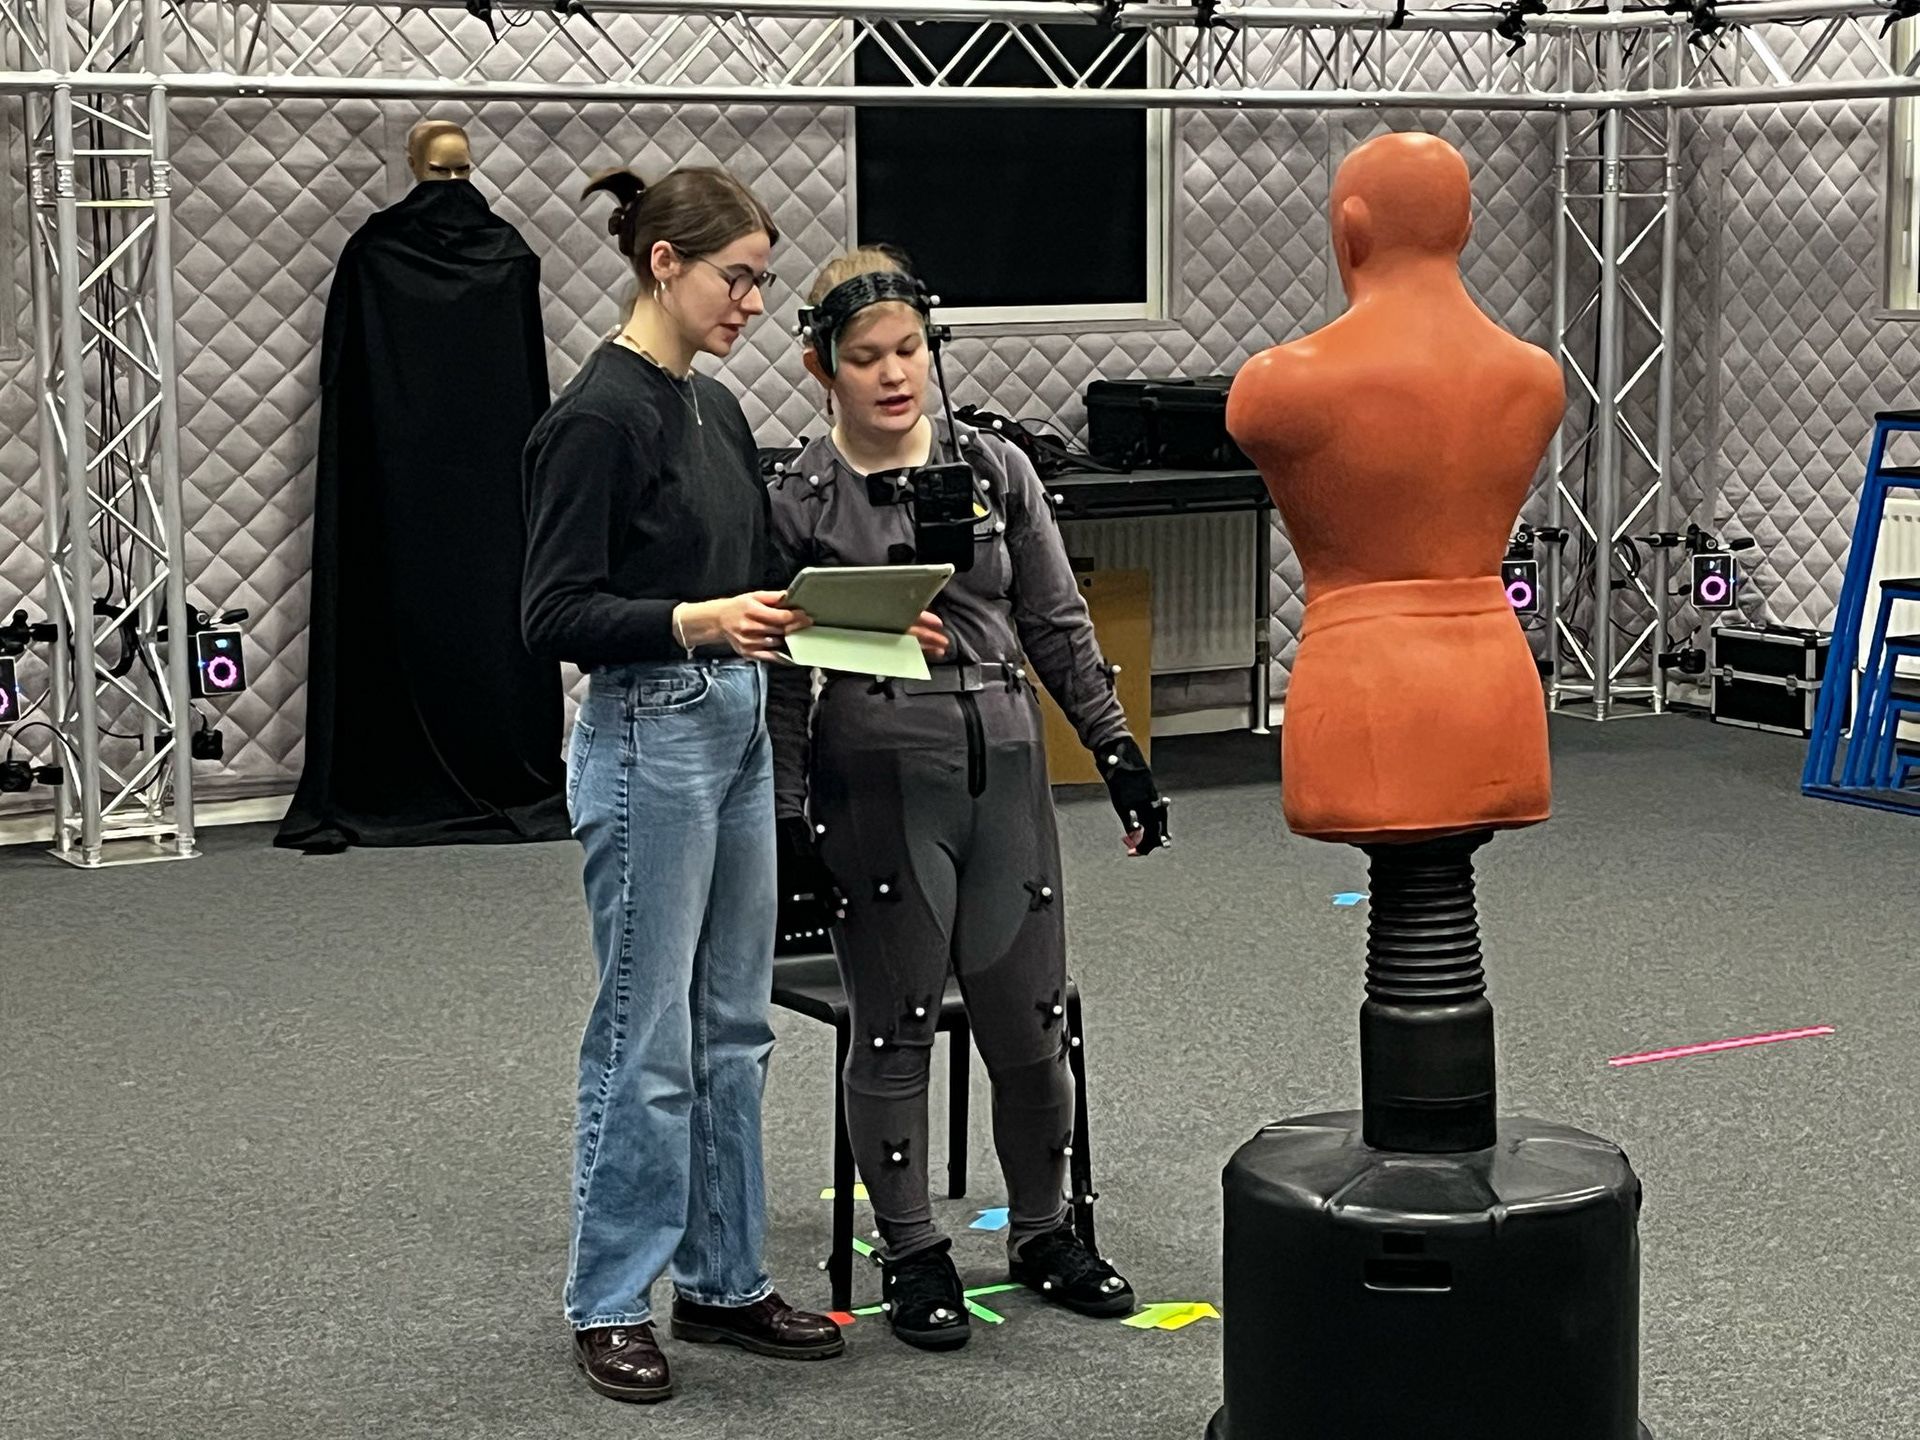
At the beginning of week 8, I was able to record my shoot. I directed my actress, Lauren, in doing the motions similar to my animatic. I also calibrated the stage and recorded the data. Overall it was a successful and organised shoot, and I got all the data I needed!
Throughout the week, I was able to clean up some of the data using Shogun Post.

WEEK 7
10/03/25
I am testing out my mocap data I collected using Vicon Pulsar LVBR LED Clusters, and I retargeted it using Unreal Engine on to my Inventor Metahuman. Below is a short test I made for the pre-vis which I aim to finish this week - I have put it side by side my animatic for reference.
My data was very poor as it wasn't properly set up and rushed the retargeting to the Unreal Engine mannequin before I started, as I felt pushed for time. As this is just for the pre-vis, it's not too much of a problem, but if I were going in to the industry I would learn from this and spend more time on each step of the retargeting.
Link to the Pre-Viz: https://youtu.be/Nb8W_Wpxrtk
WEEK 6
03/03/25
The start of this week has been spent learning to use different motion capture data software; Shogun Live, Shogun Post, Motion Builder and Unreal Engine.
To test out the Metahuman capabilities, I downloaded a free mocap animation from Mixamo and have applied it to the character. There are definitely issues with the retargeting, so this is something I will need to fix when it comes to the real footage and clean up processes in Shogun Post.
WEEK 5
24/02/25
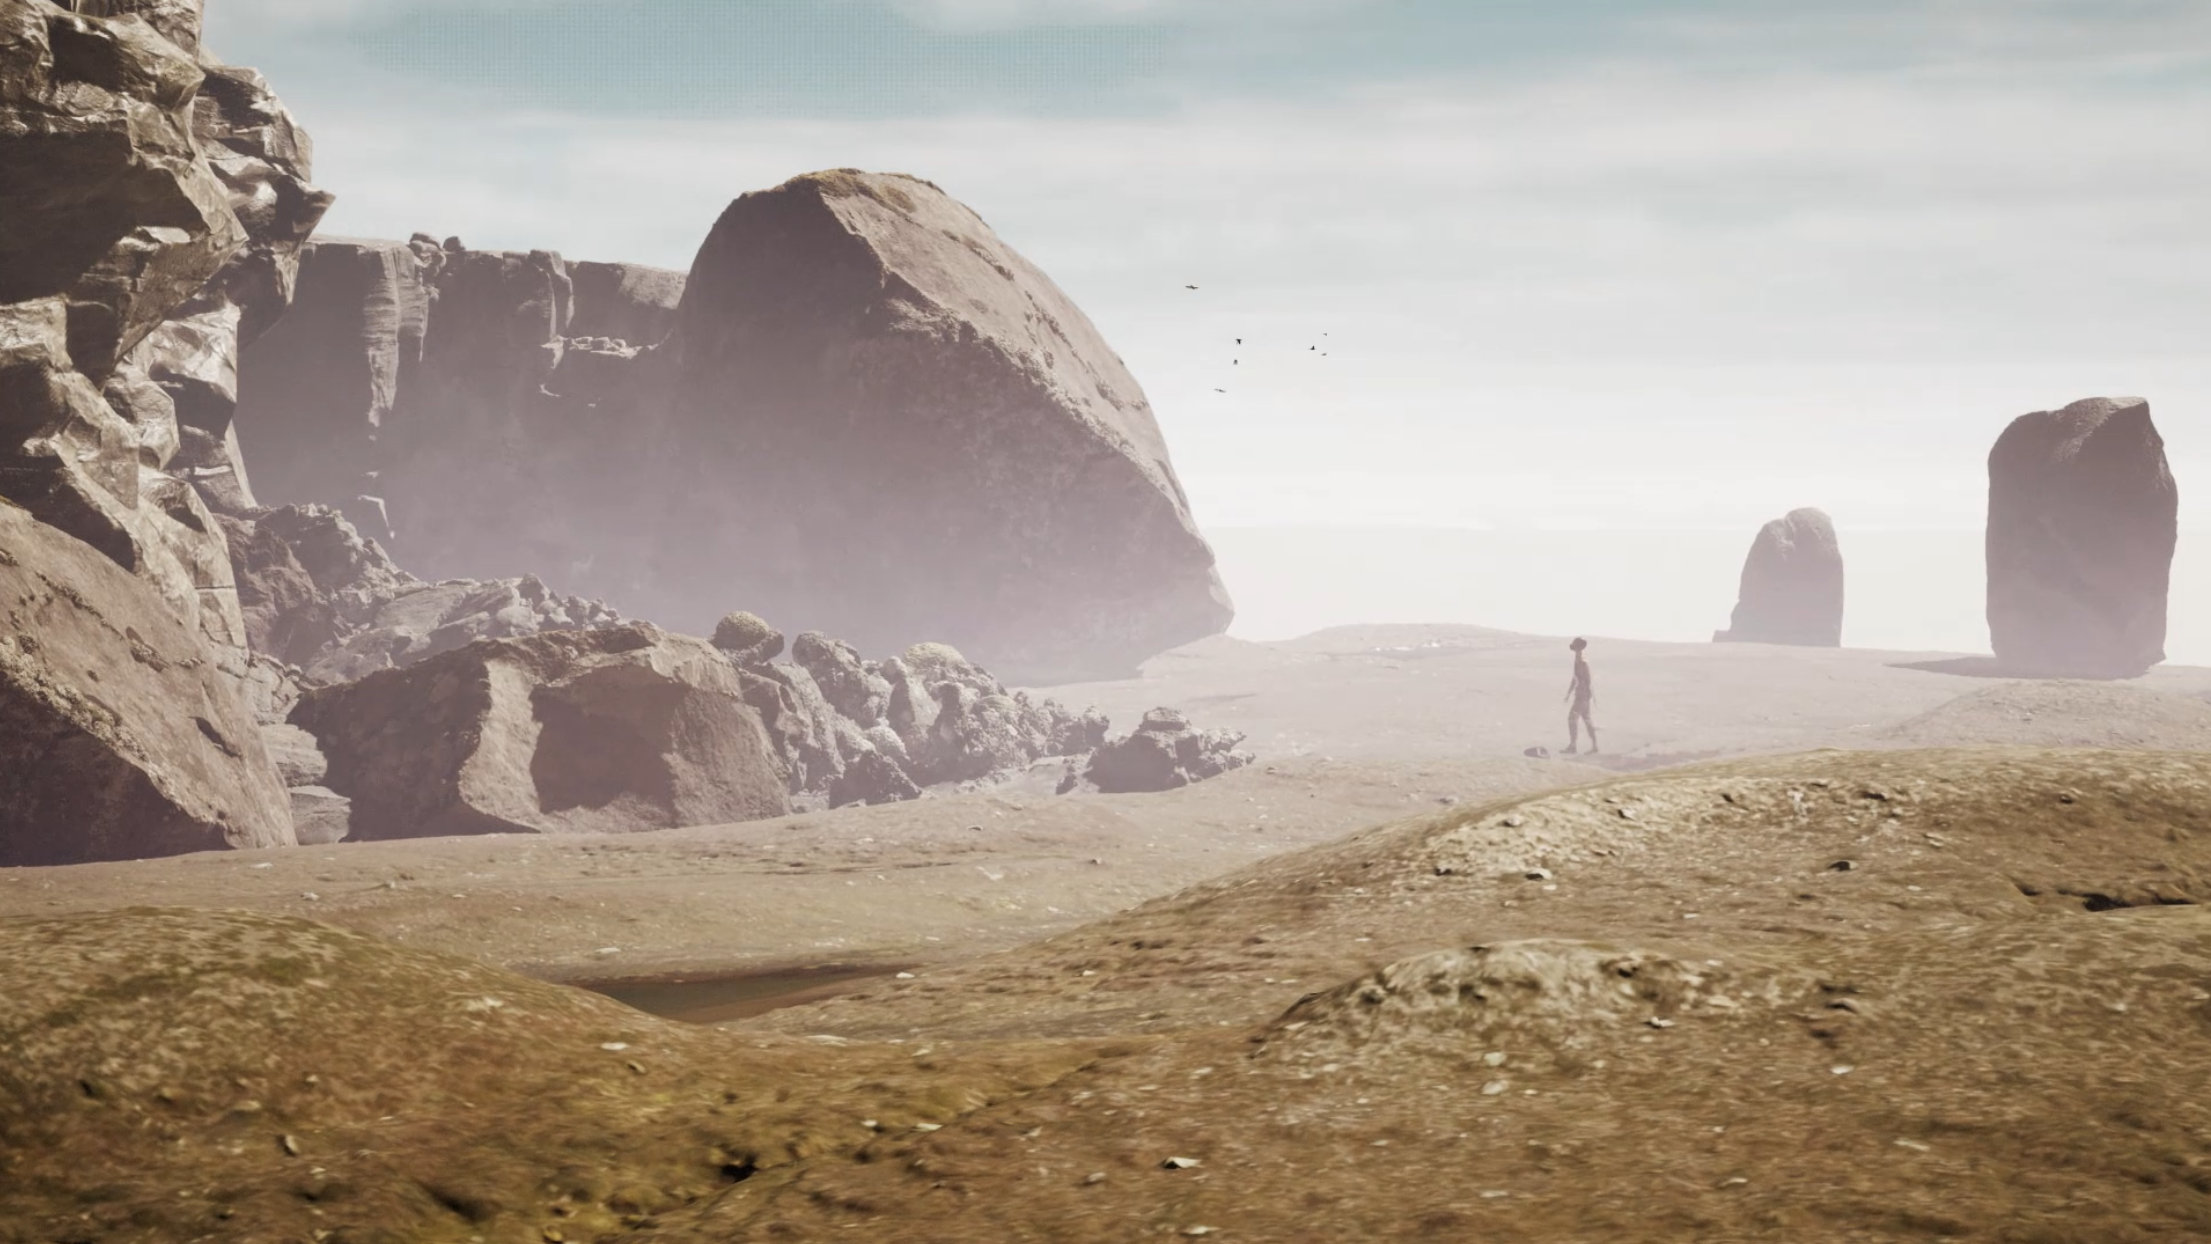
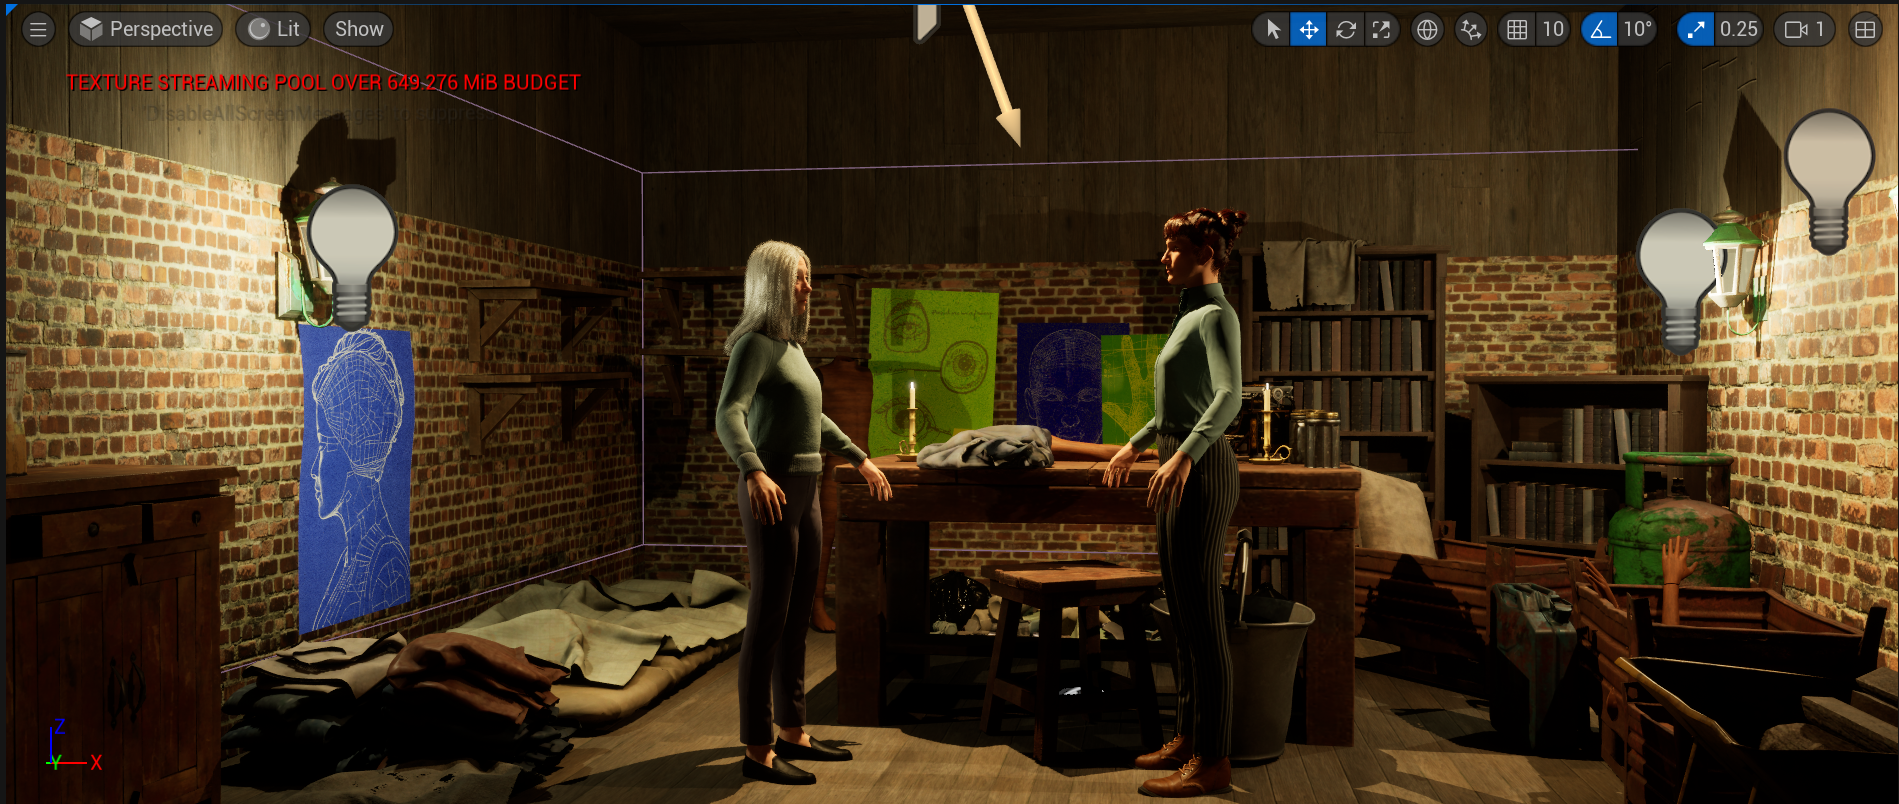
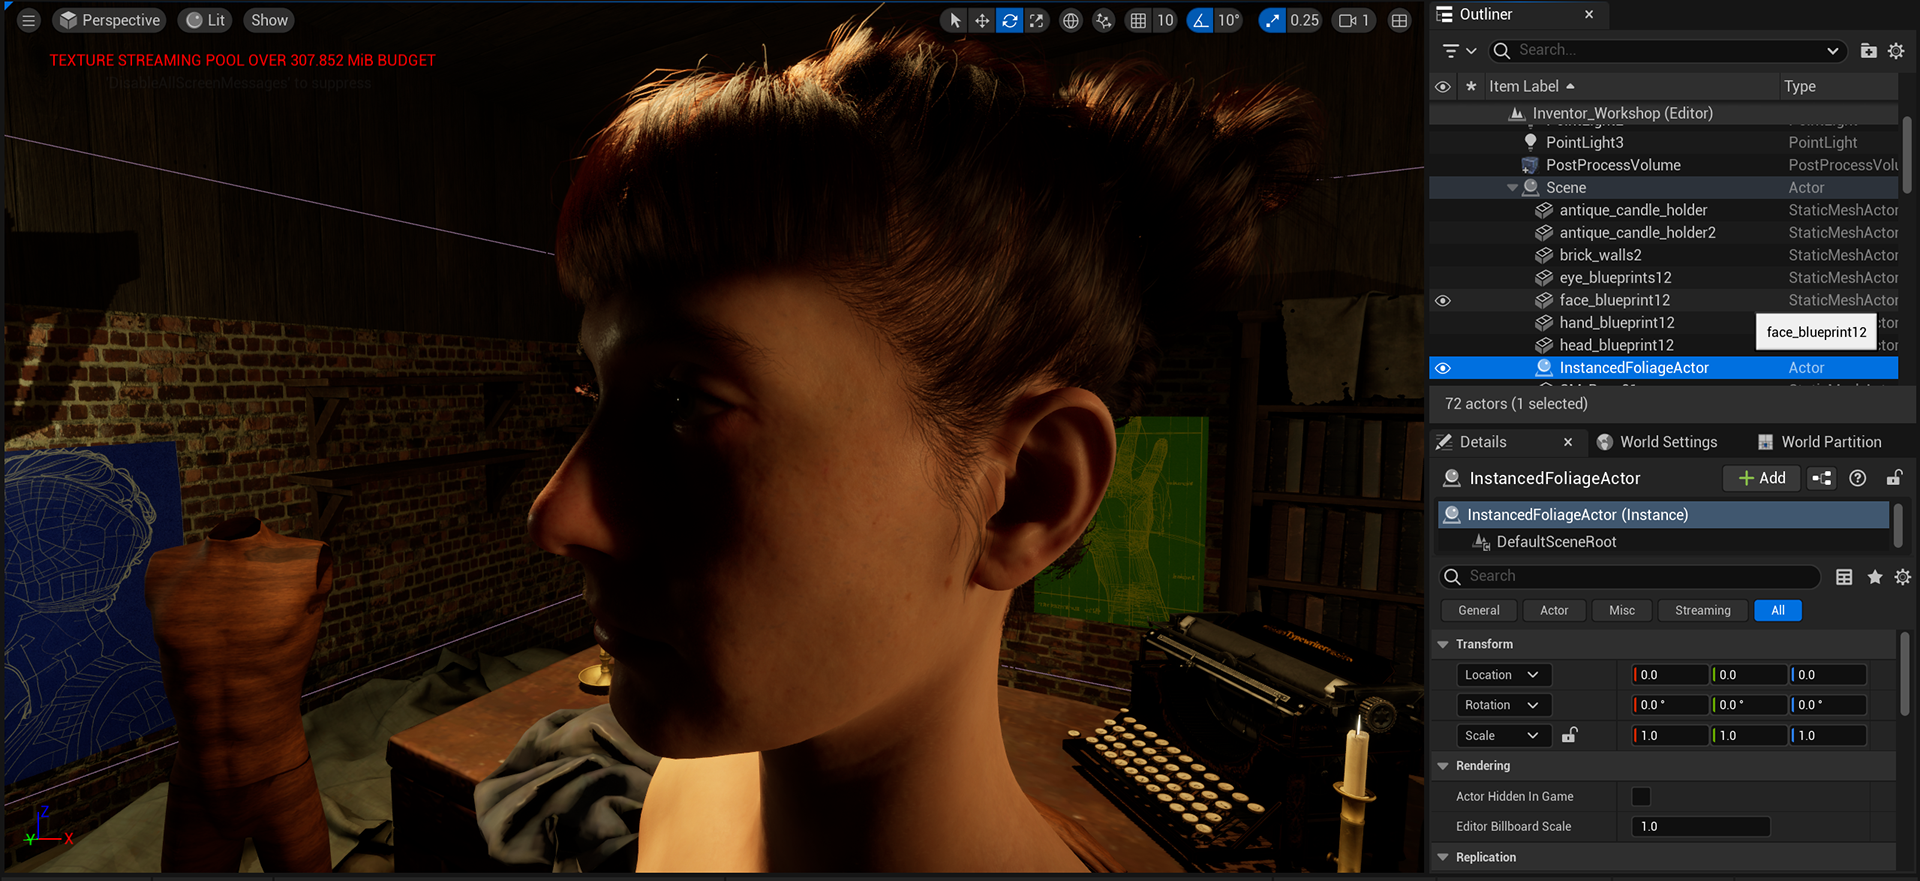
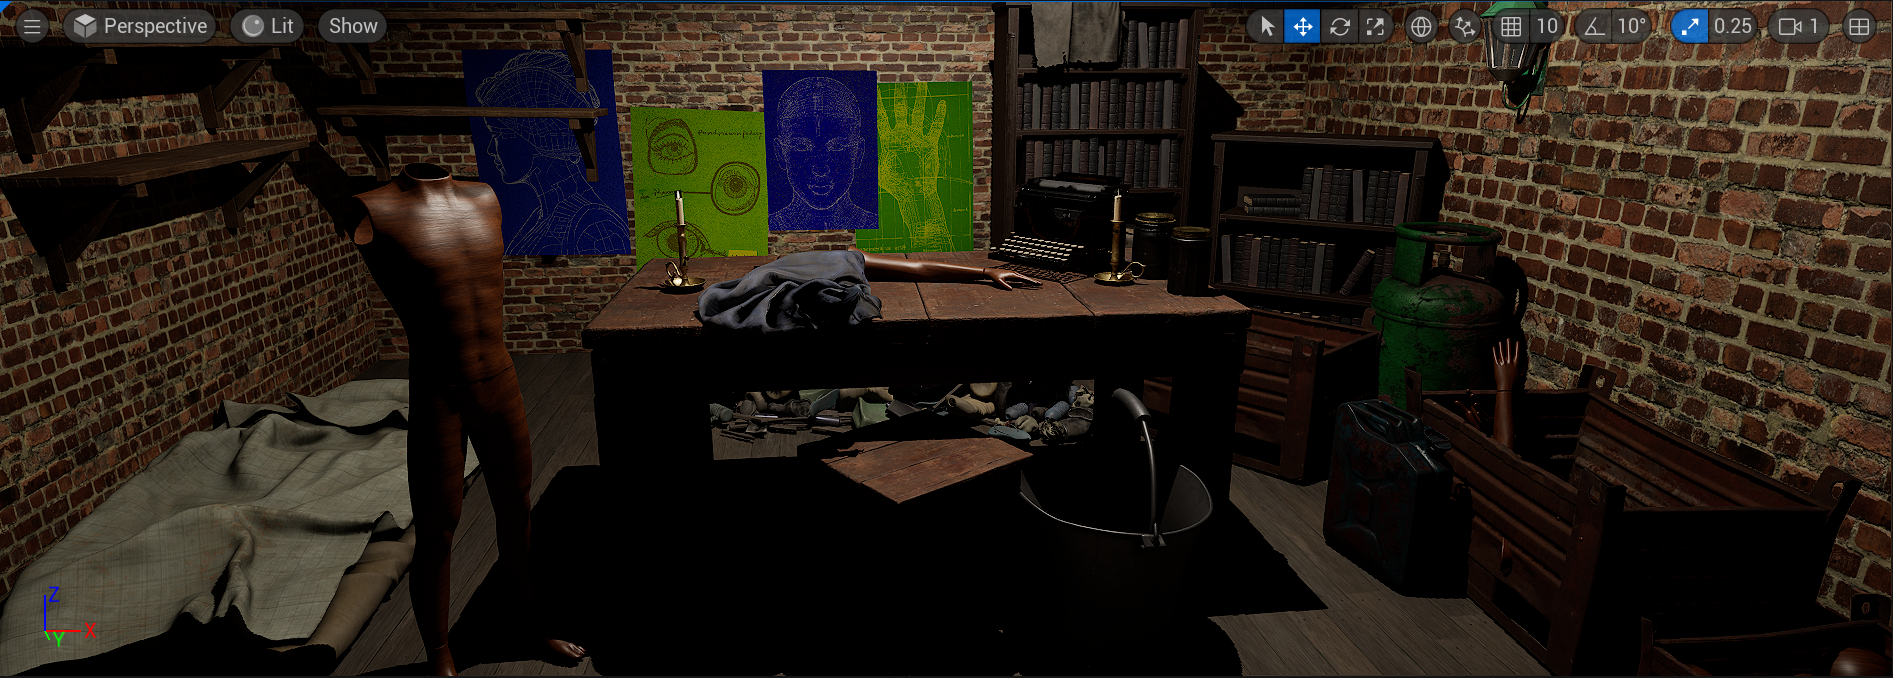
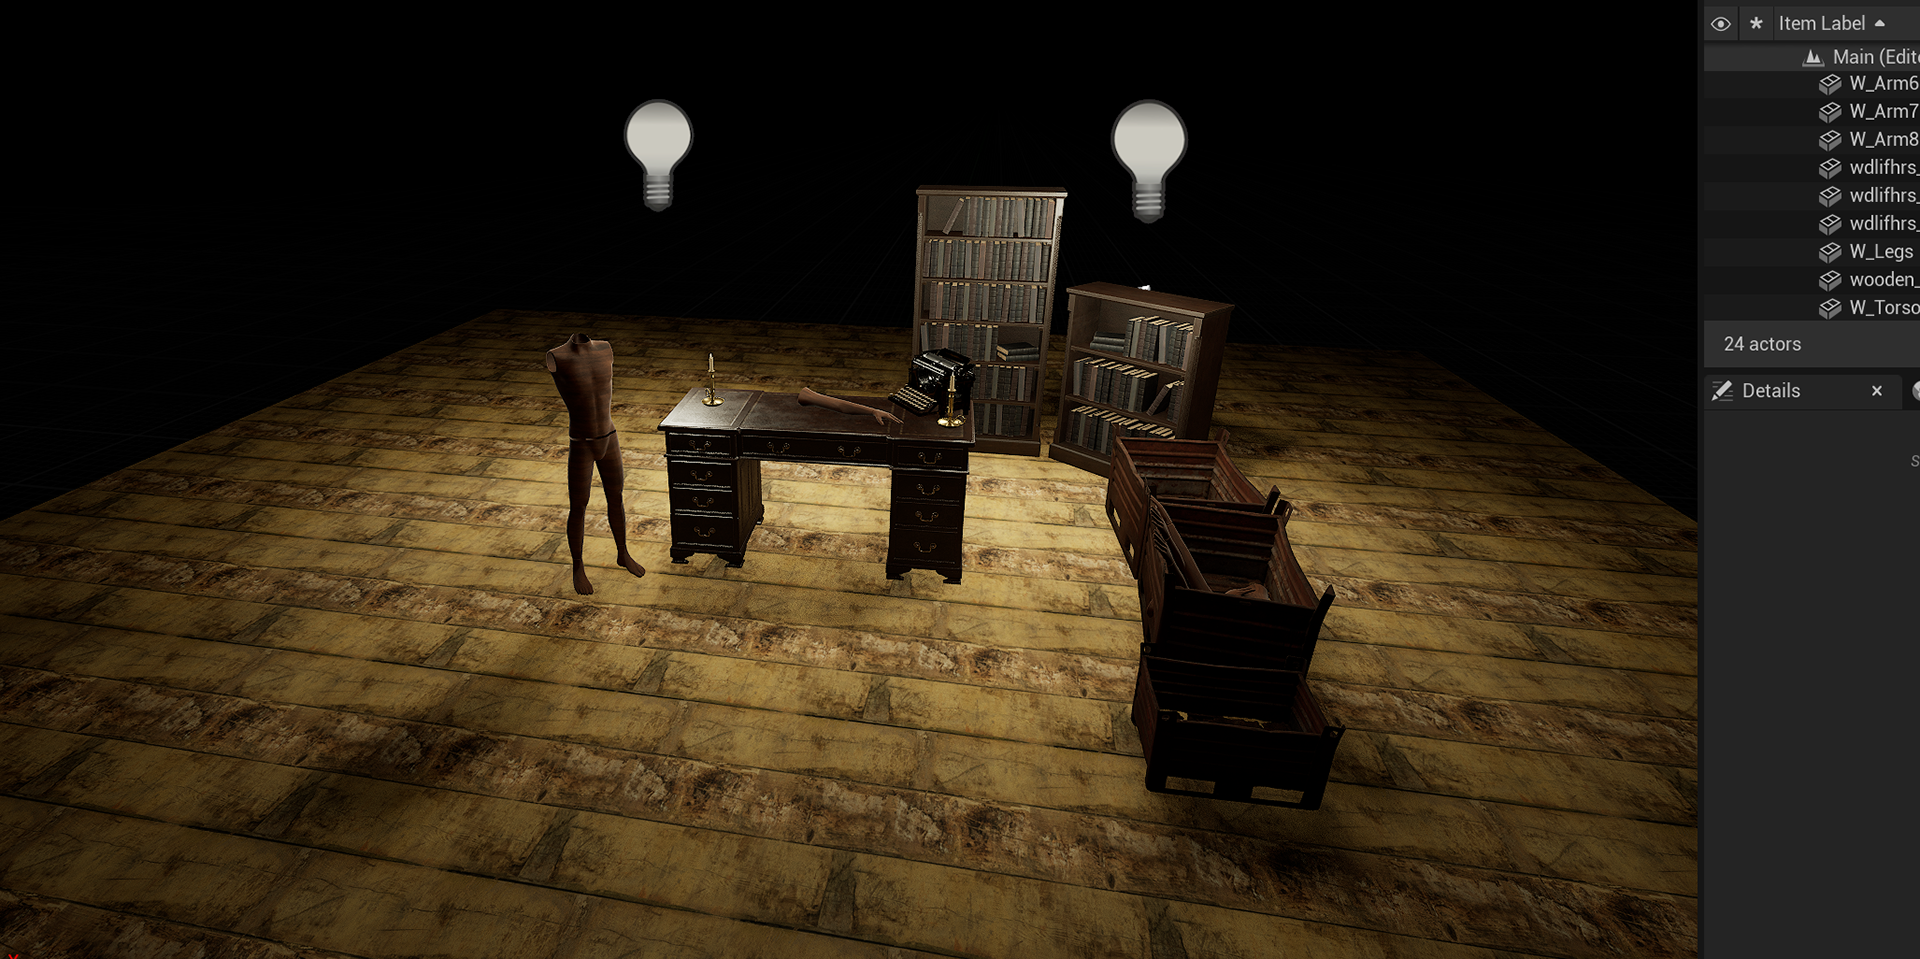
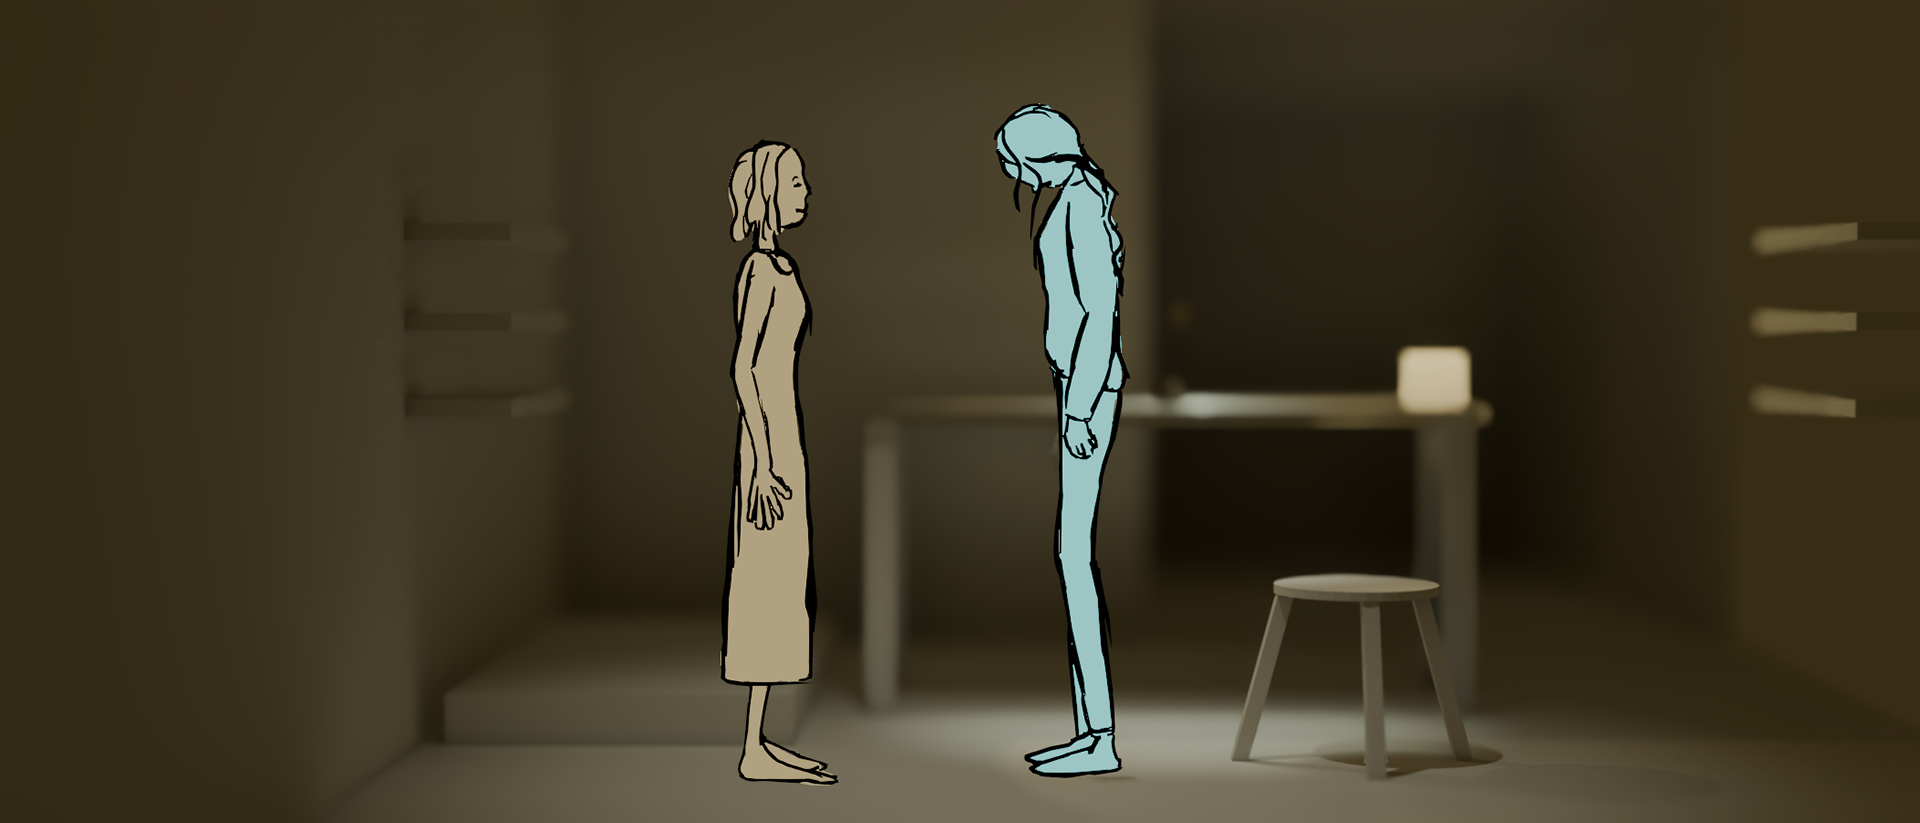
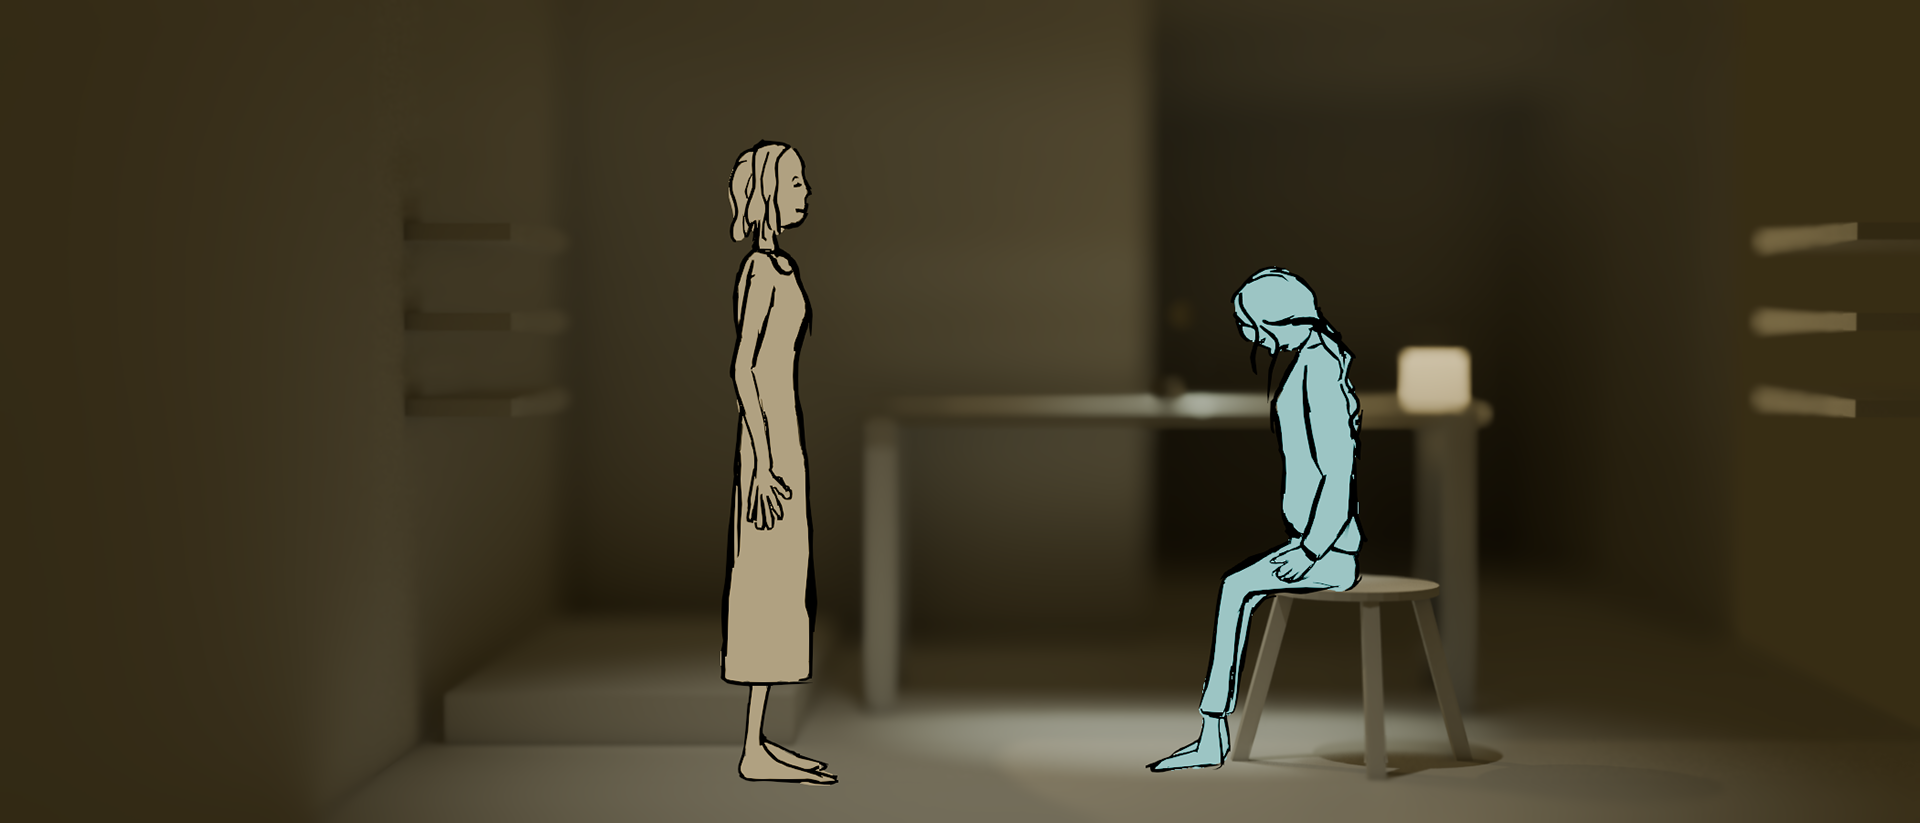
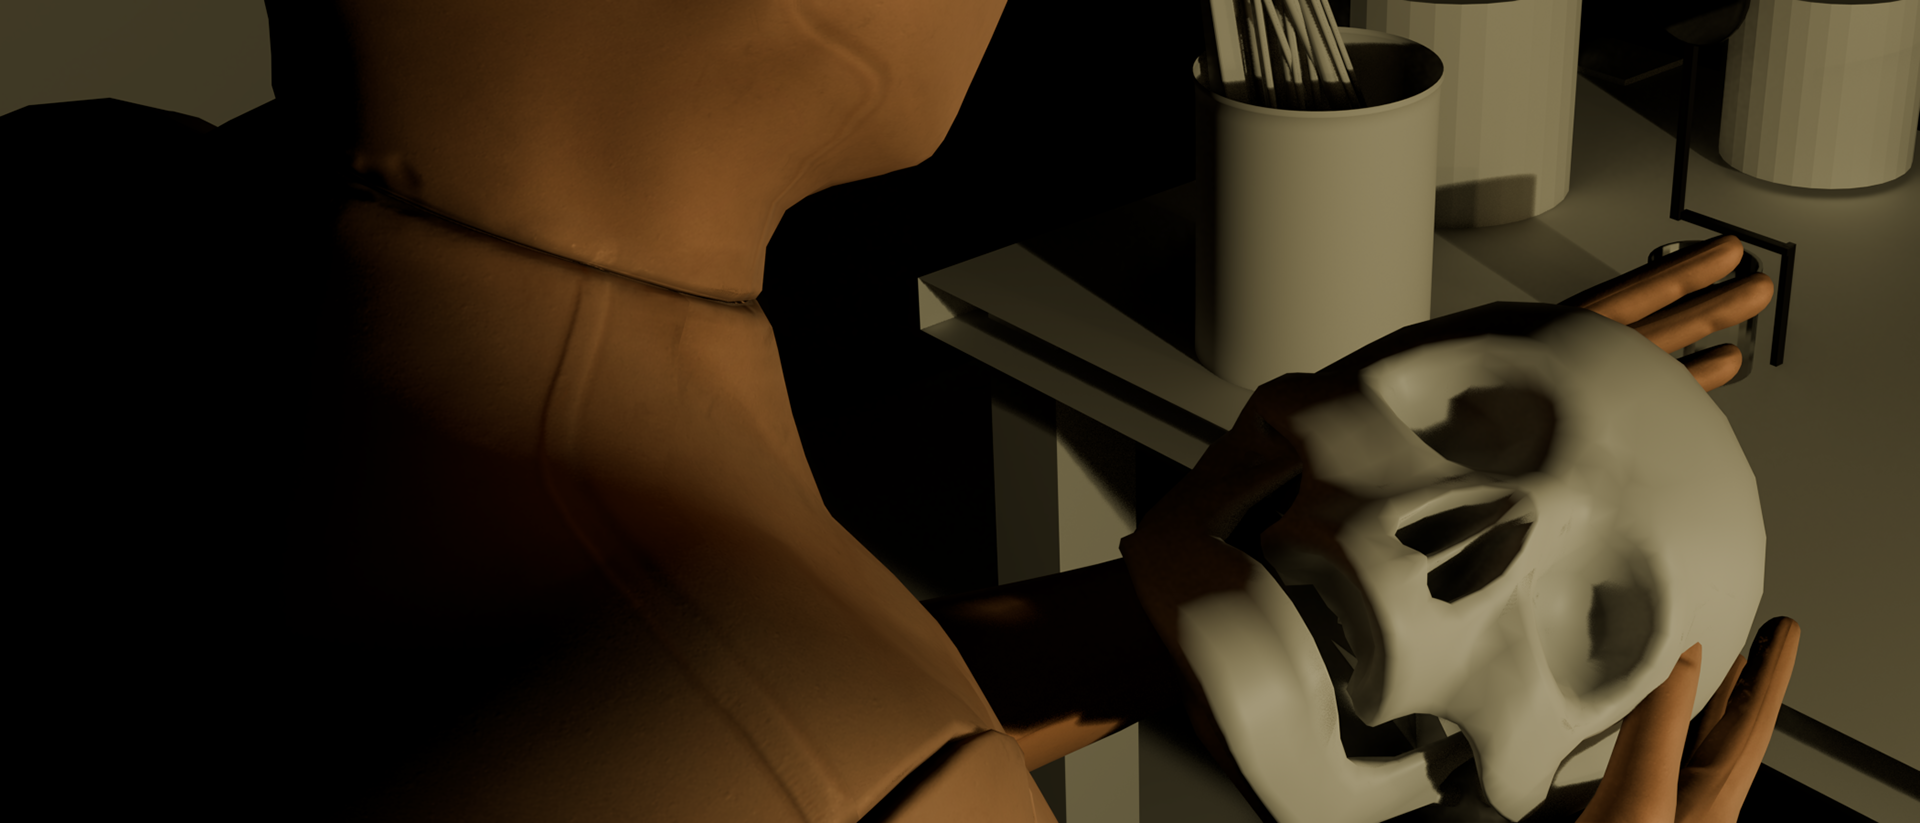
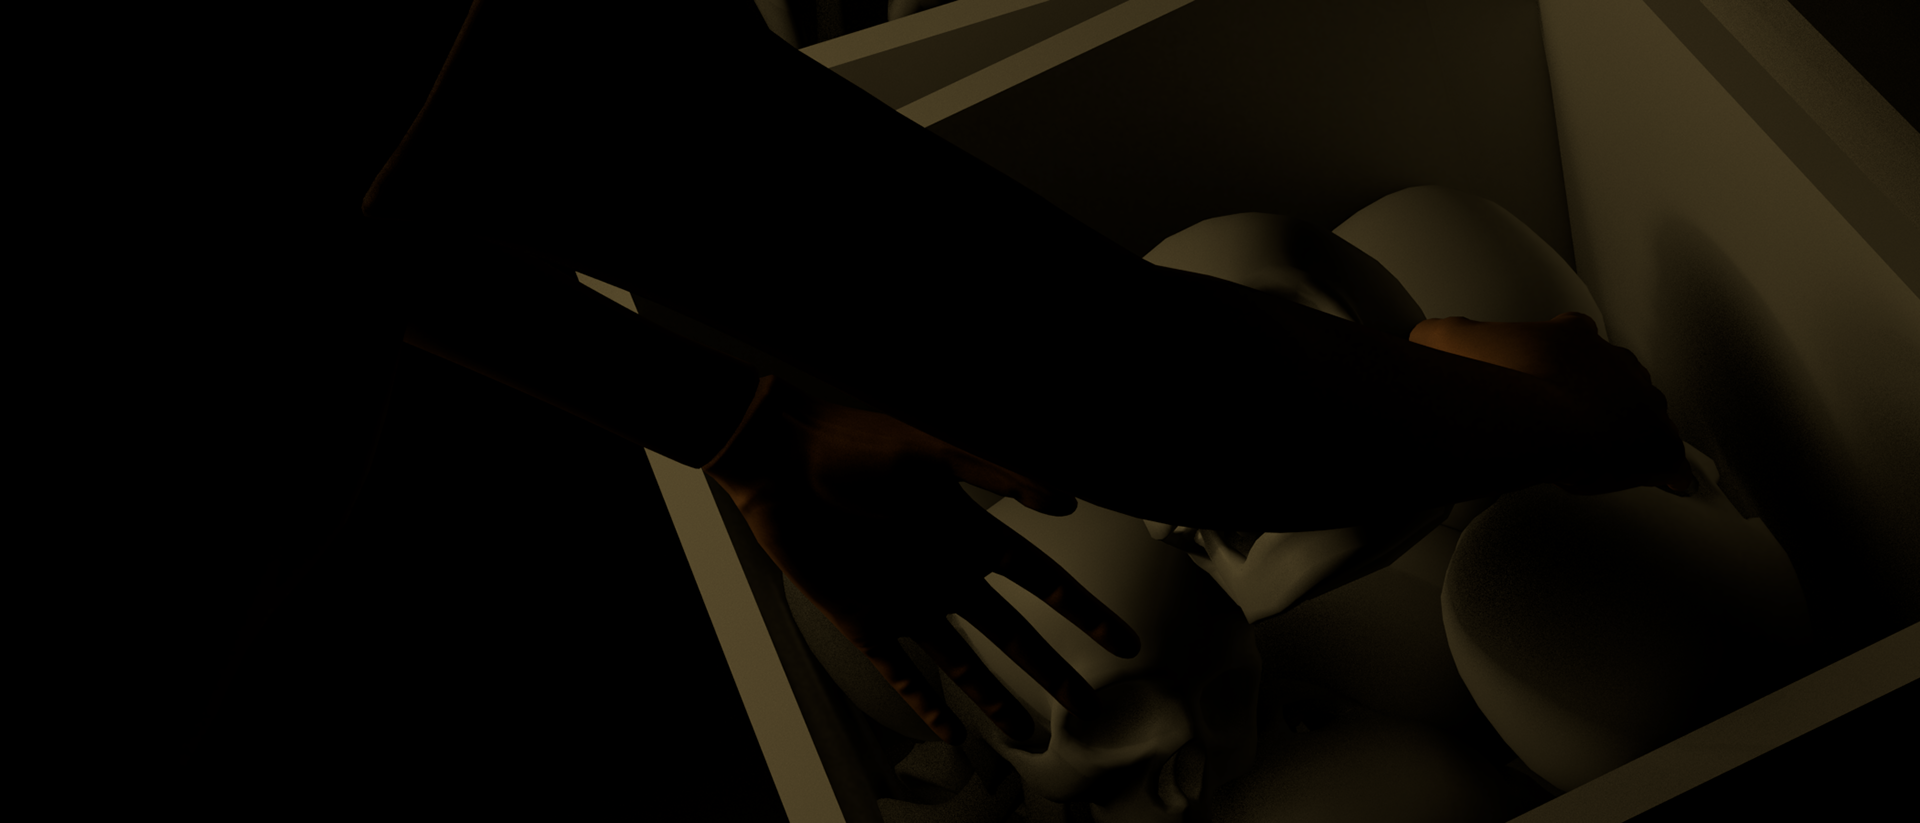
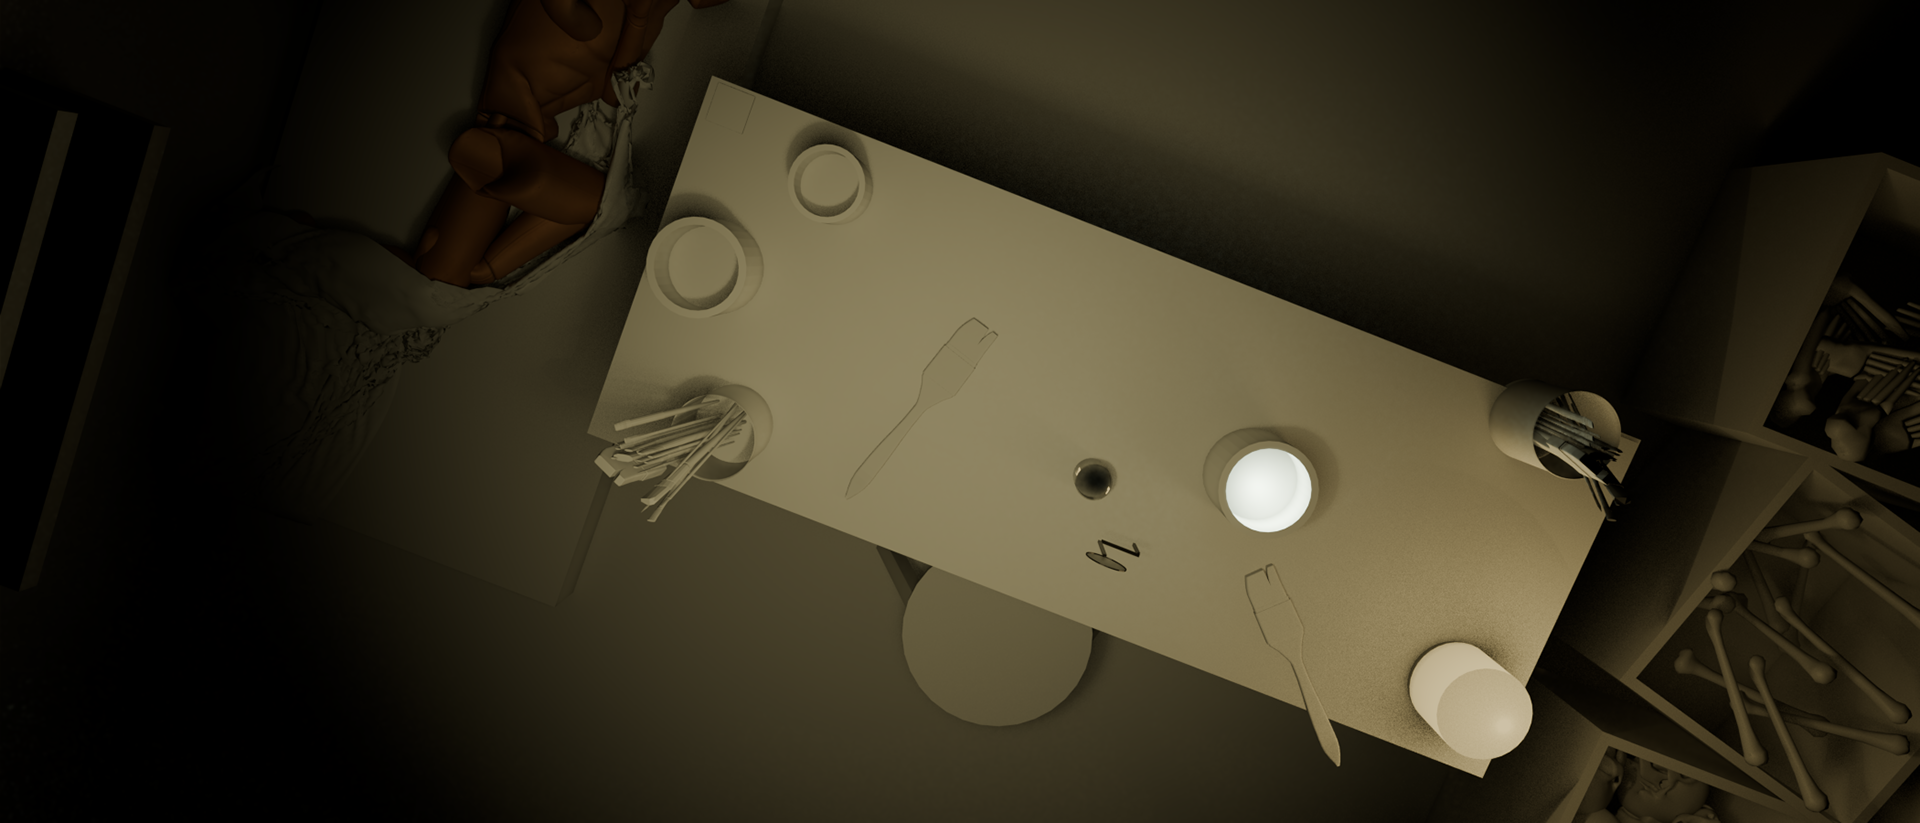
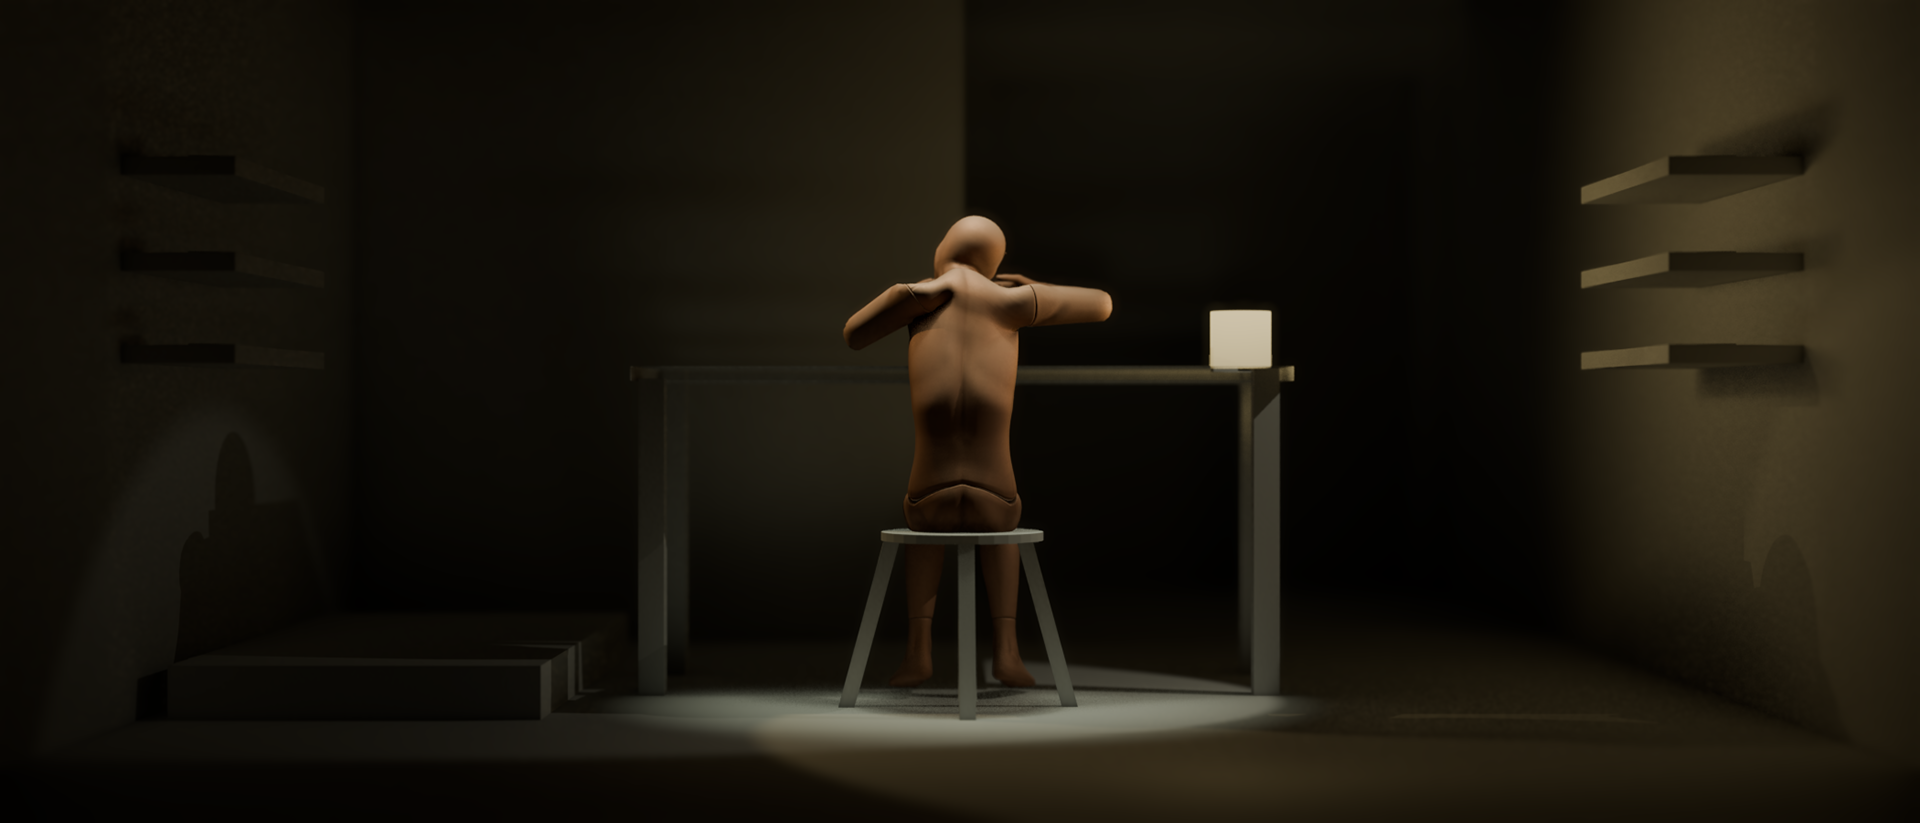
This week, I have been creating the environment and assets for the Inventor's workshop.
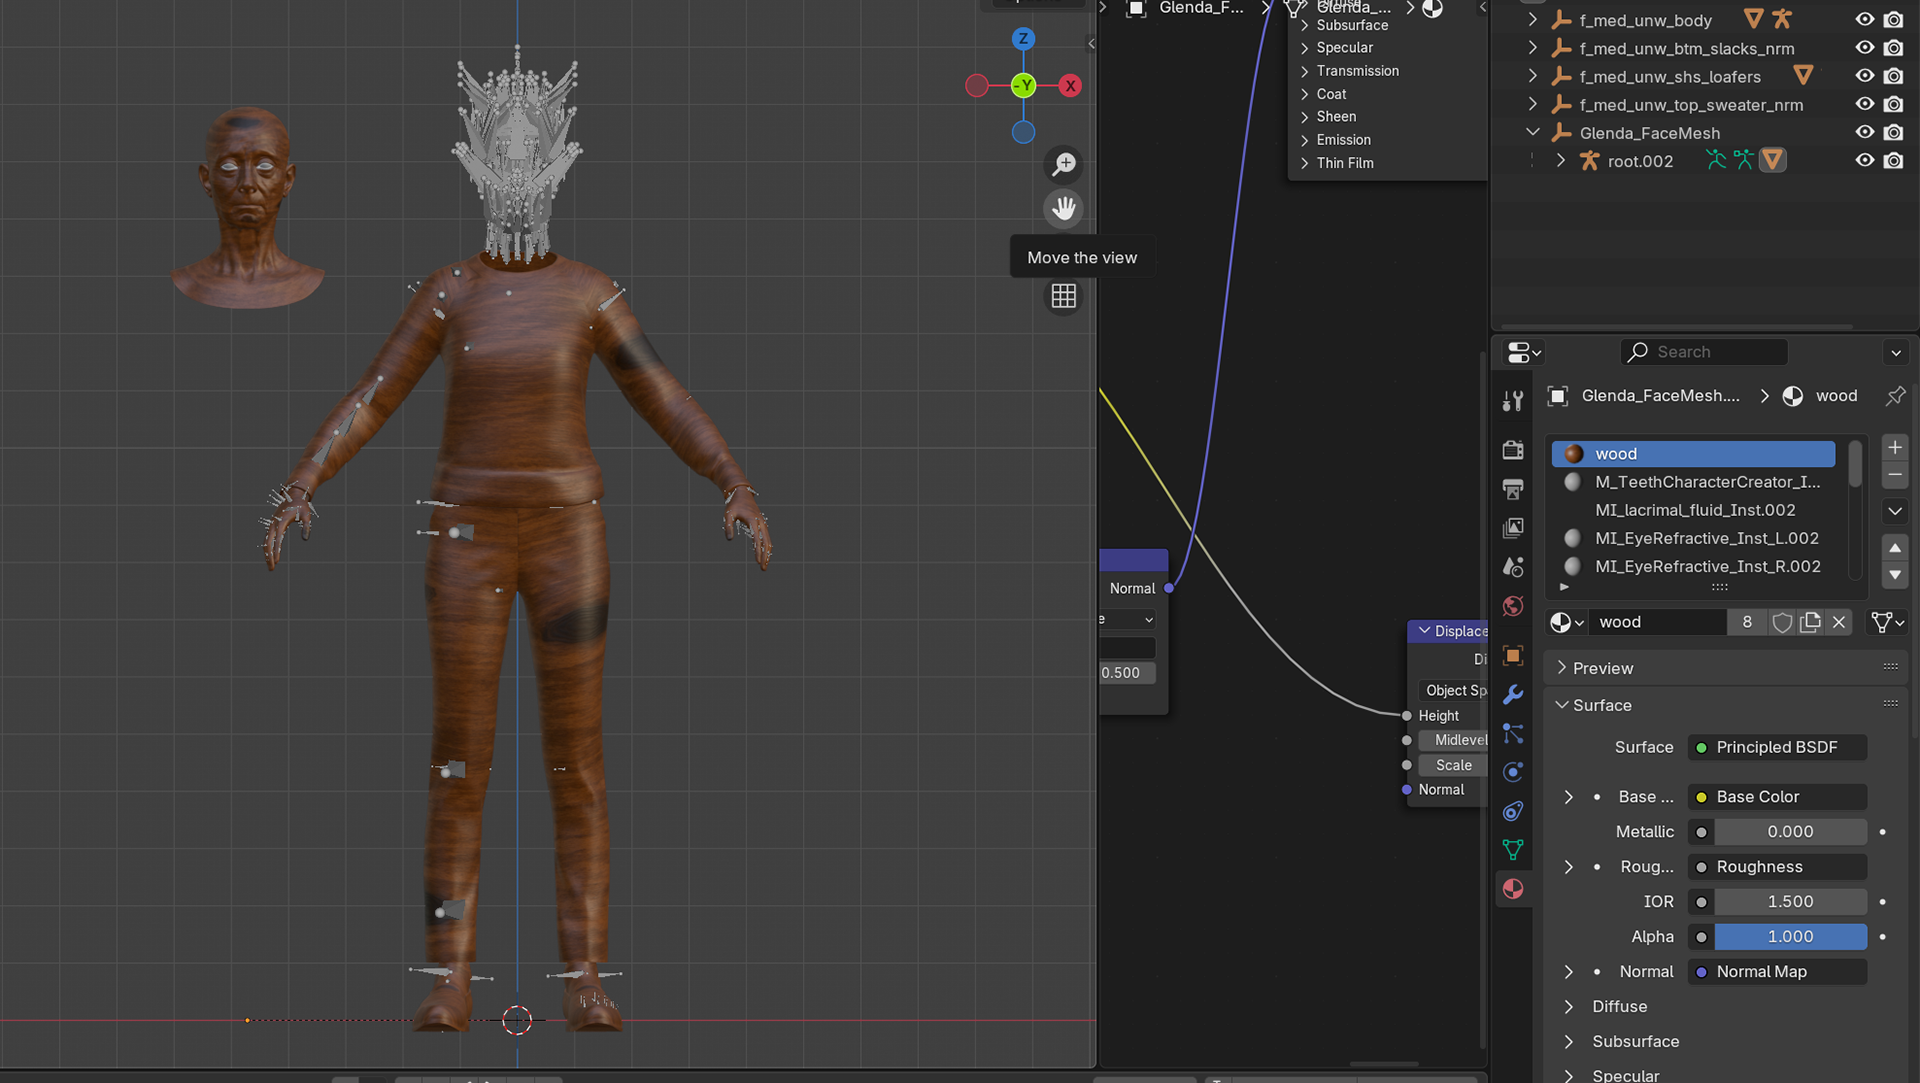
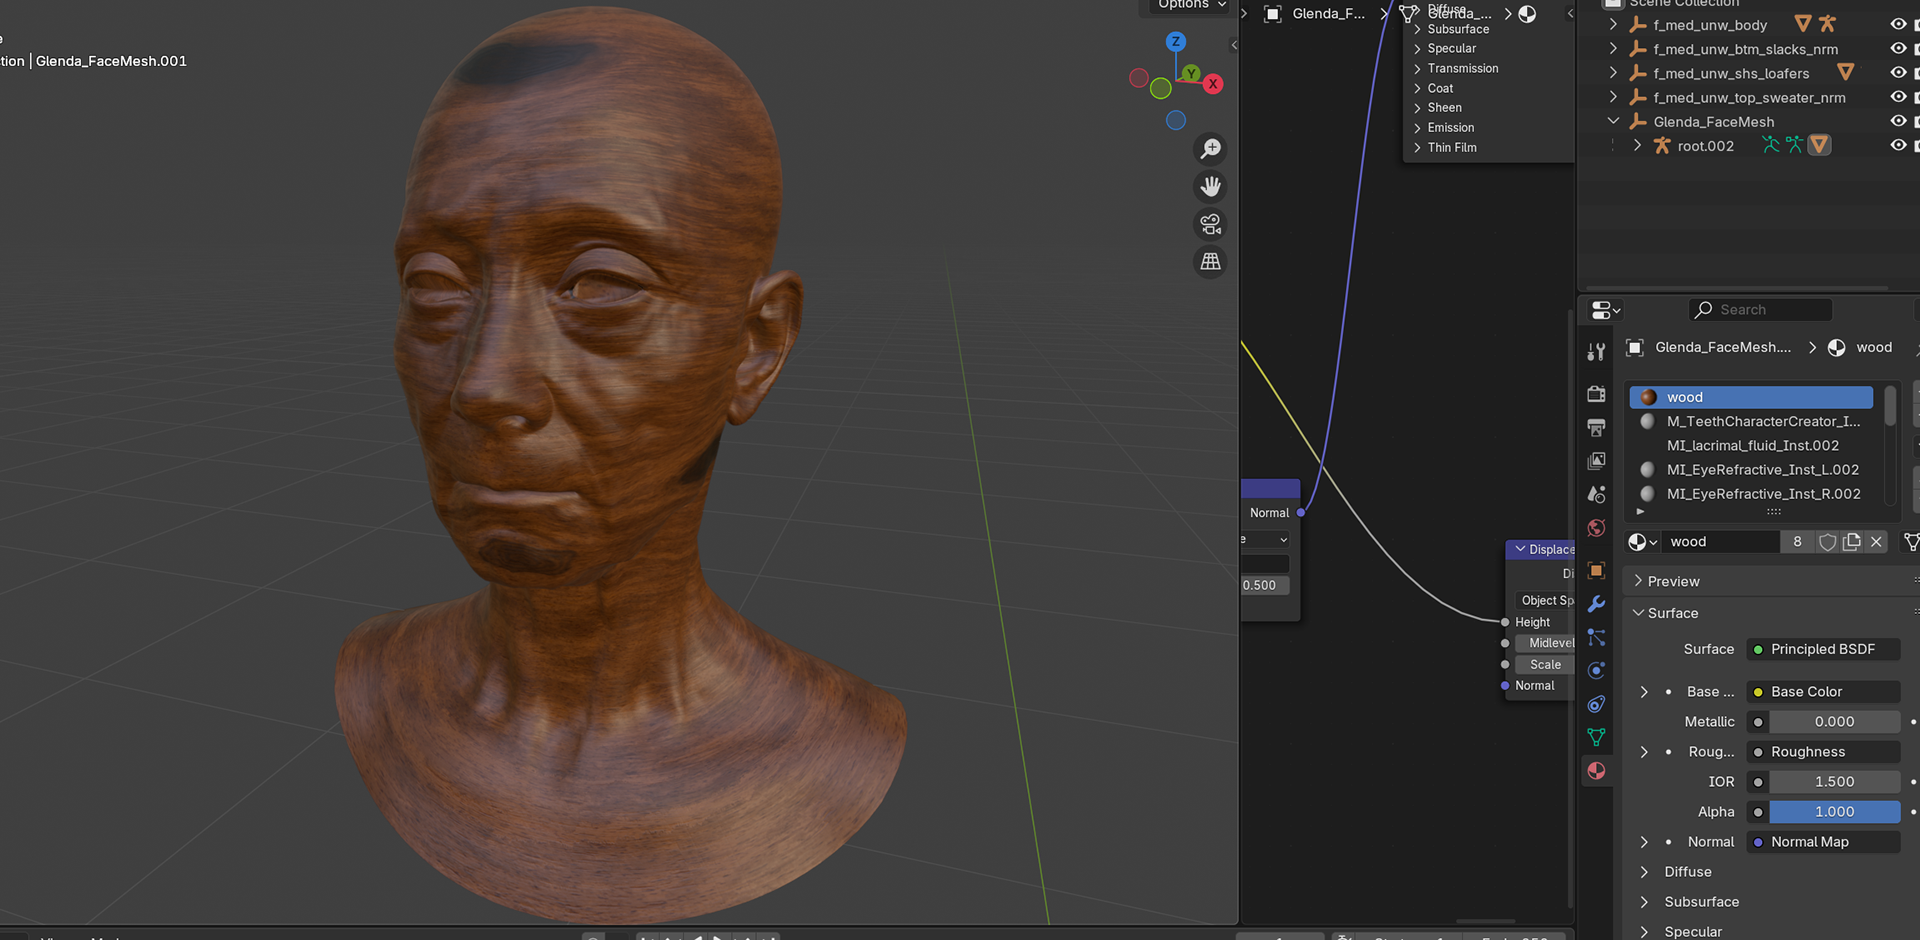

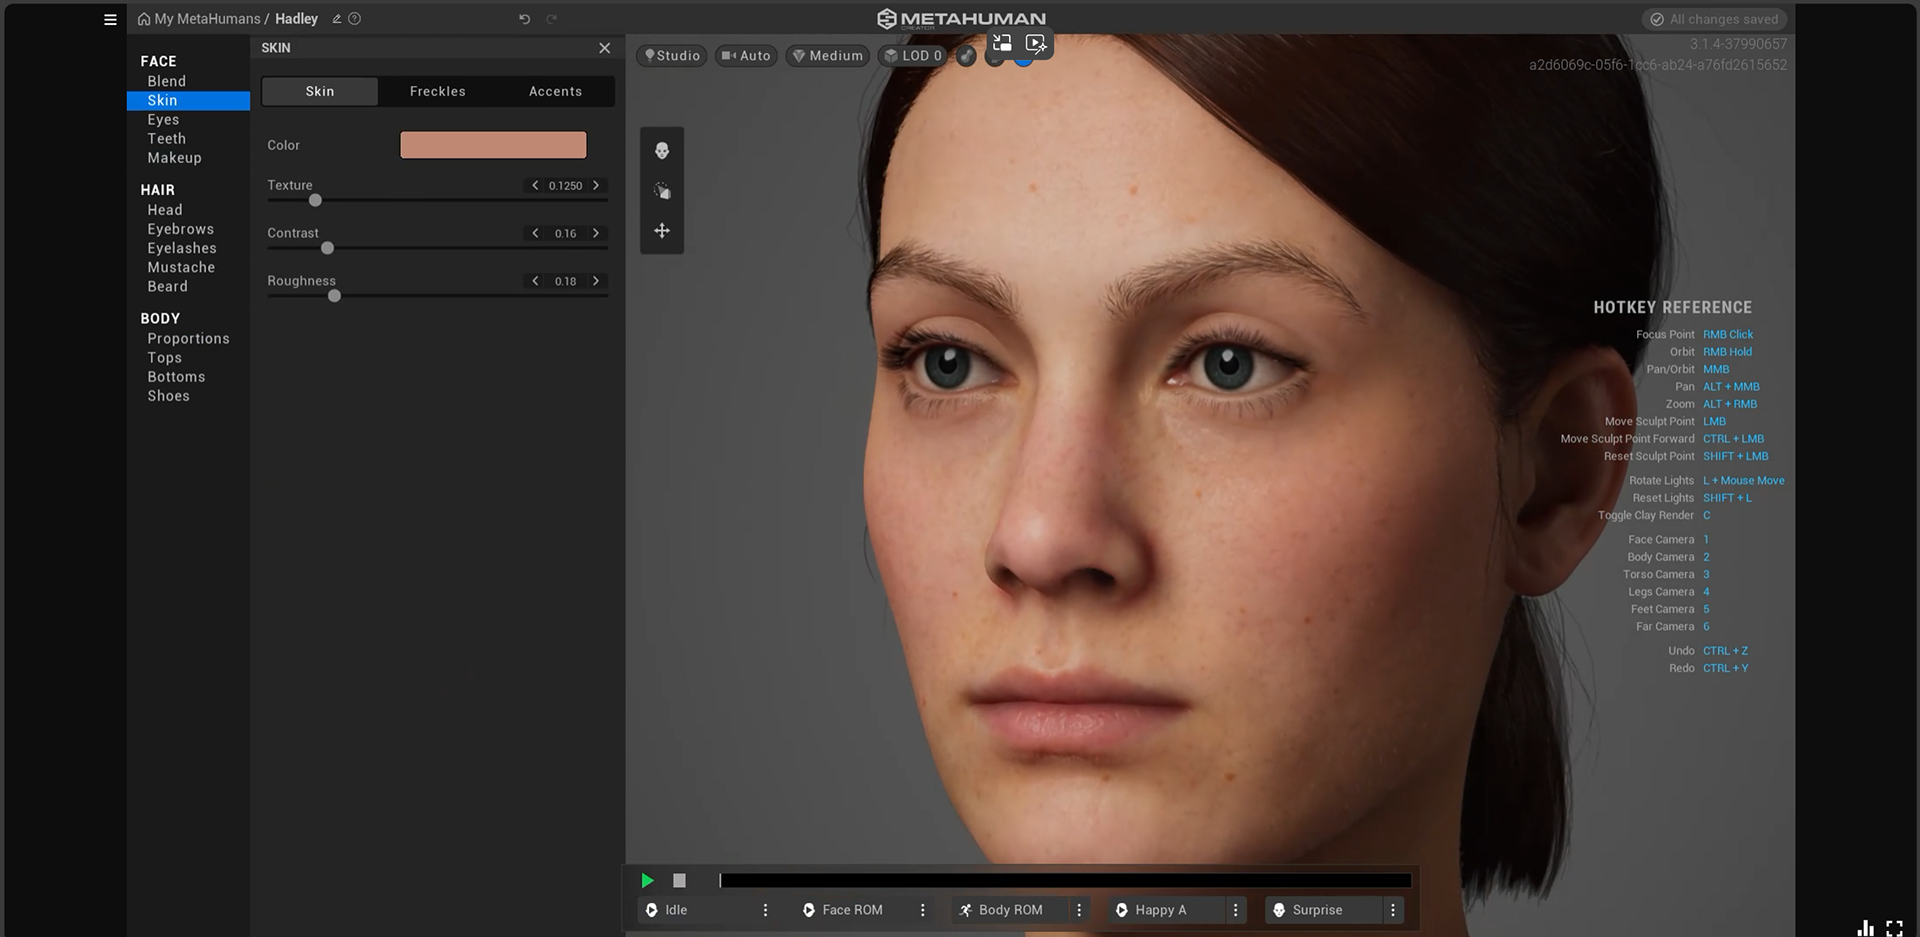
I have been continuing to adapt the Inventor metahuman by making her features unsymmetrical for realism. I am also using a pre-made metahuman to create the 'Creation', the Inventor's late grandmother.
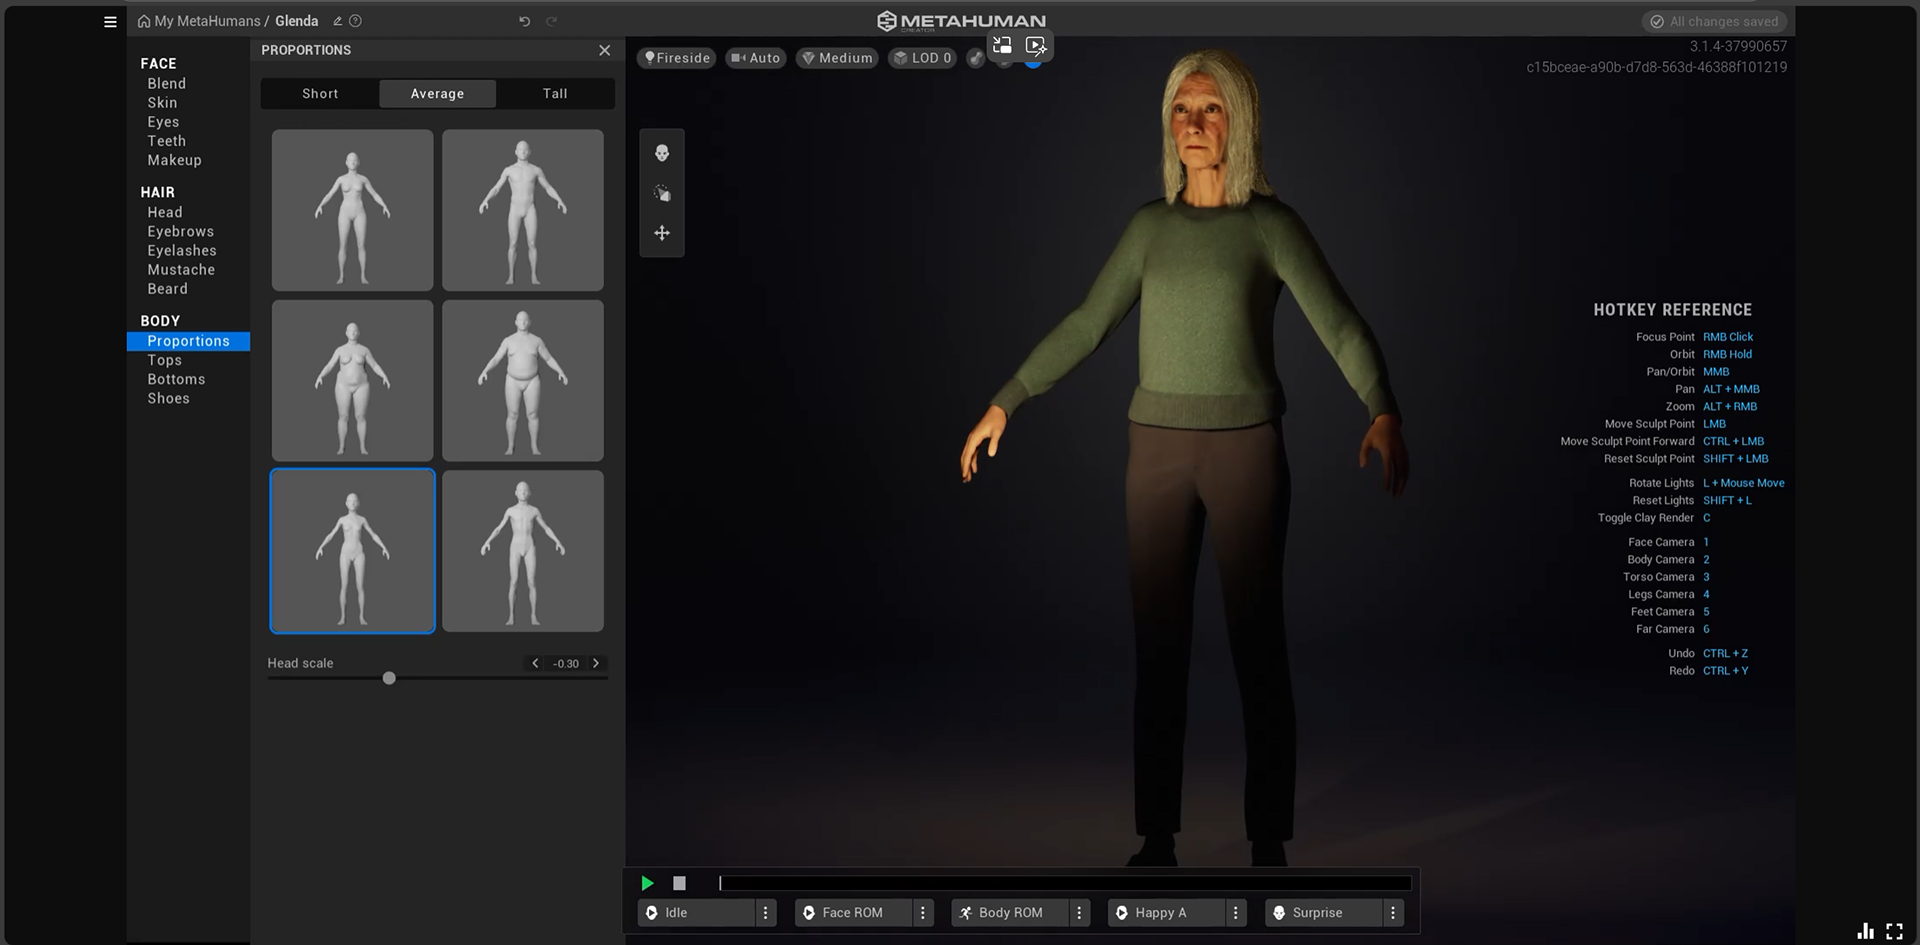
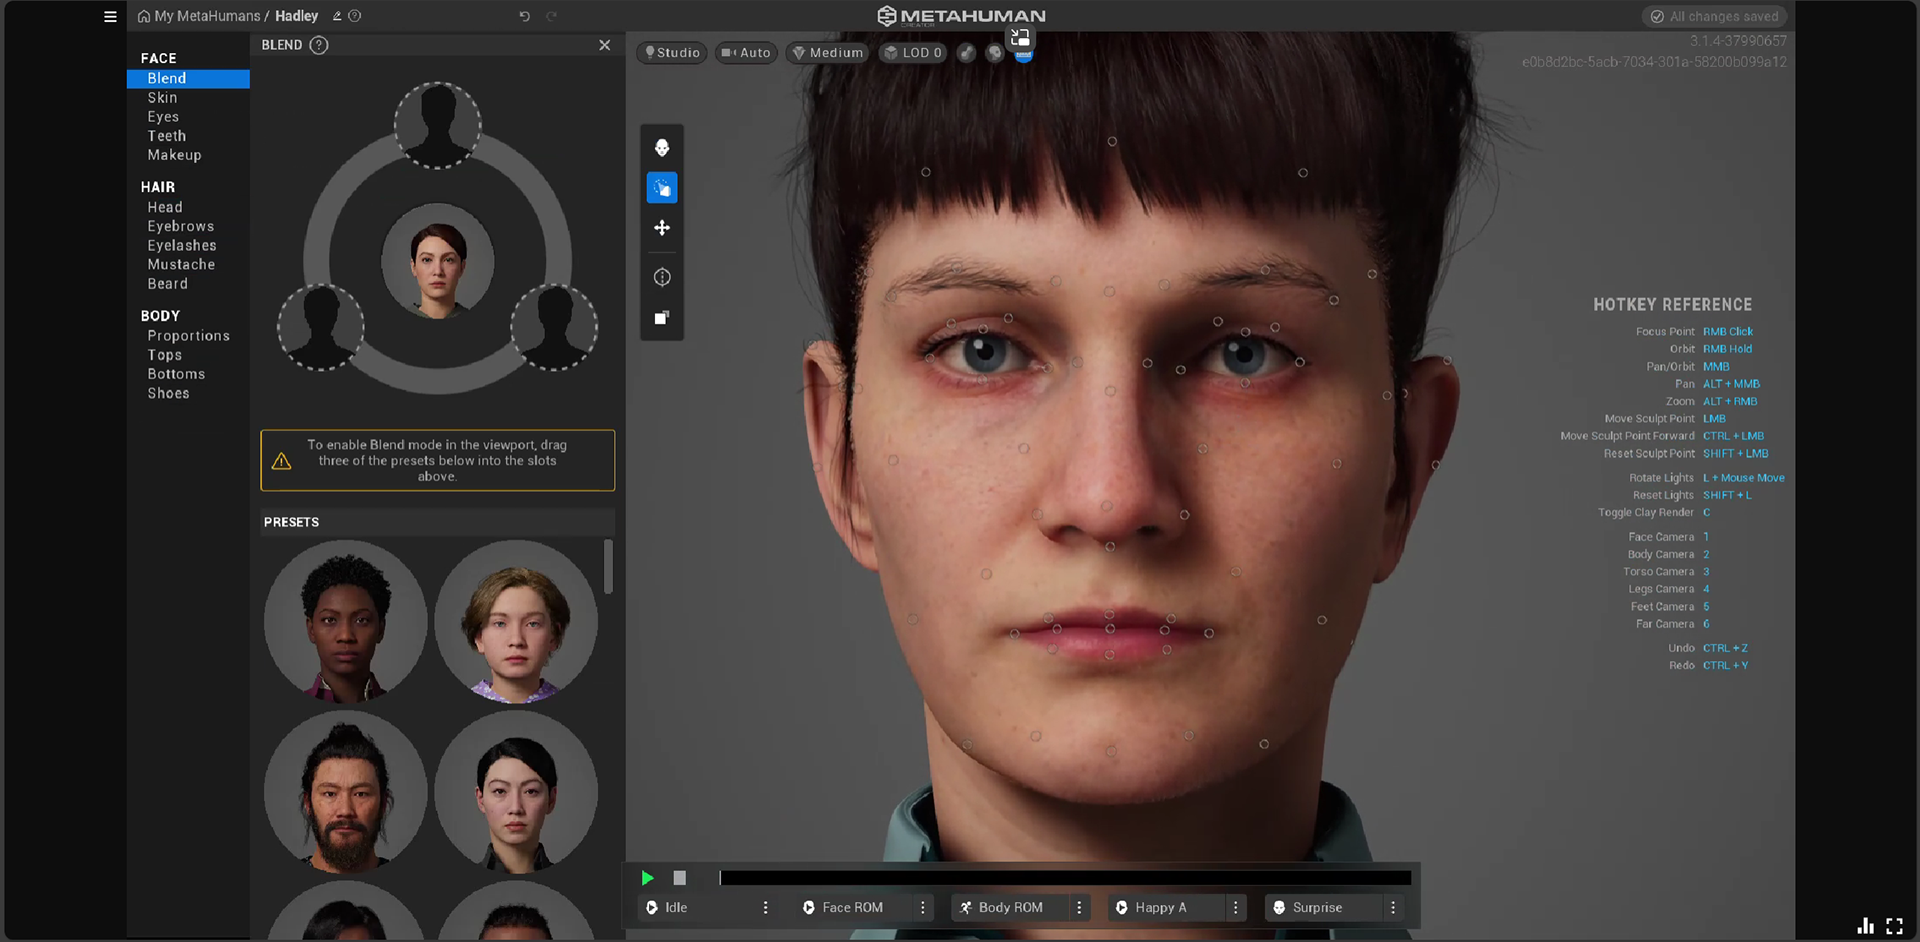
I have been customising my own Metahuman using Metahuman Creator to act as the Inventor. The bottom two photos below are straight from Metahuman Creator before they were adapted.
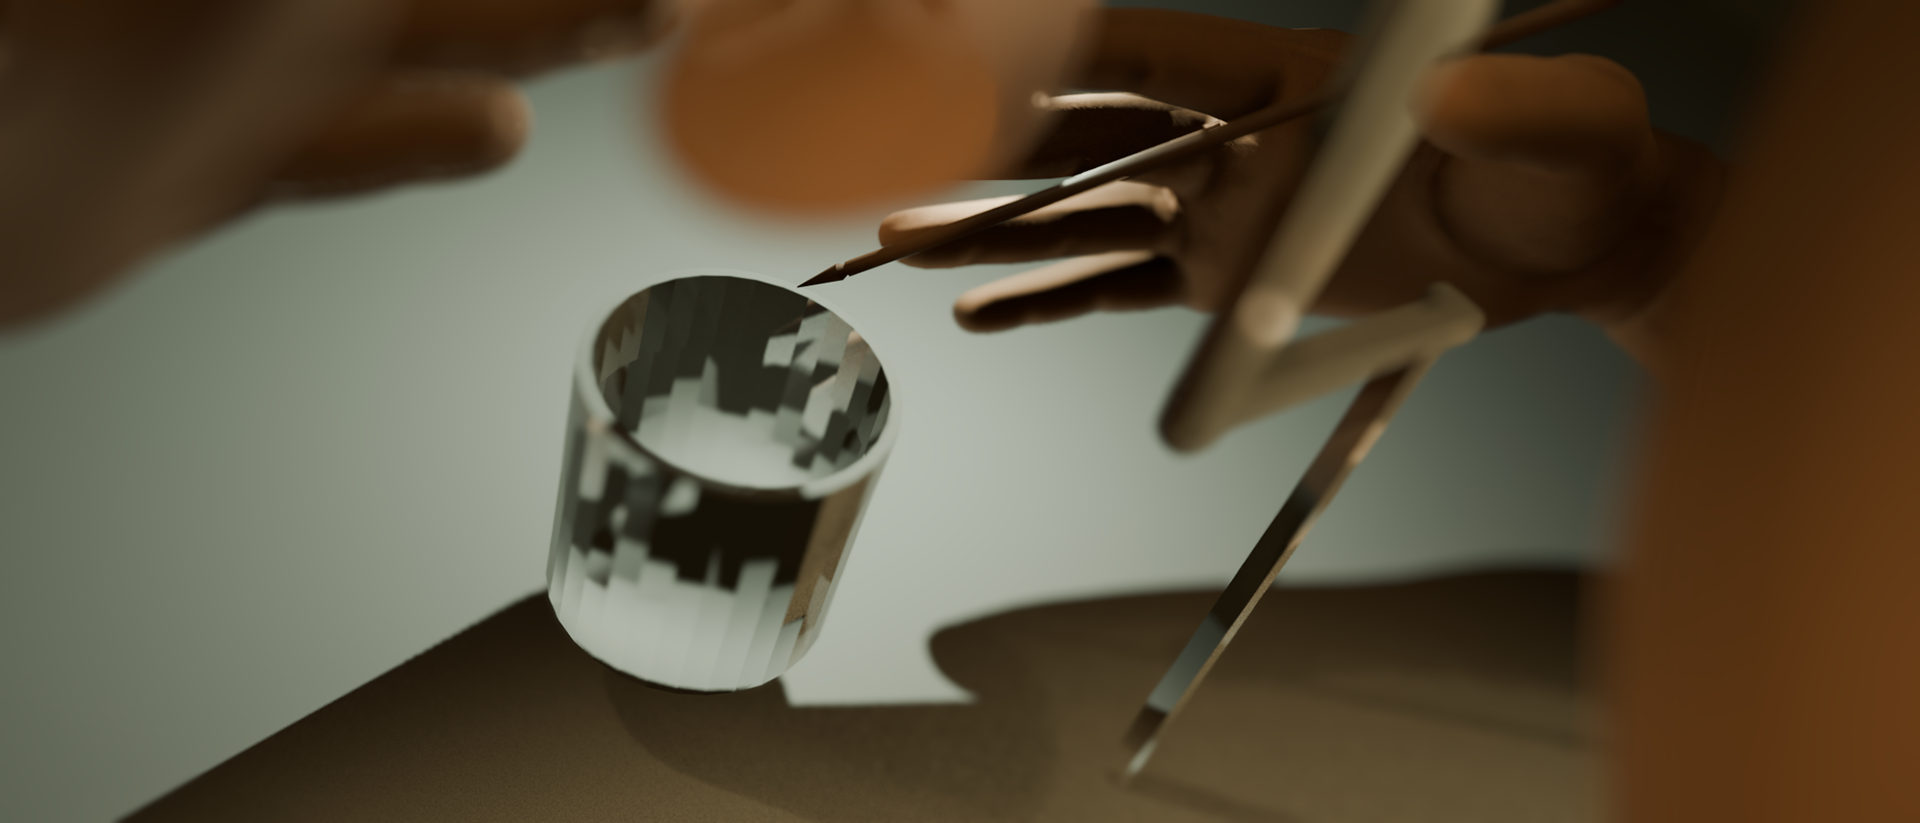
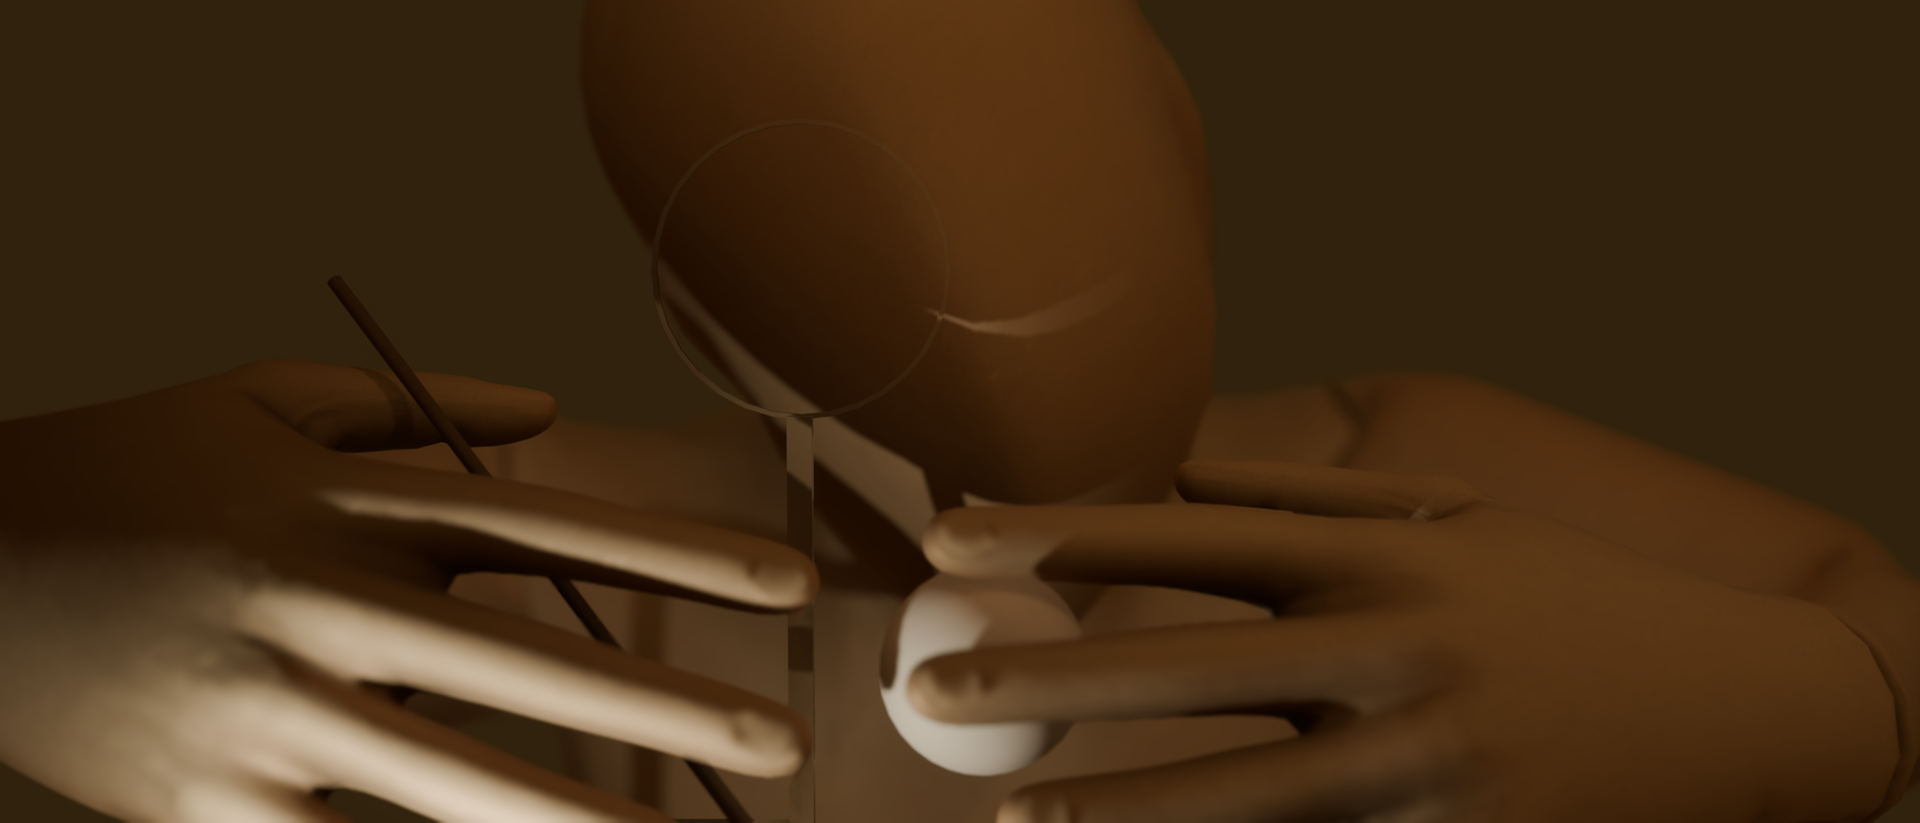
I gave her sunken eyes and a practical hairstyle. I have been experimenting with cinematography and lighting in Unreal to see how I can achieve the best possible results for my film. So far, I have found that a large spot light spreading over the whole room and a couple of point lights placed on the walls adds the most effect. I have also been experimenting with the camera angles and focal lengths - having the Inventor in focus and the background out of focus looks especially good here.


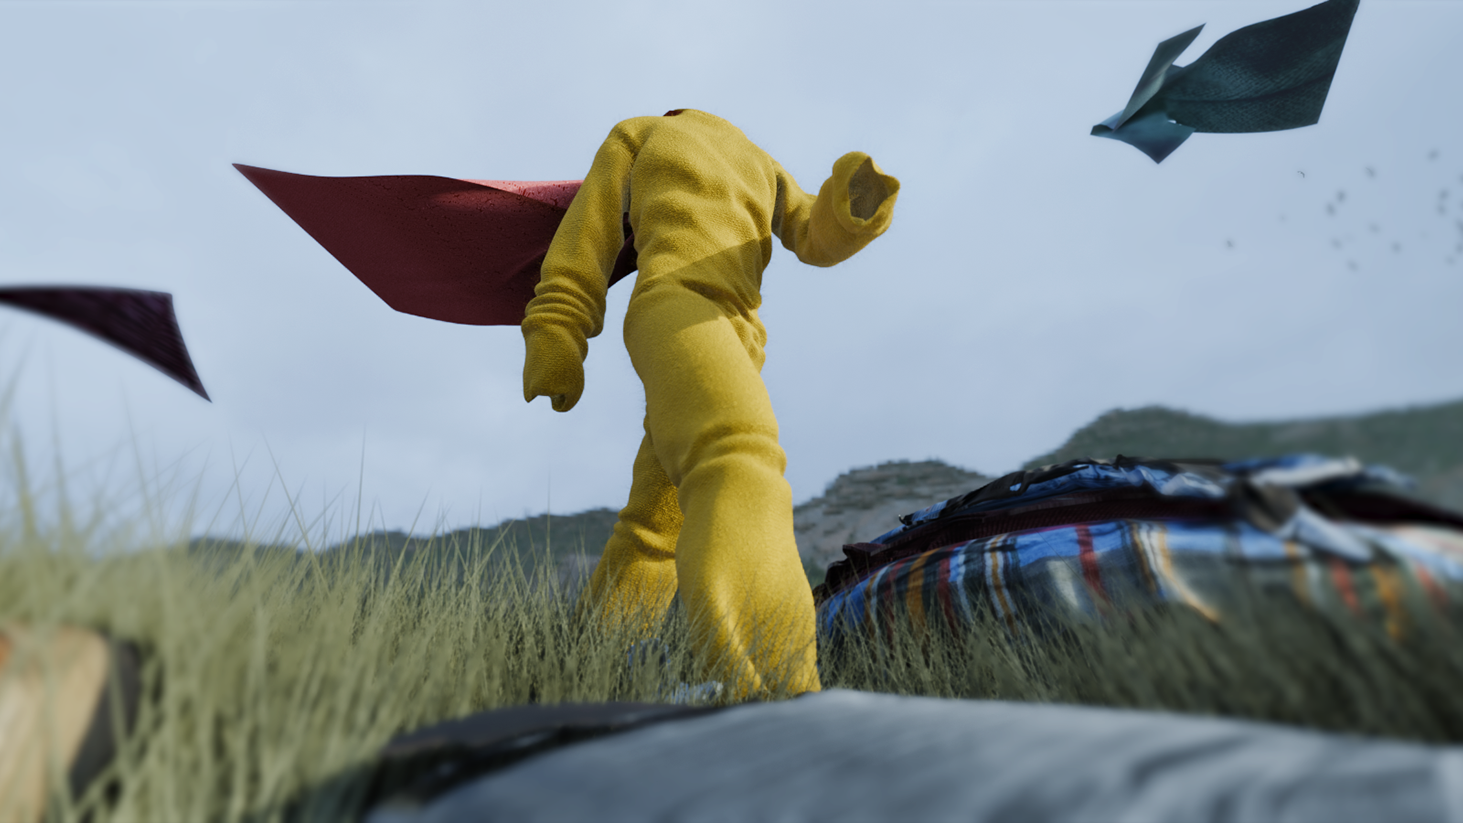
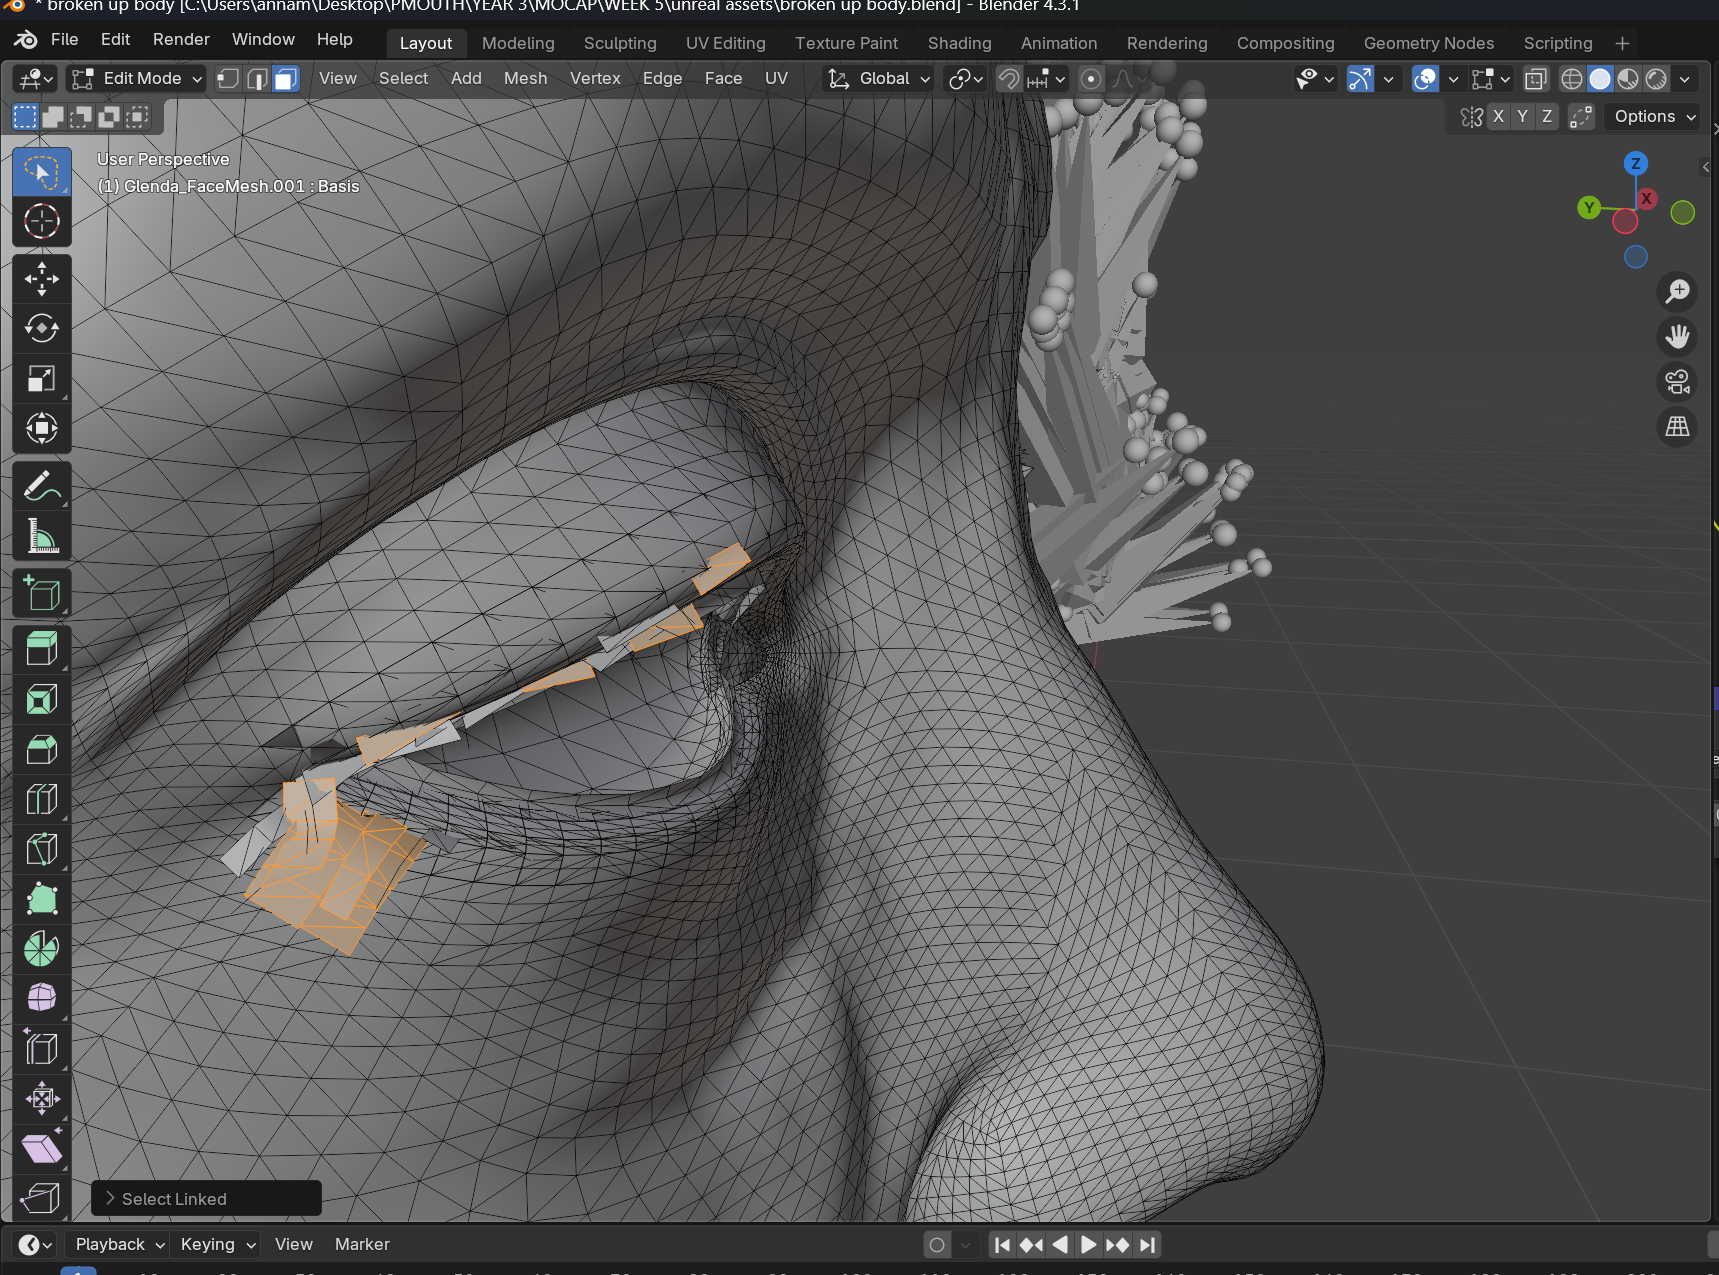
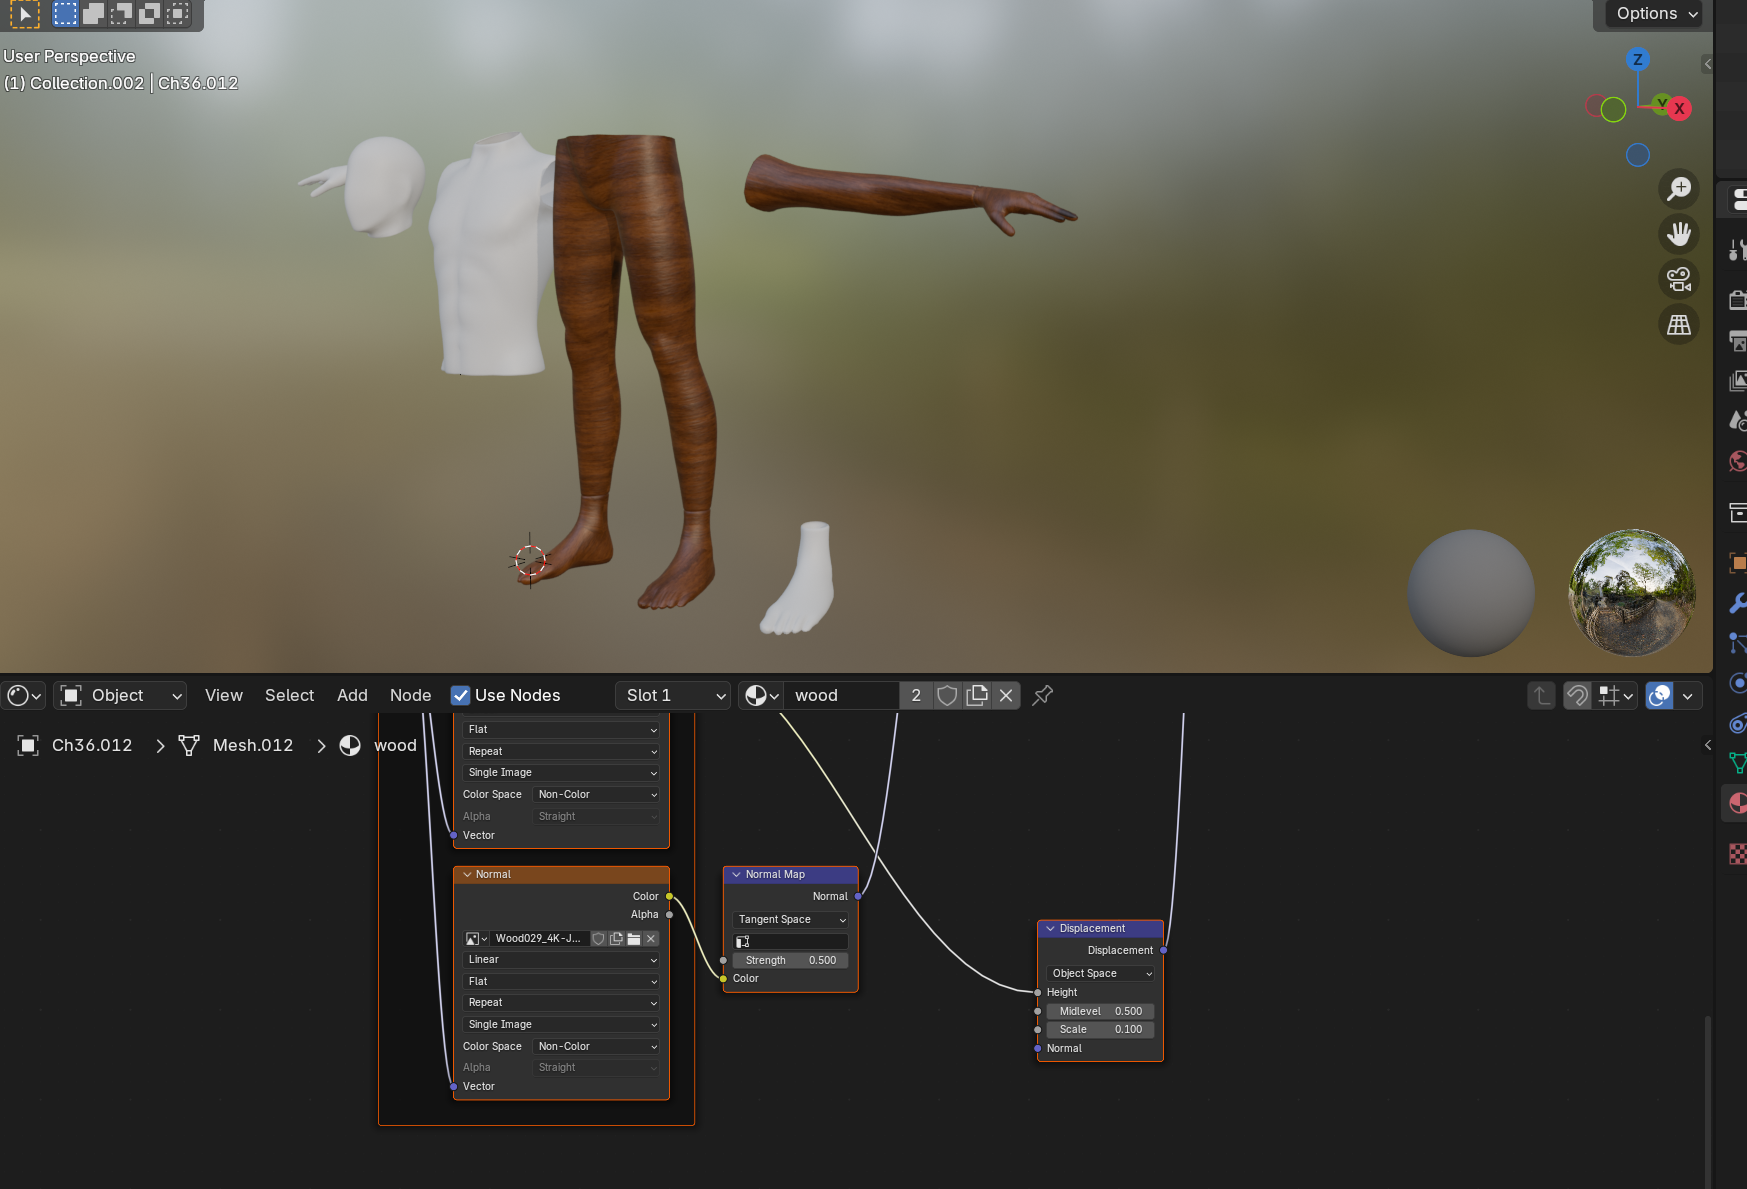
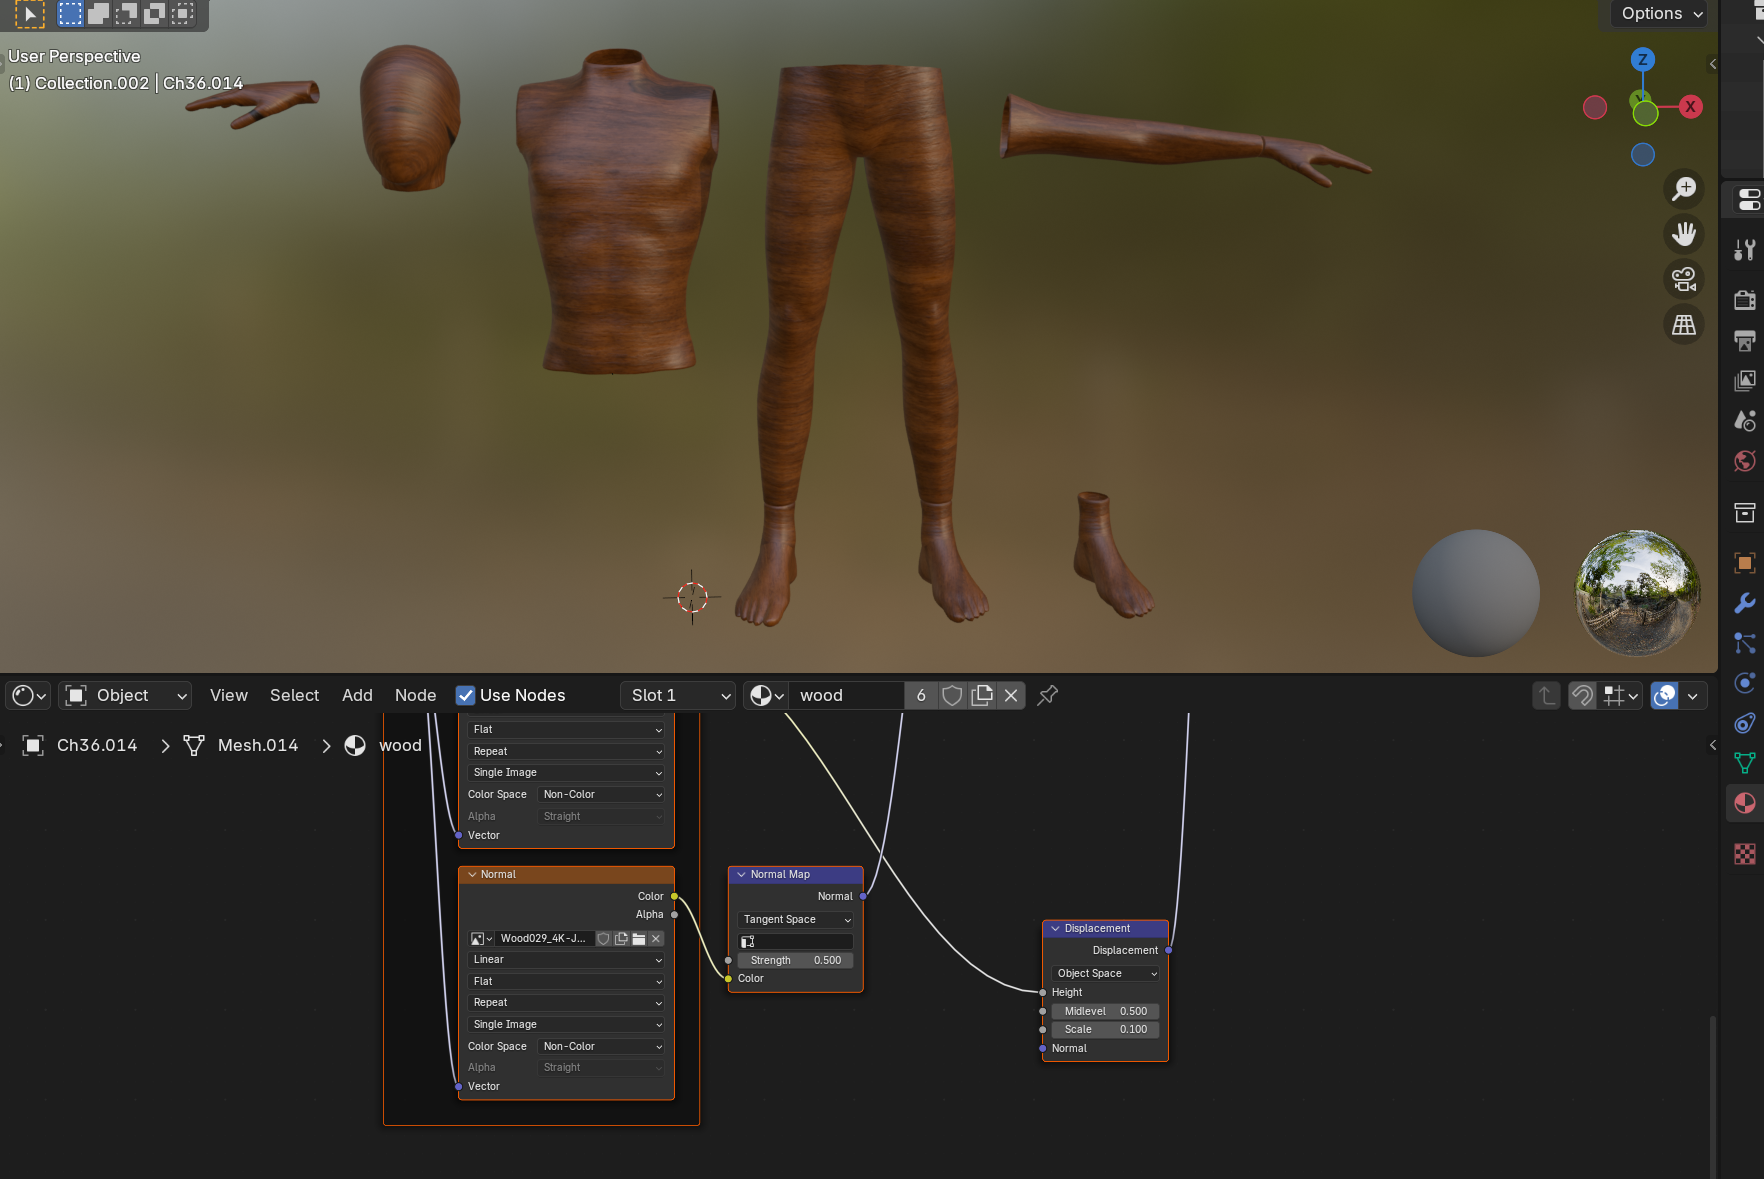
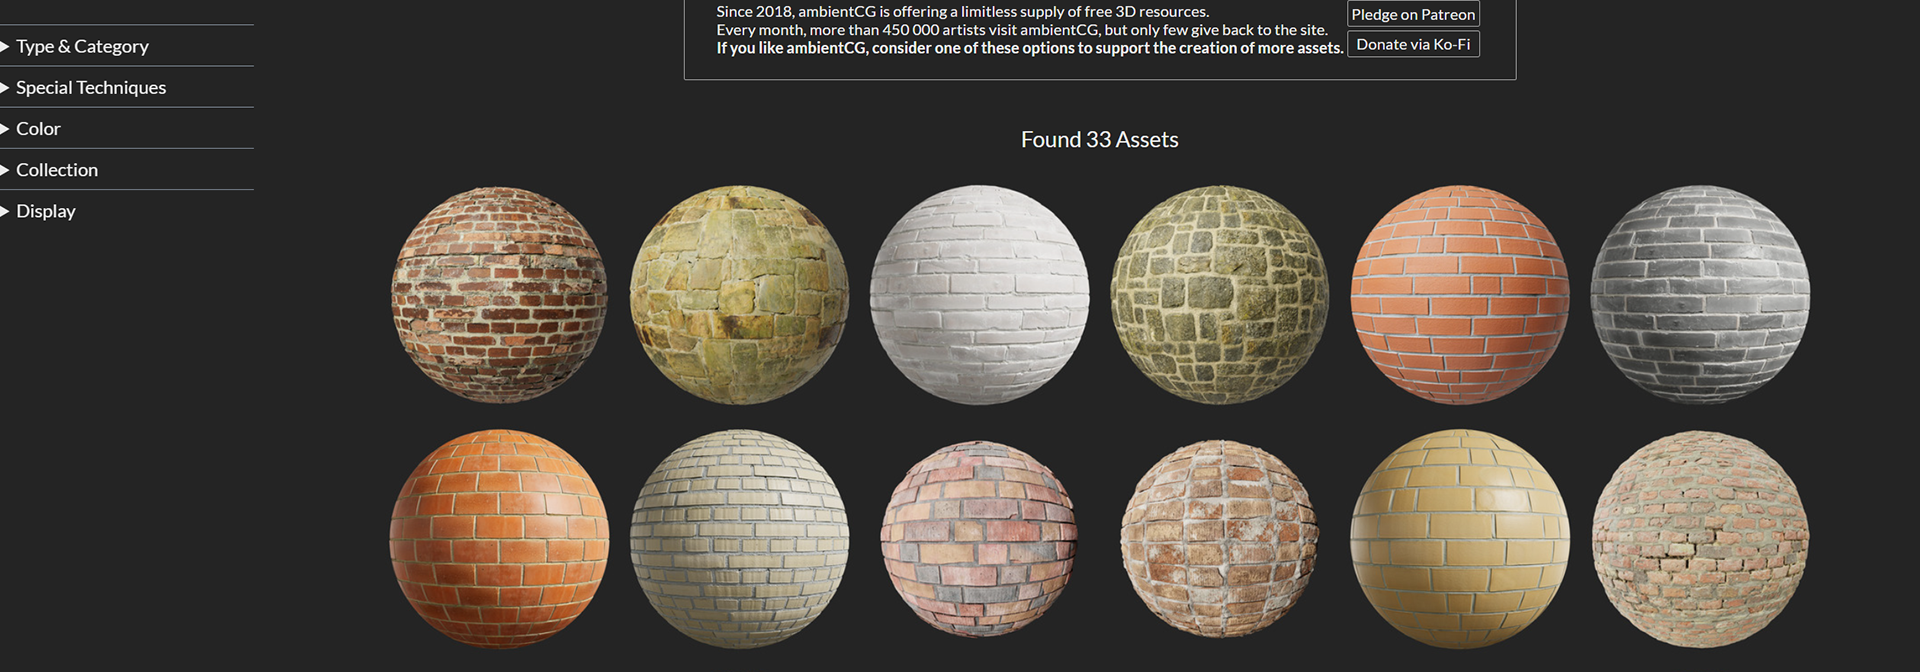
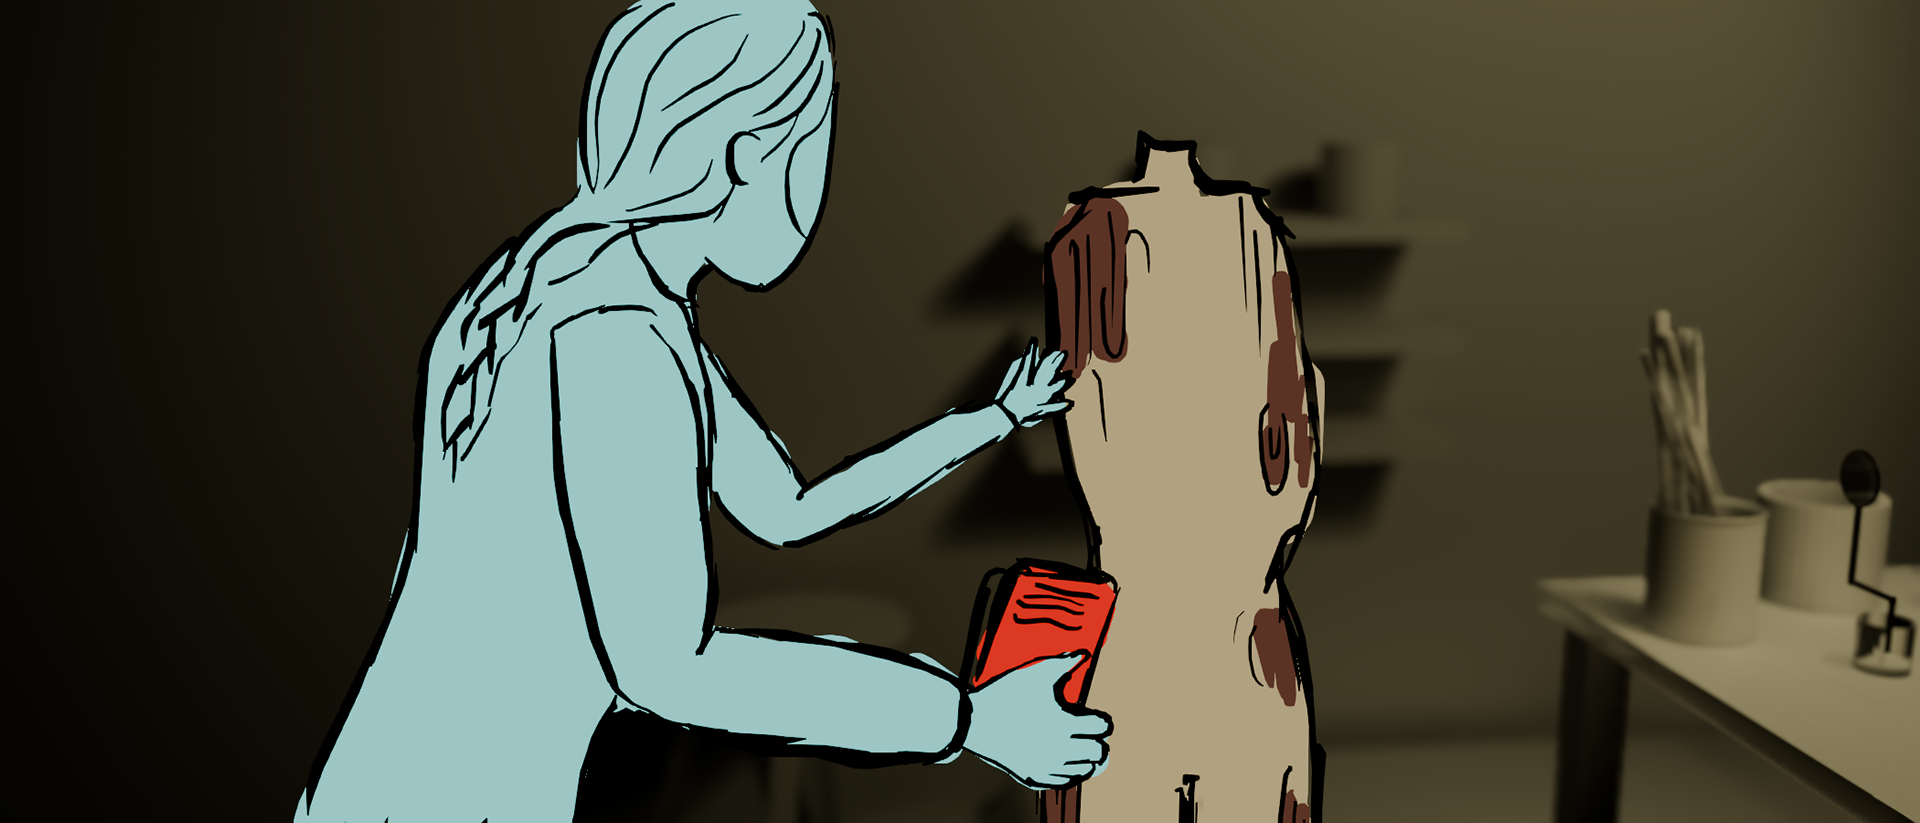
I took a free mannequin rig from Mixamo and cut the body into parts. I then replaced the textures with a wooden texture from Ambient CG, and re-imported the parts into my environment in Unreal Engine. To improve this, I am thinking of making the body parts more feminine by using a female model and rig.
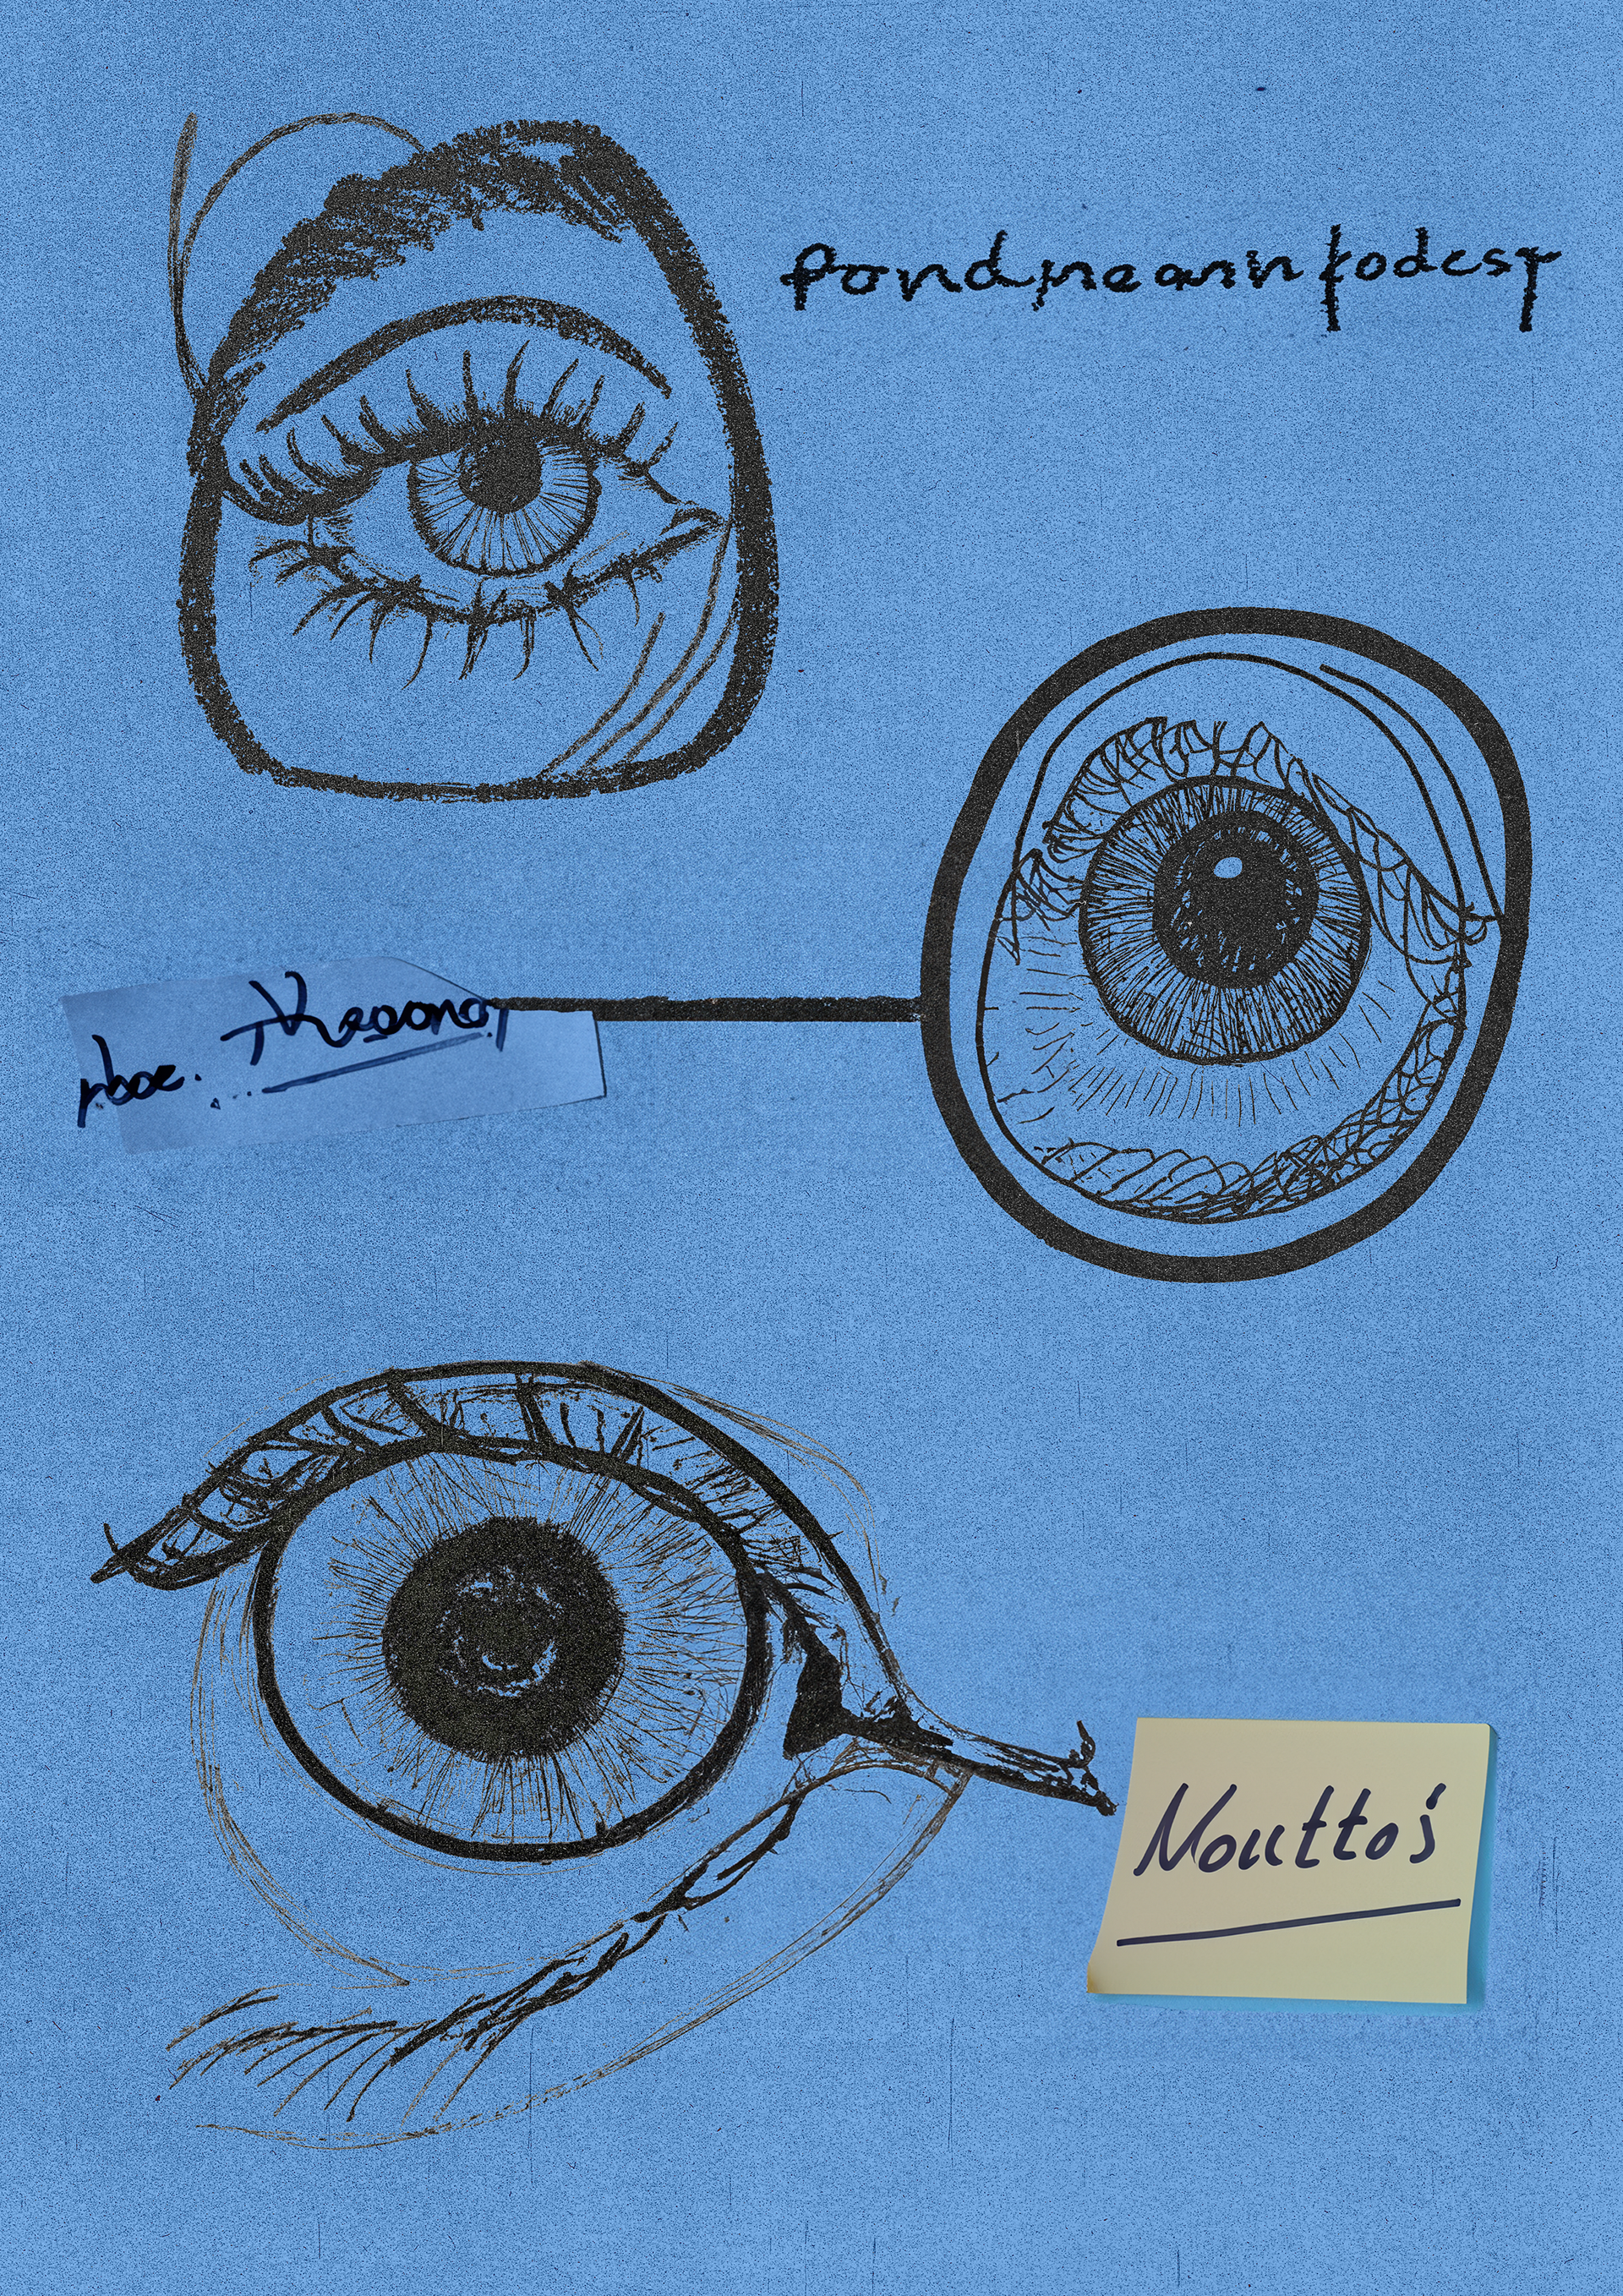
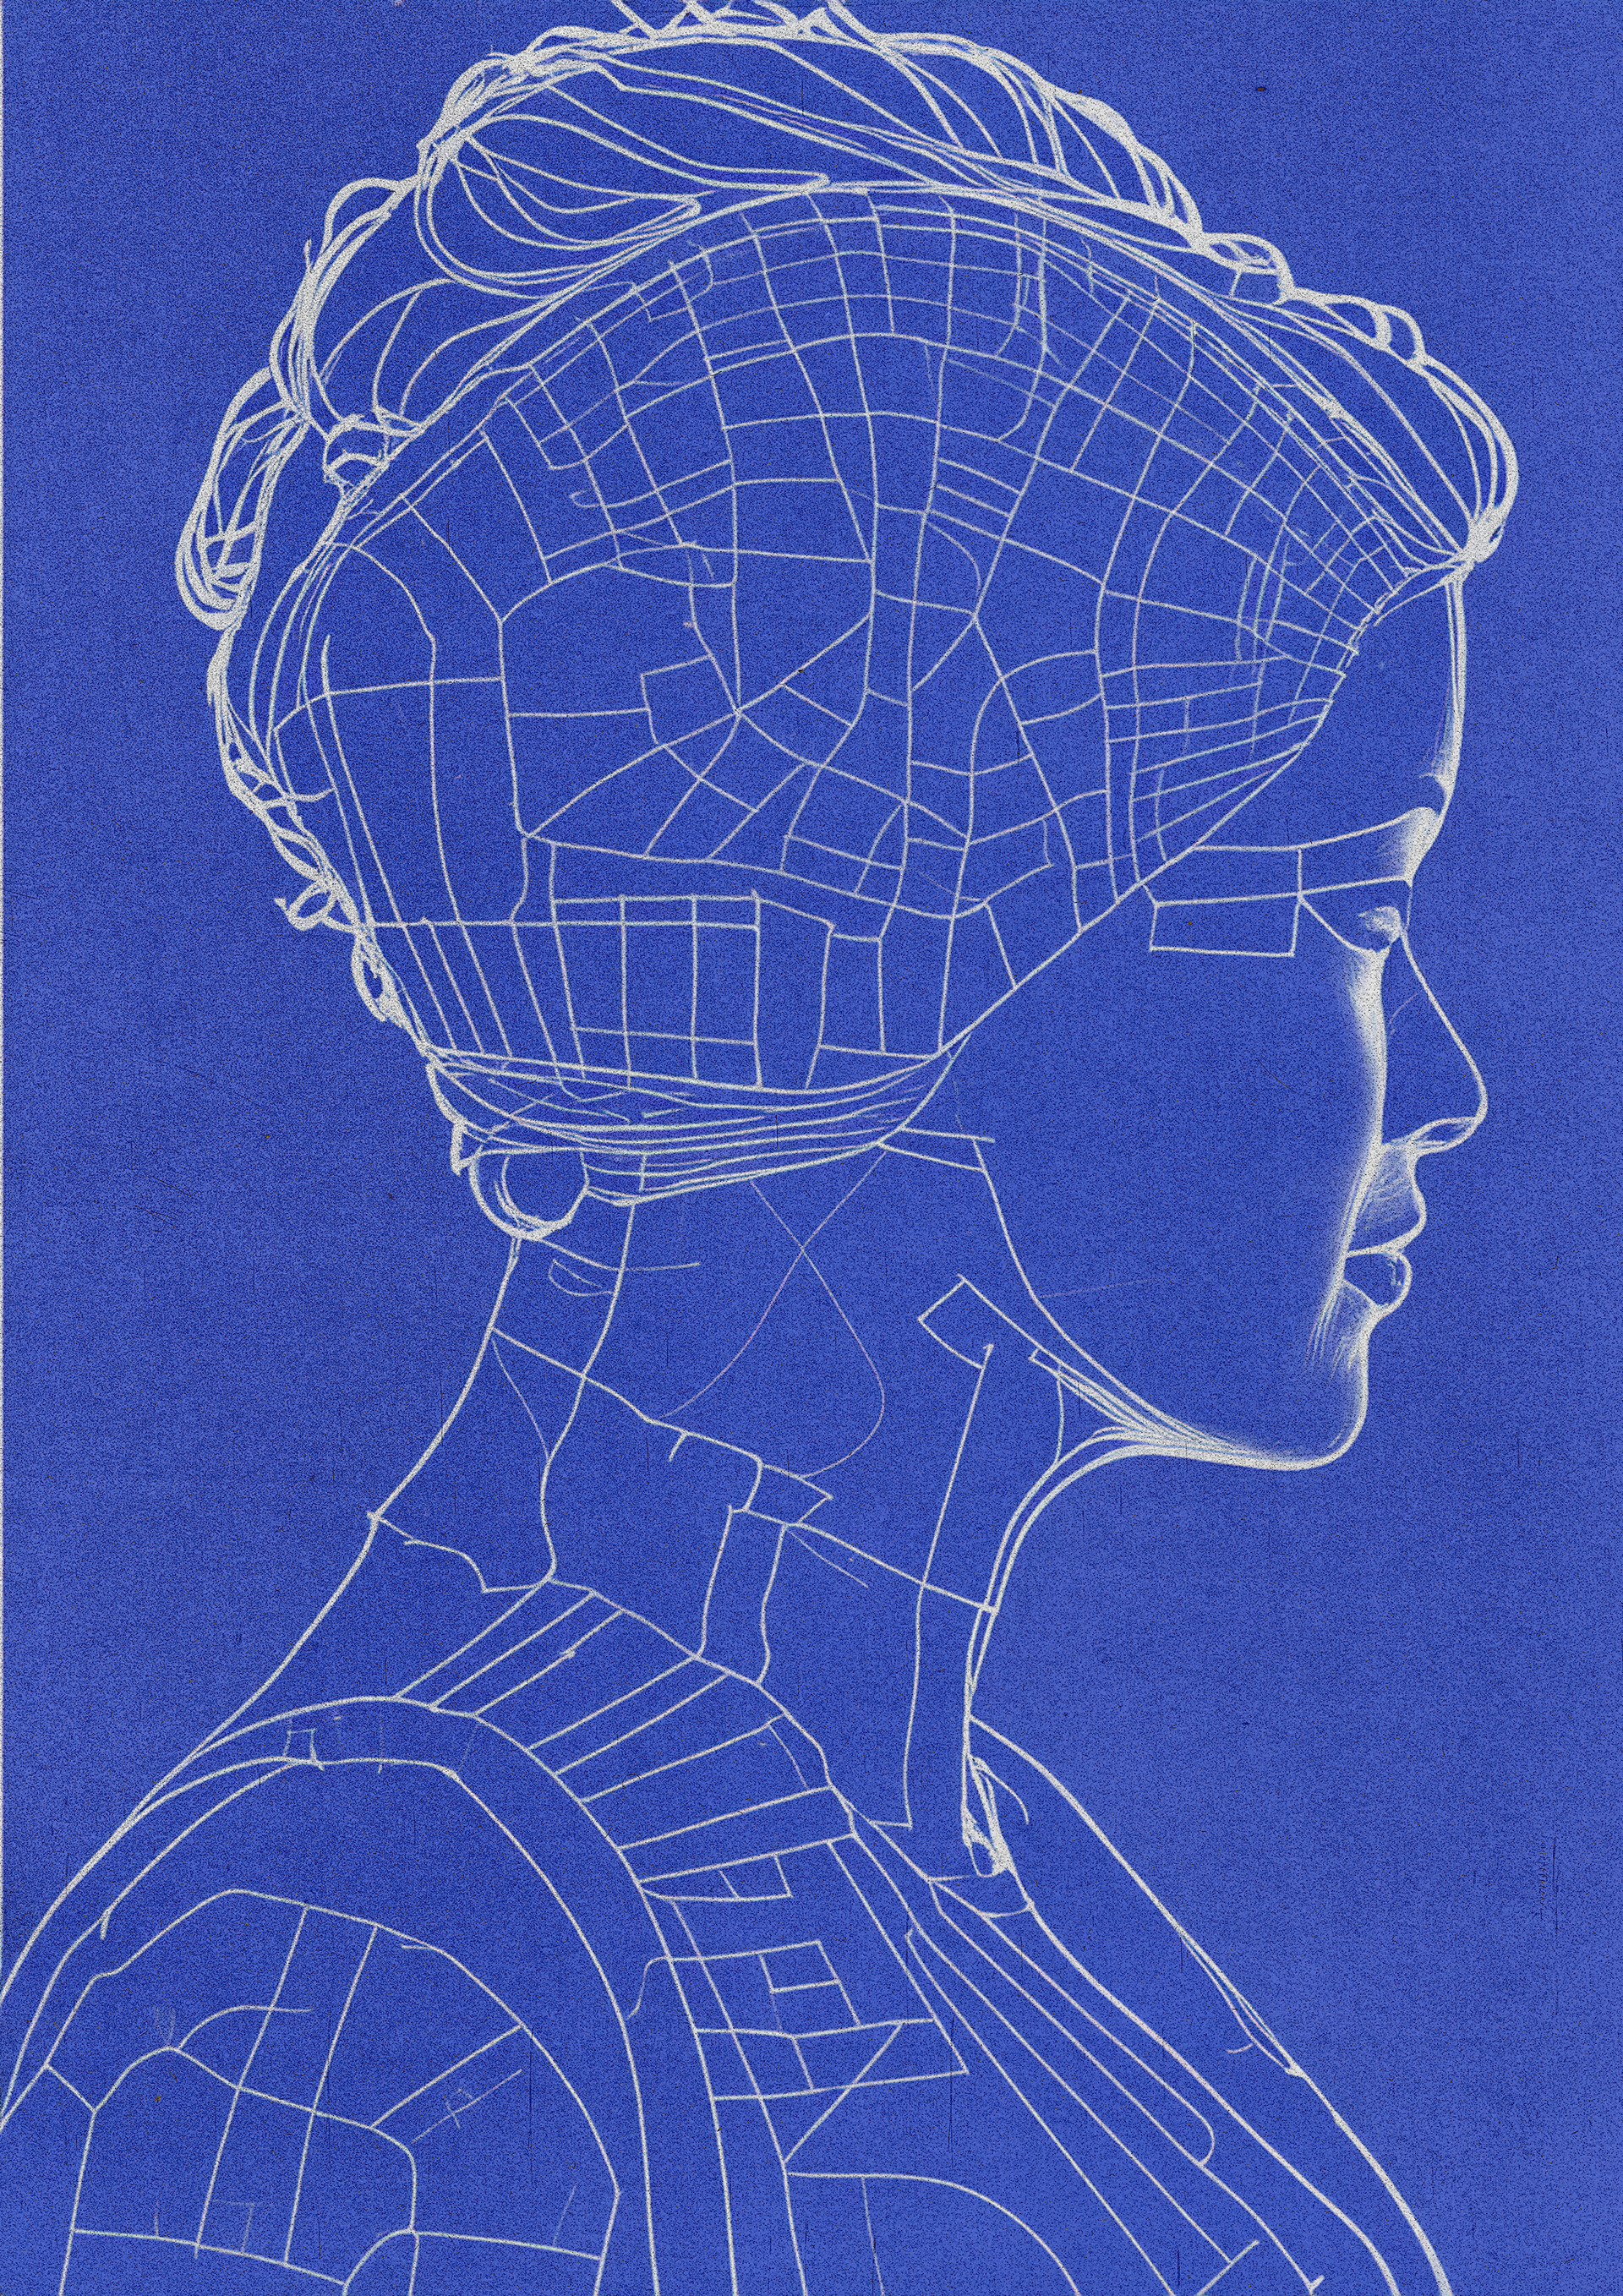
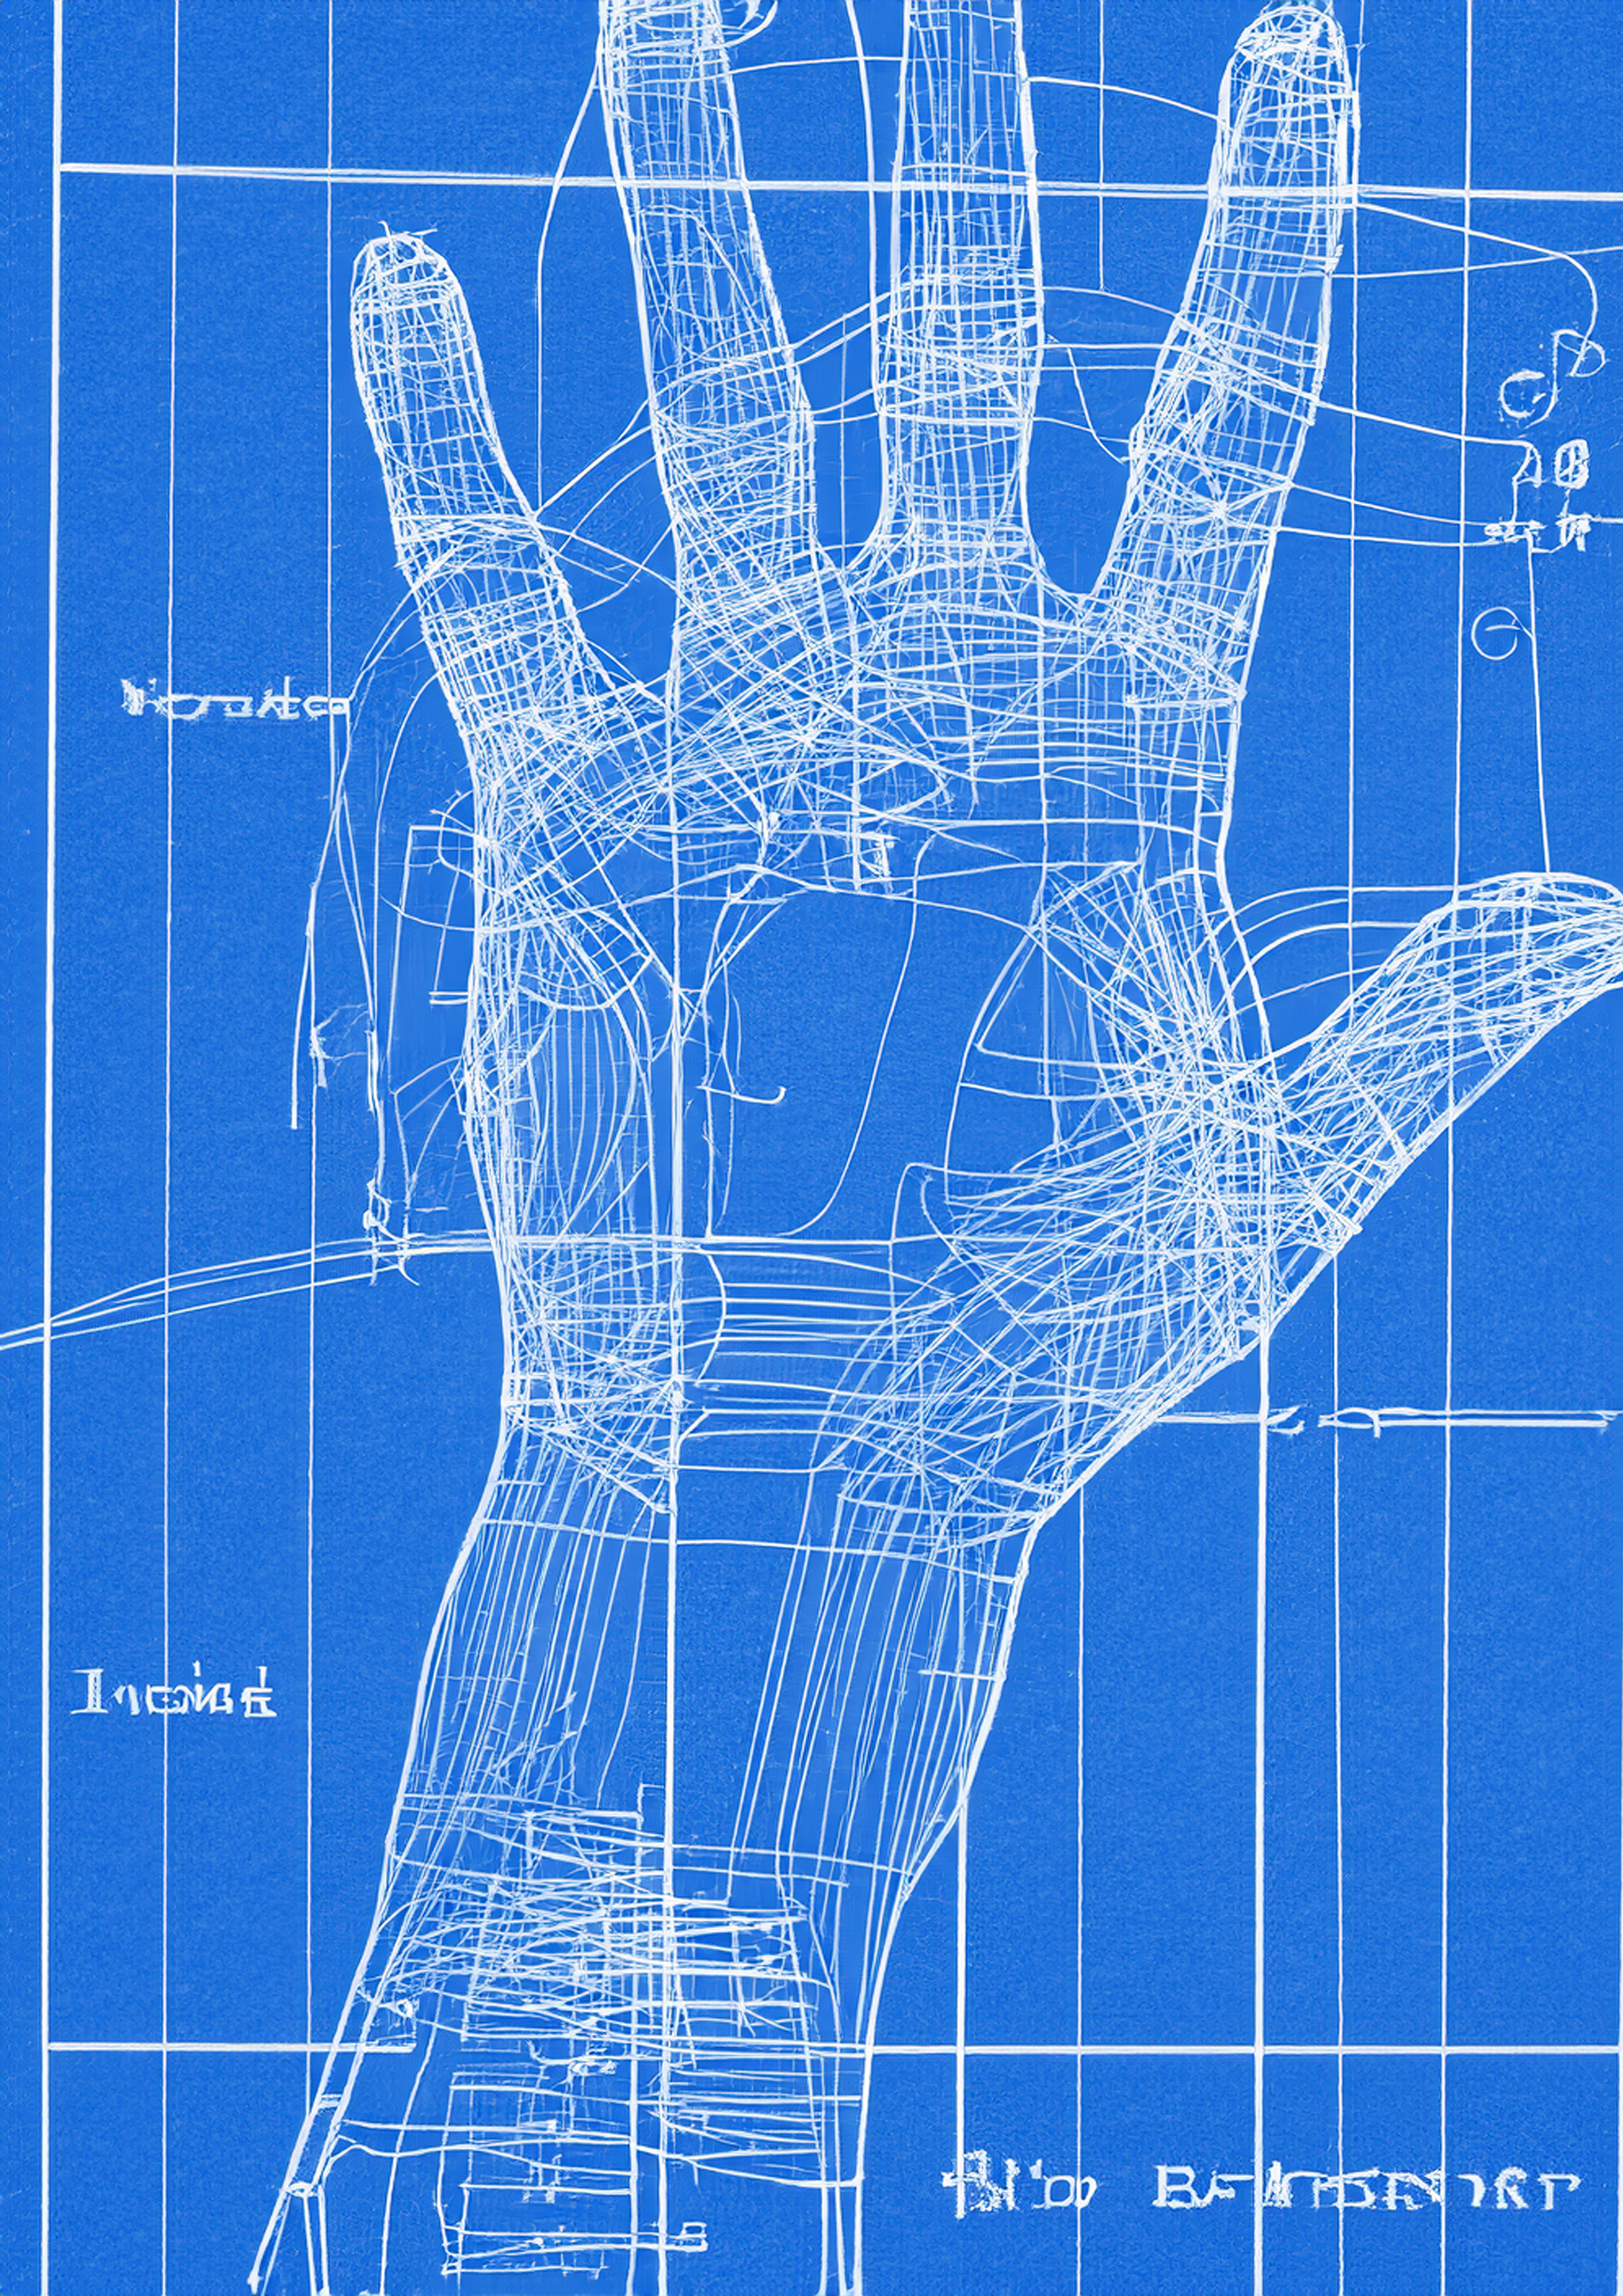
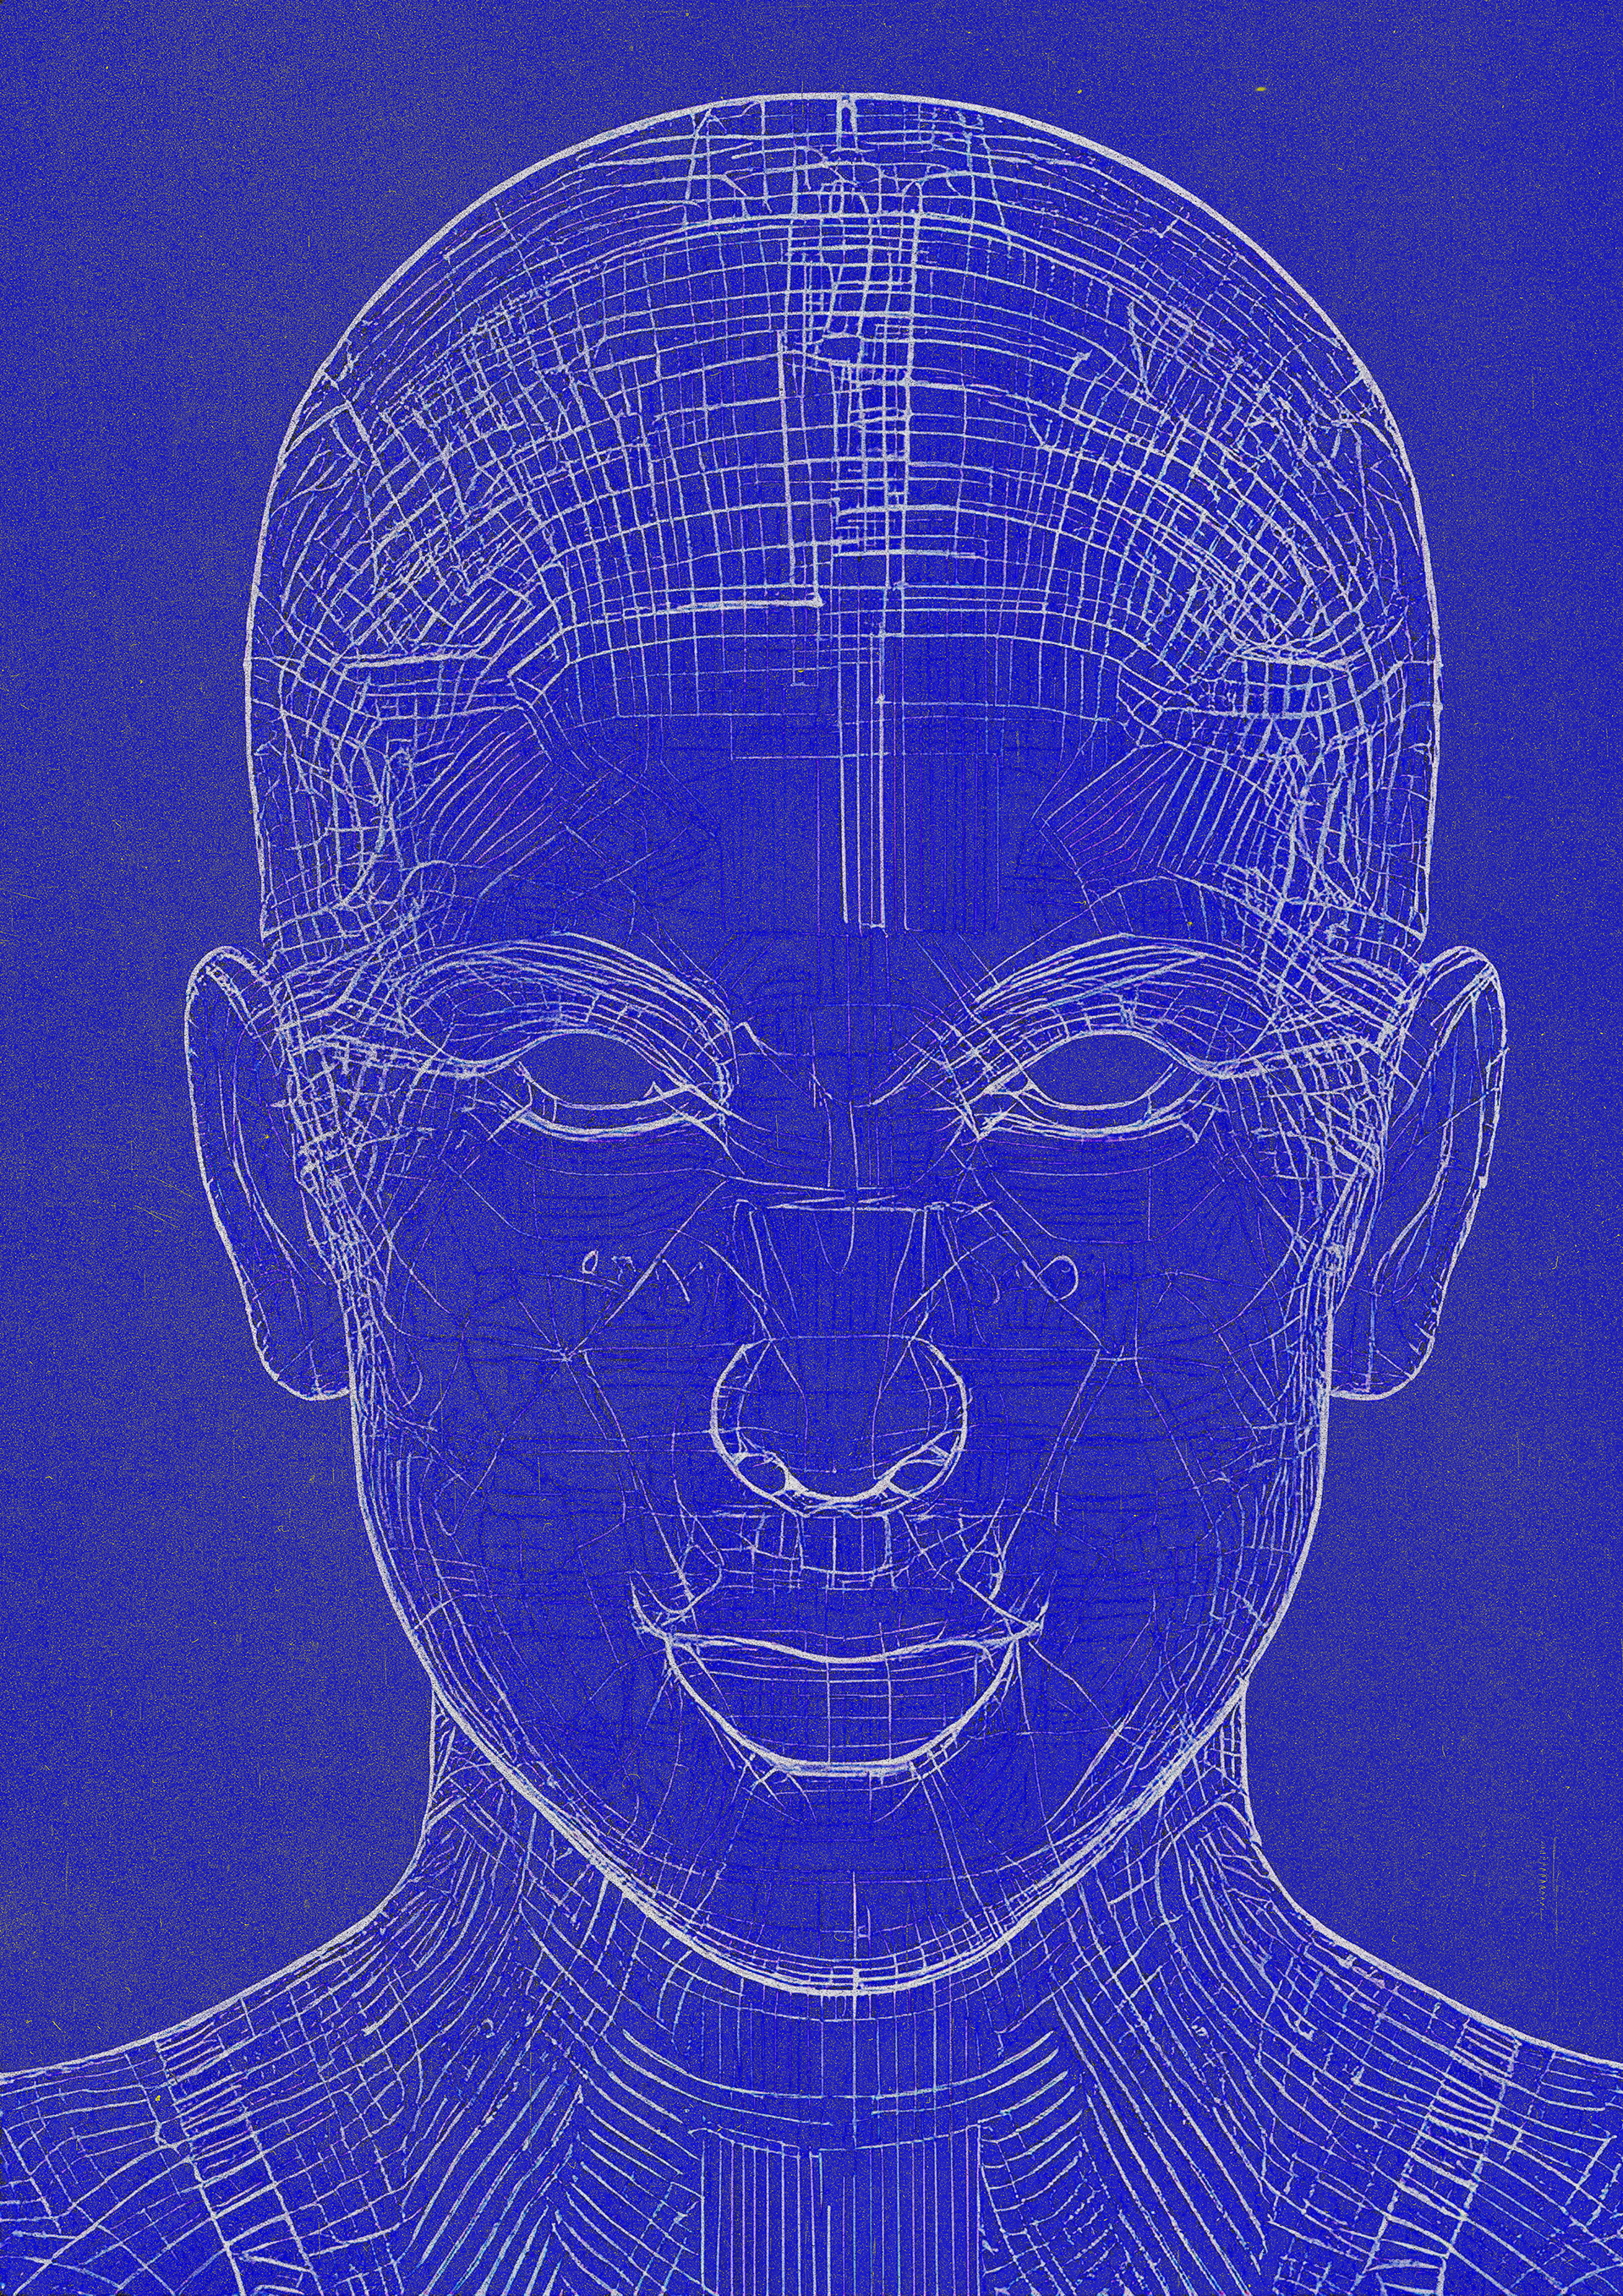
I used Photoshop Beta to 'prompt' some blueprint designs to go on the walls of the Inventor's workshop. These are far from perfect or accurate, but add some interest to the walls and help to tell the story subtly. I am considering drawing my own sketches of anatomy if I have time, or applying 'pencil' filters to photographs of anatomy.
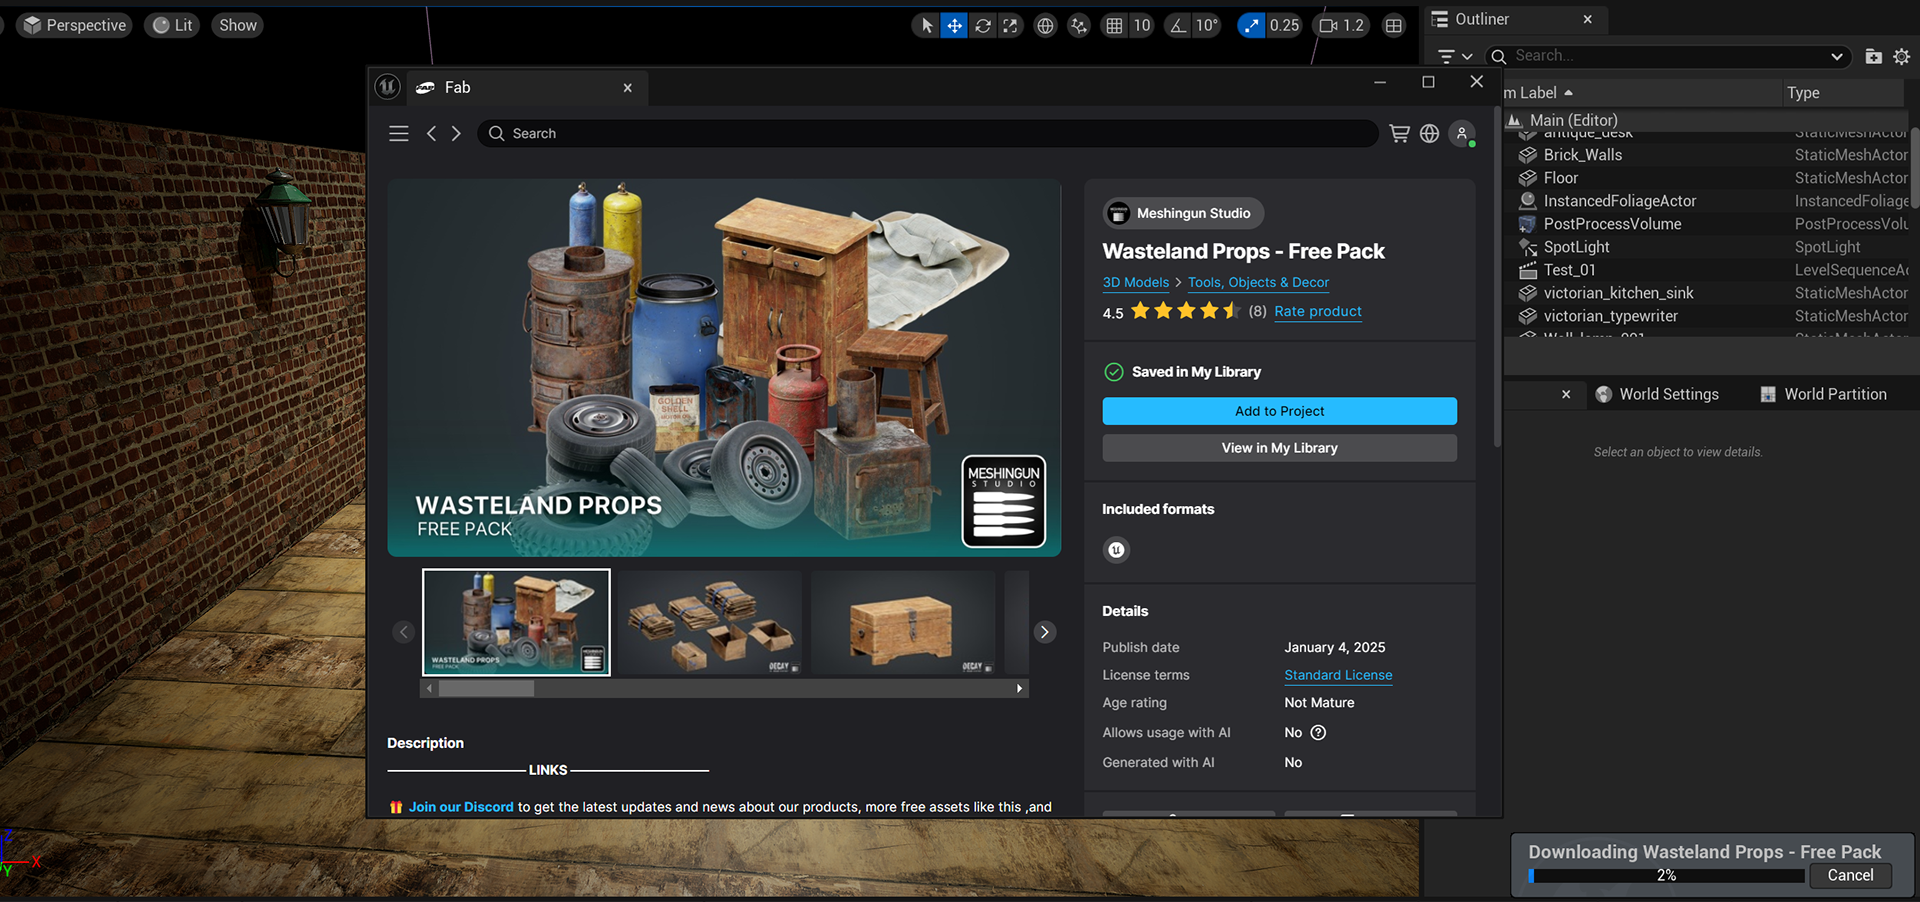
For the main environment, the first thing I did was to find free assets on Fab that could work for this project - although I couldn't find a pre-made workshop, I found a selection of free assets that worked well together. I found a free 'wasteland' asset pack, full of rusted crates, rags and oil cans. I also found a Victorian bookcase and lamps on the walls.
For the walls and floor, I used Blender to get the correct proportions and to apply the brick and wooden textures. These textures were sourced from Ambient CG.
I have spent this time re-drawing the pre-vis by using blender grease pencil, as it is a fast way to get my story to come to life. I spent these couple of weeks developing my ideas further - after receiving more lecturer feedback, I needed to make my movements in the animatic more complex, so I have added in a hug.

WEEK 3
10/02/25
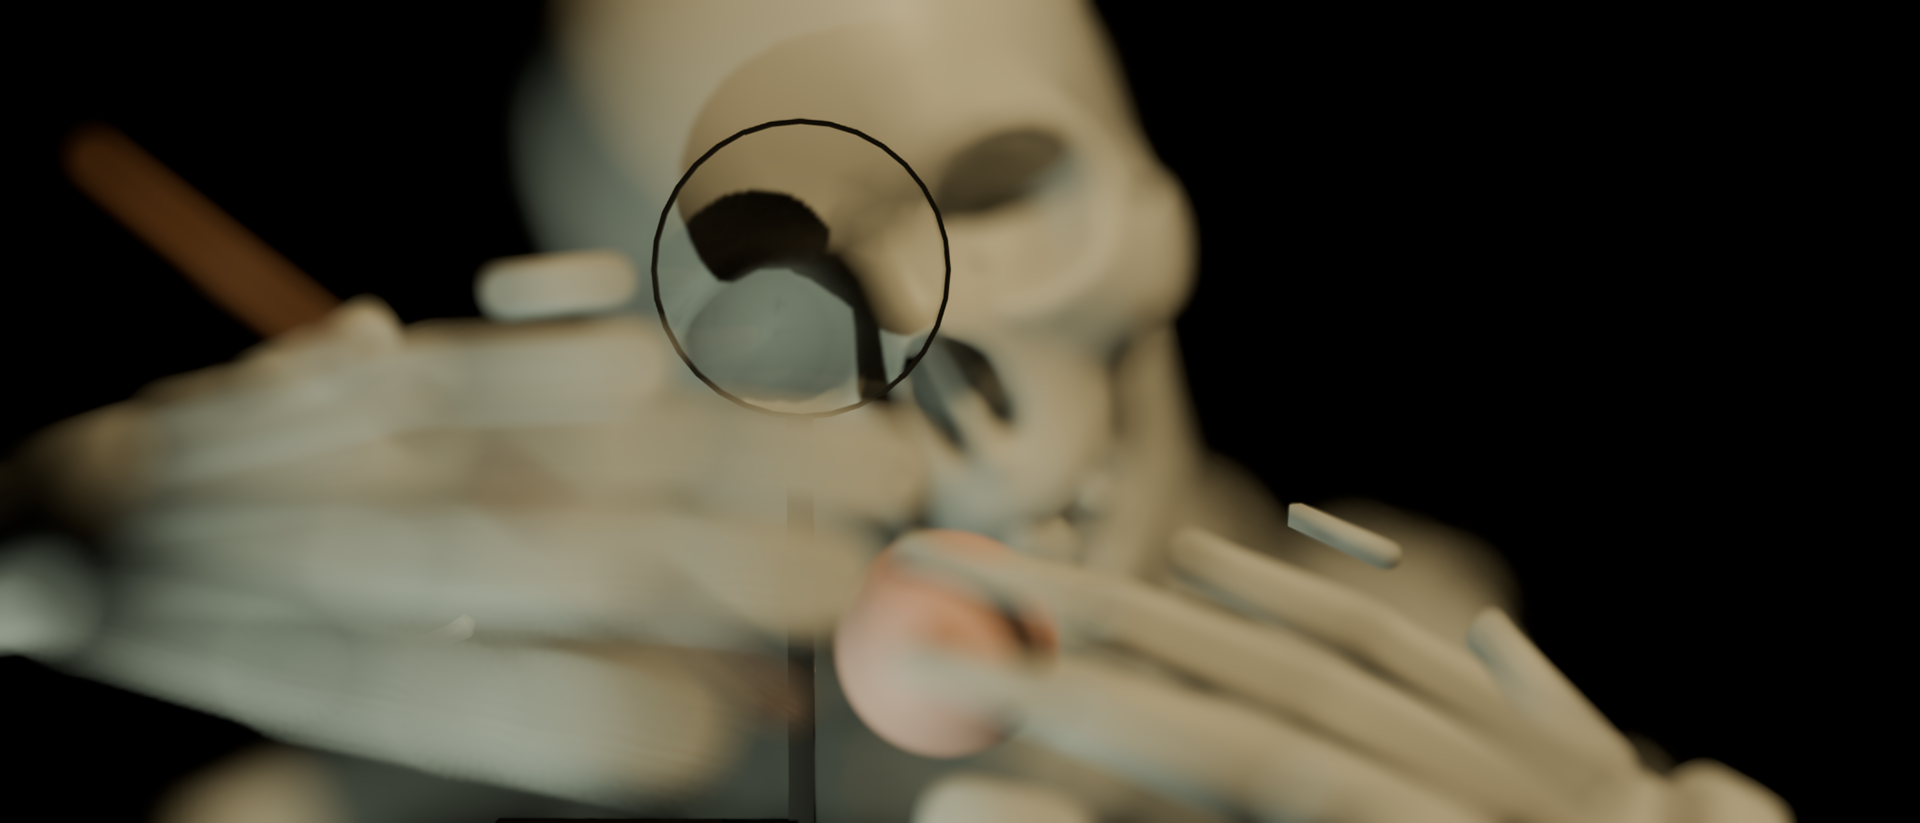
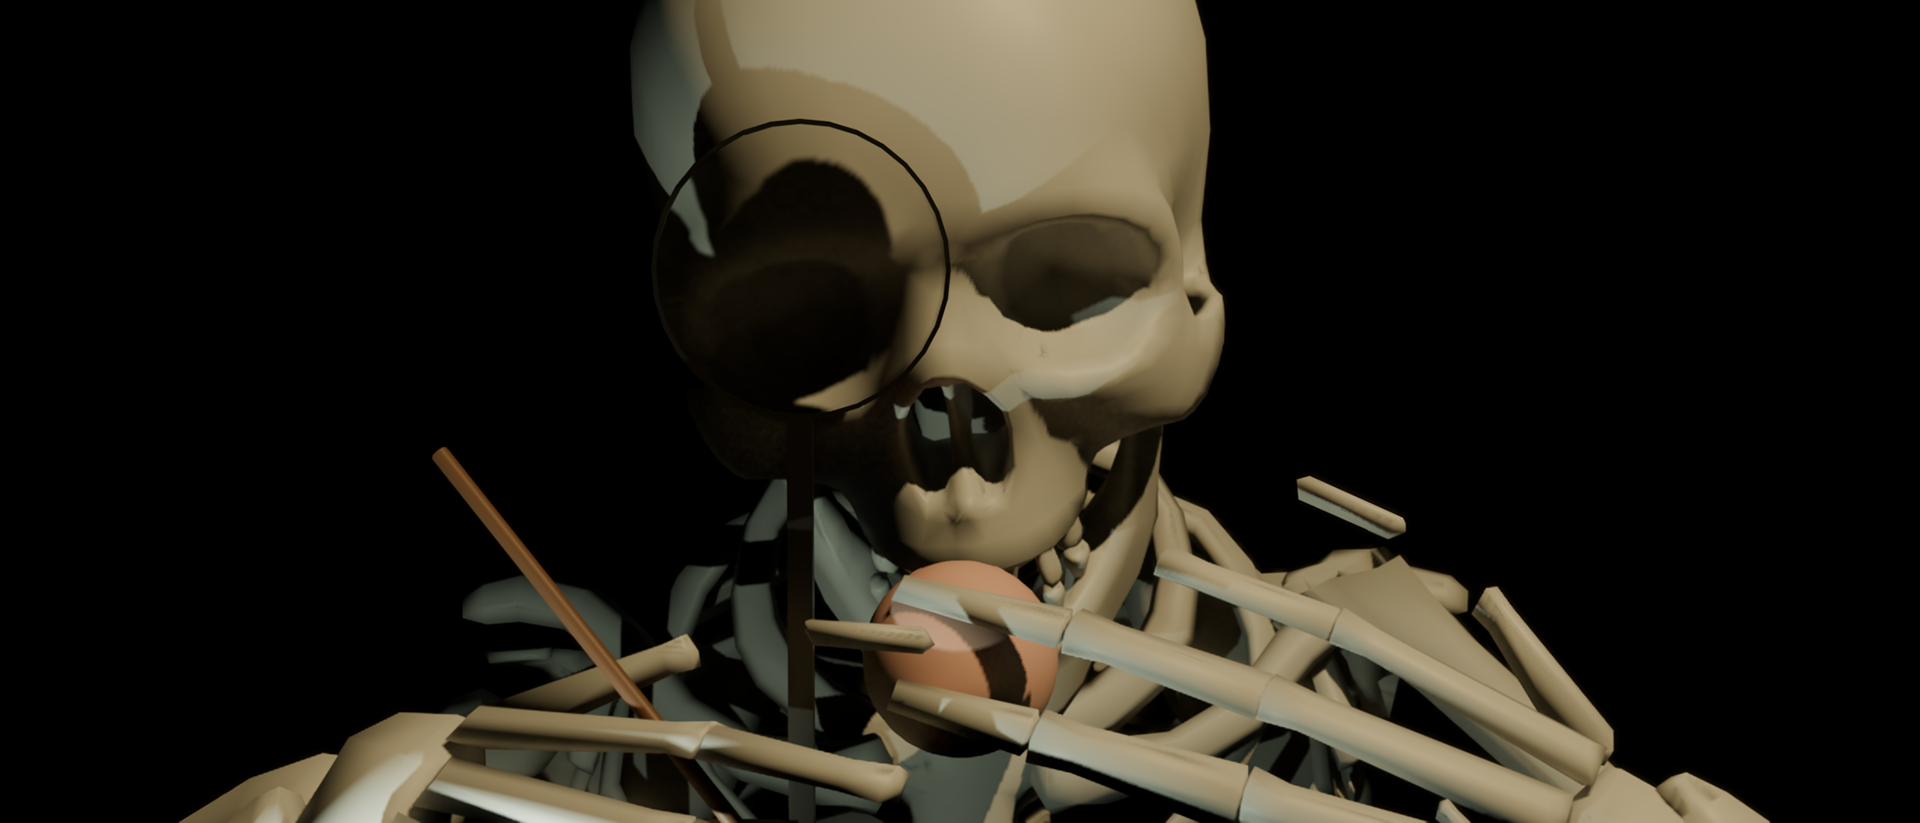
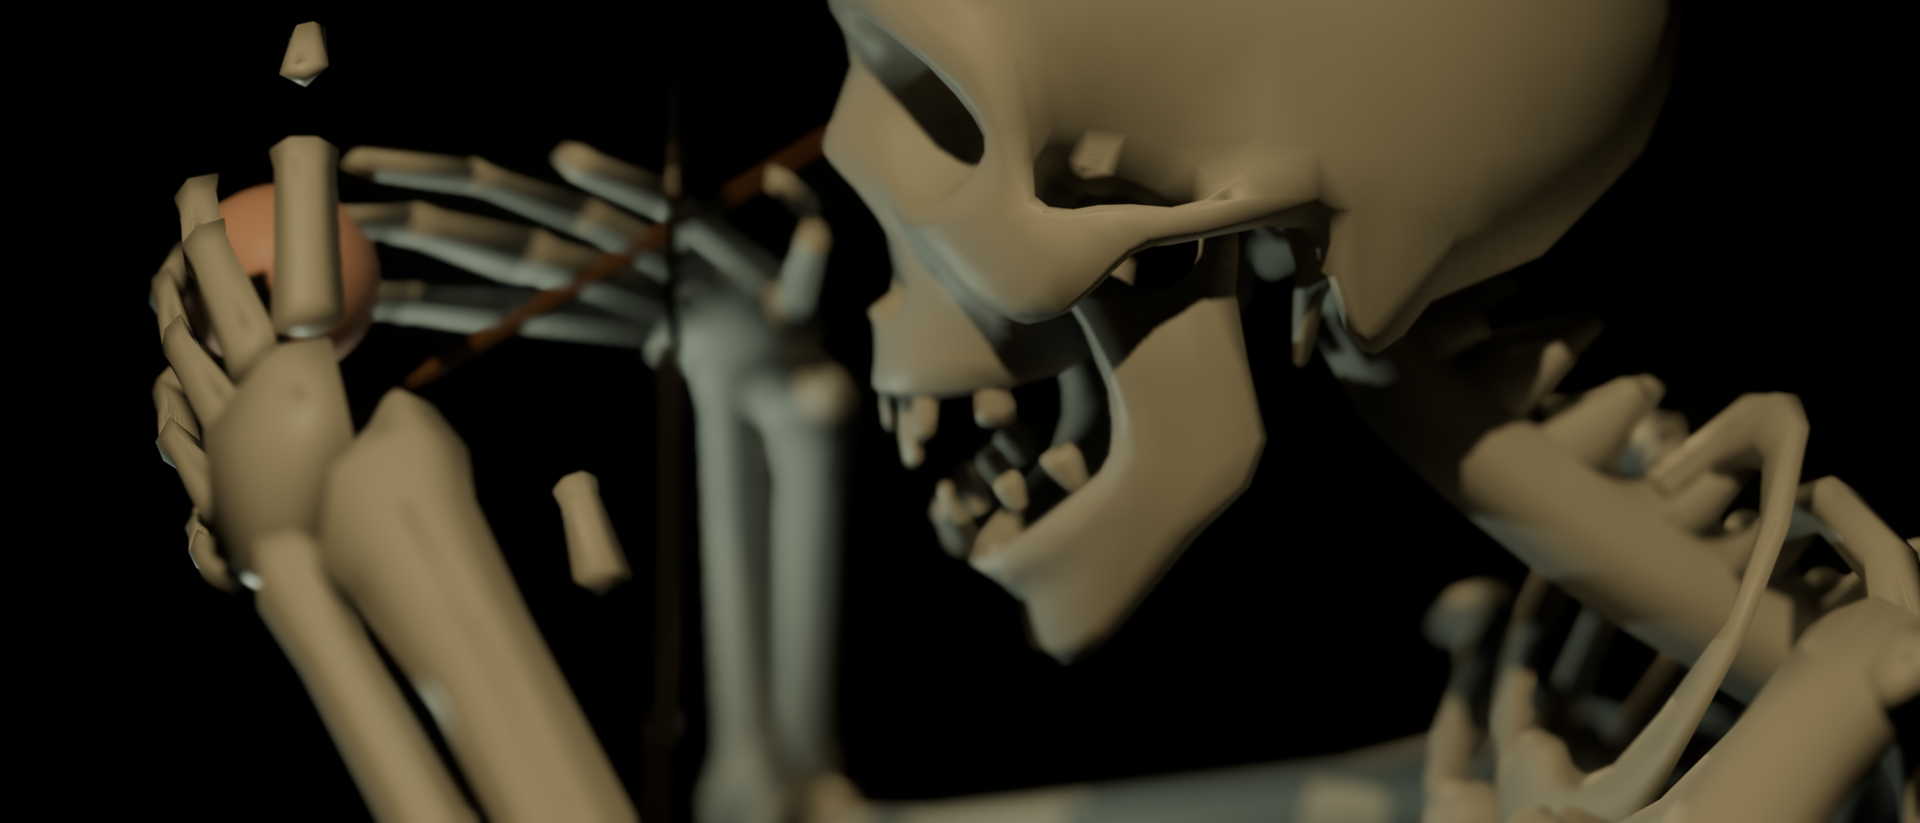
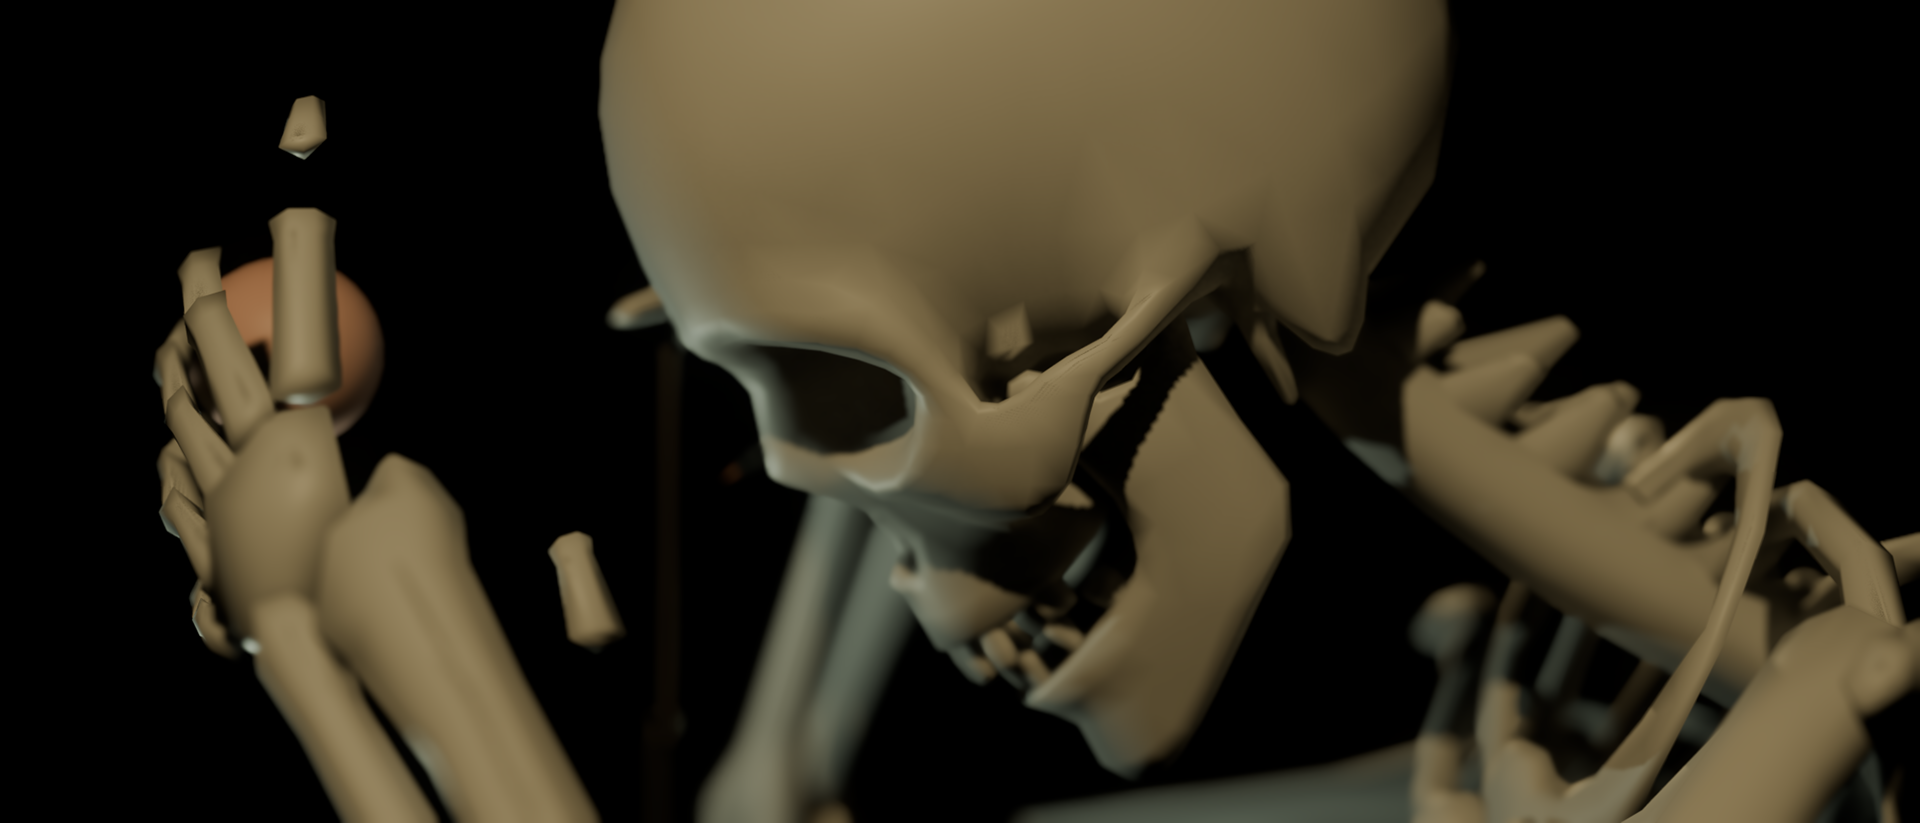
I spent this day experimenting with different pre-vis techniques. The one on the left is using 3D paint over side by side with my original animatic to tell the story better, and the one on the left is using 2D processes and blender grease pencil.
I have settled with using 3D paint over as it means my original pre-vis works well as a base and I can quickly draw over anything that I don't like. Moreover, it would take a long time to re-animate the skeletons using mannequins/more realistic rigs. I am seeing the skeletons as placeholders for the metahumans for now.
WEEK 2
08/02/25
This week I have had to make some changes to the pre-vis. After receiving lecturer feedback, I won't be using skeletons in my scenes anymore as they will not showcase my skills properly, and the rigs might be more complex and difficult to use. I am keeping the cinematography and shots the same, but will be changing the skeletons to metahumans in unreal engine. I am also considering creating a metahuman of myself to use in the film as well.
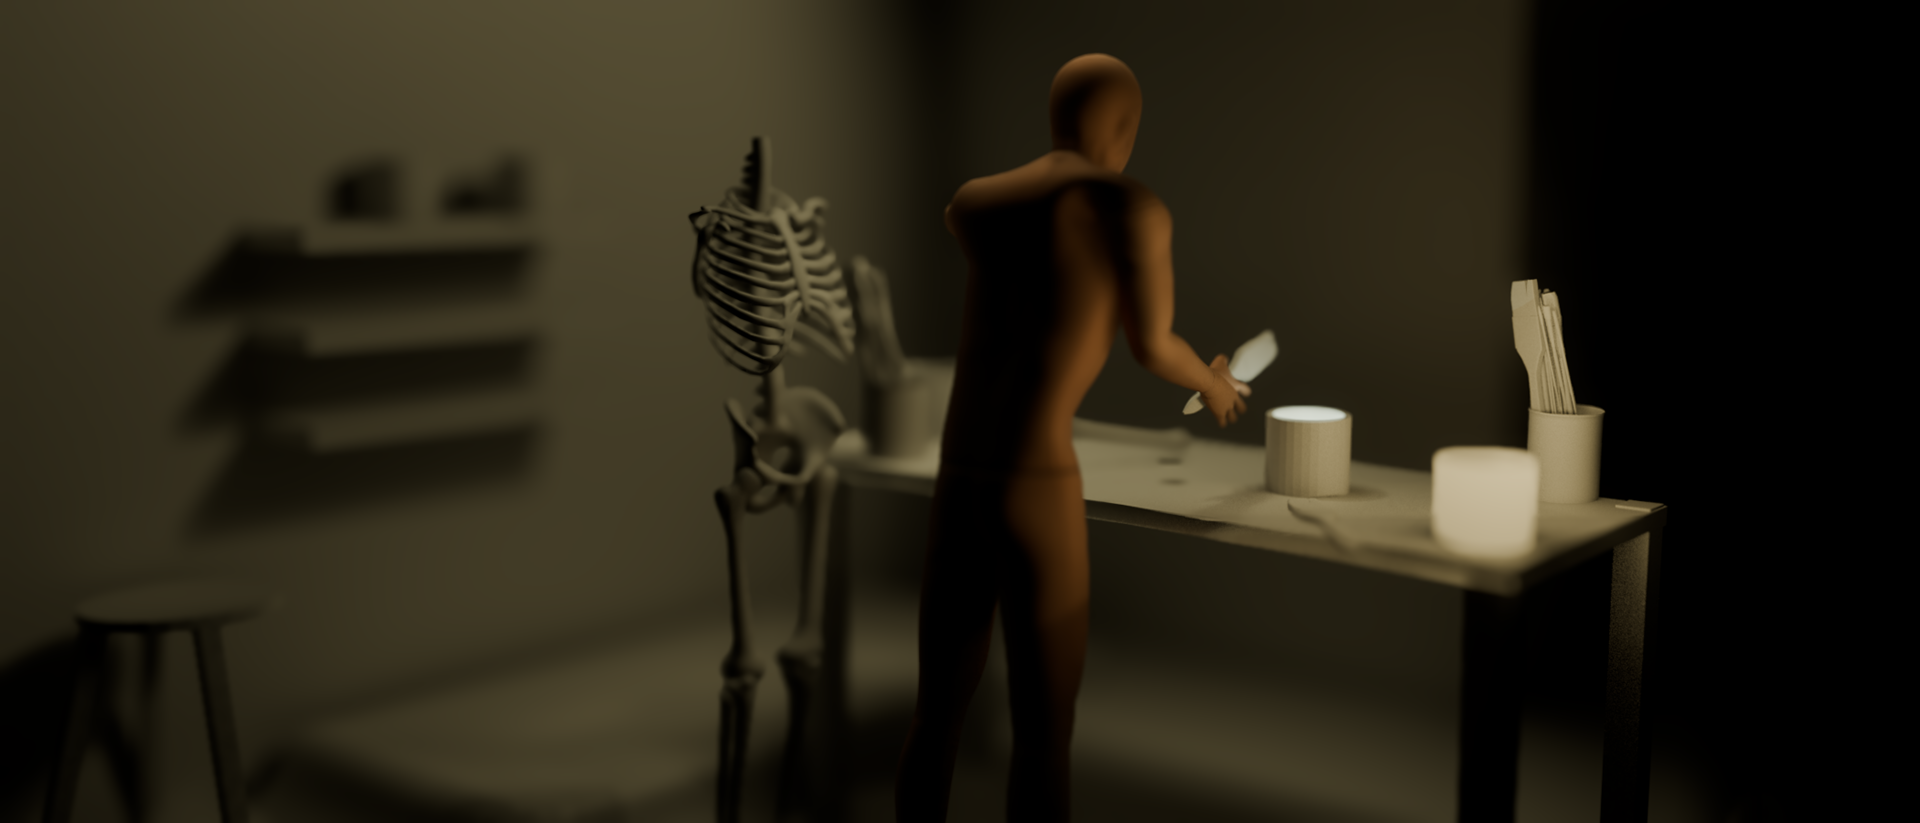

WEEK 1
06/02/25
I have spent this week completing the first pre-vis for 'The Inventor'. This was all hand key animated in Blender to get the timing and movements, and then edited with sound from 'Envato Elements' in Adobe After Effects.
02/02/25 First animation block out:
02/02/25
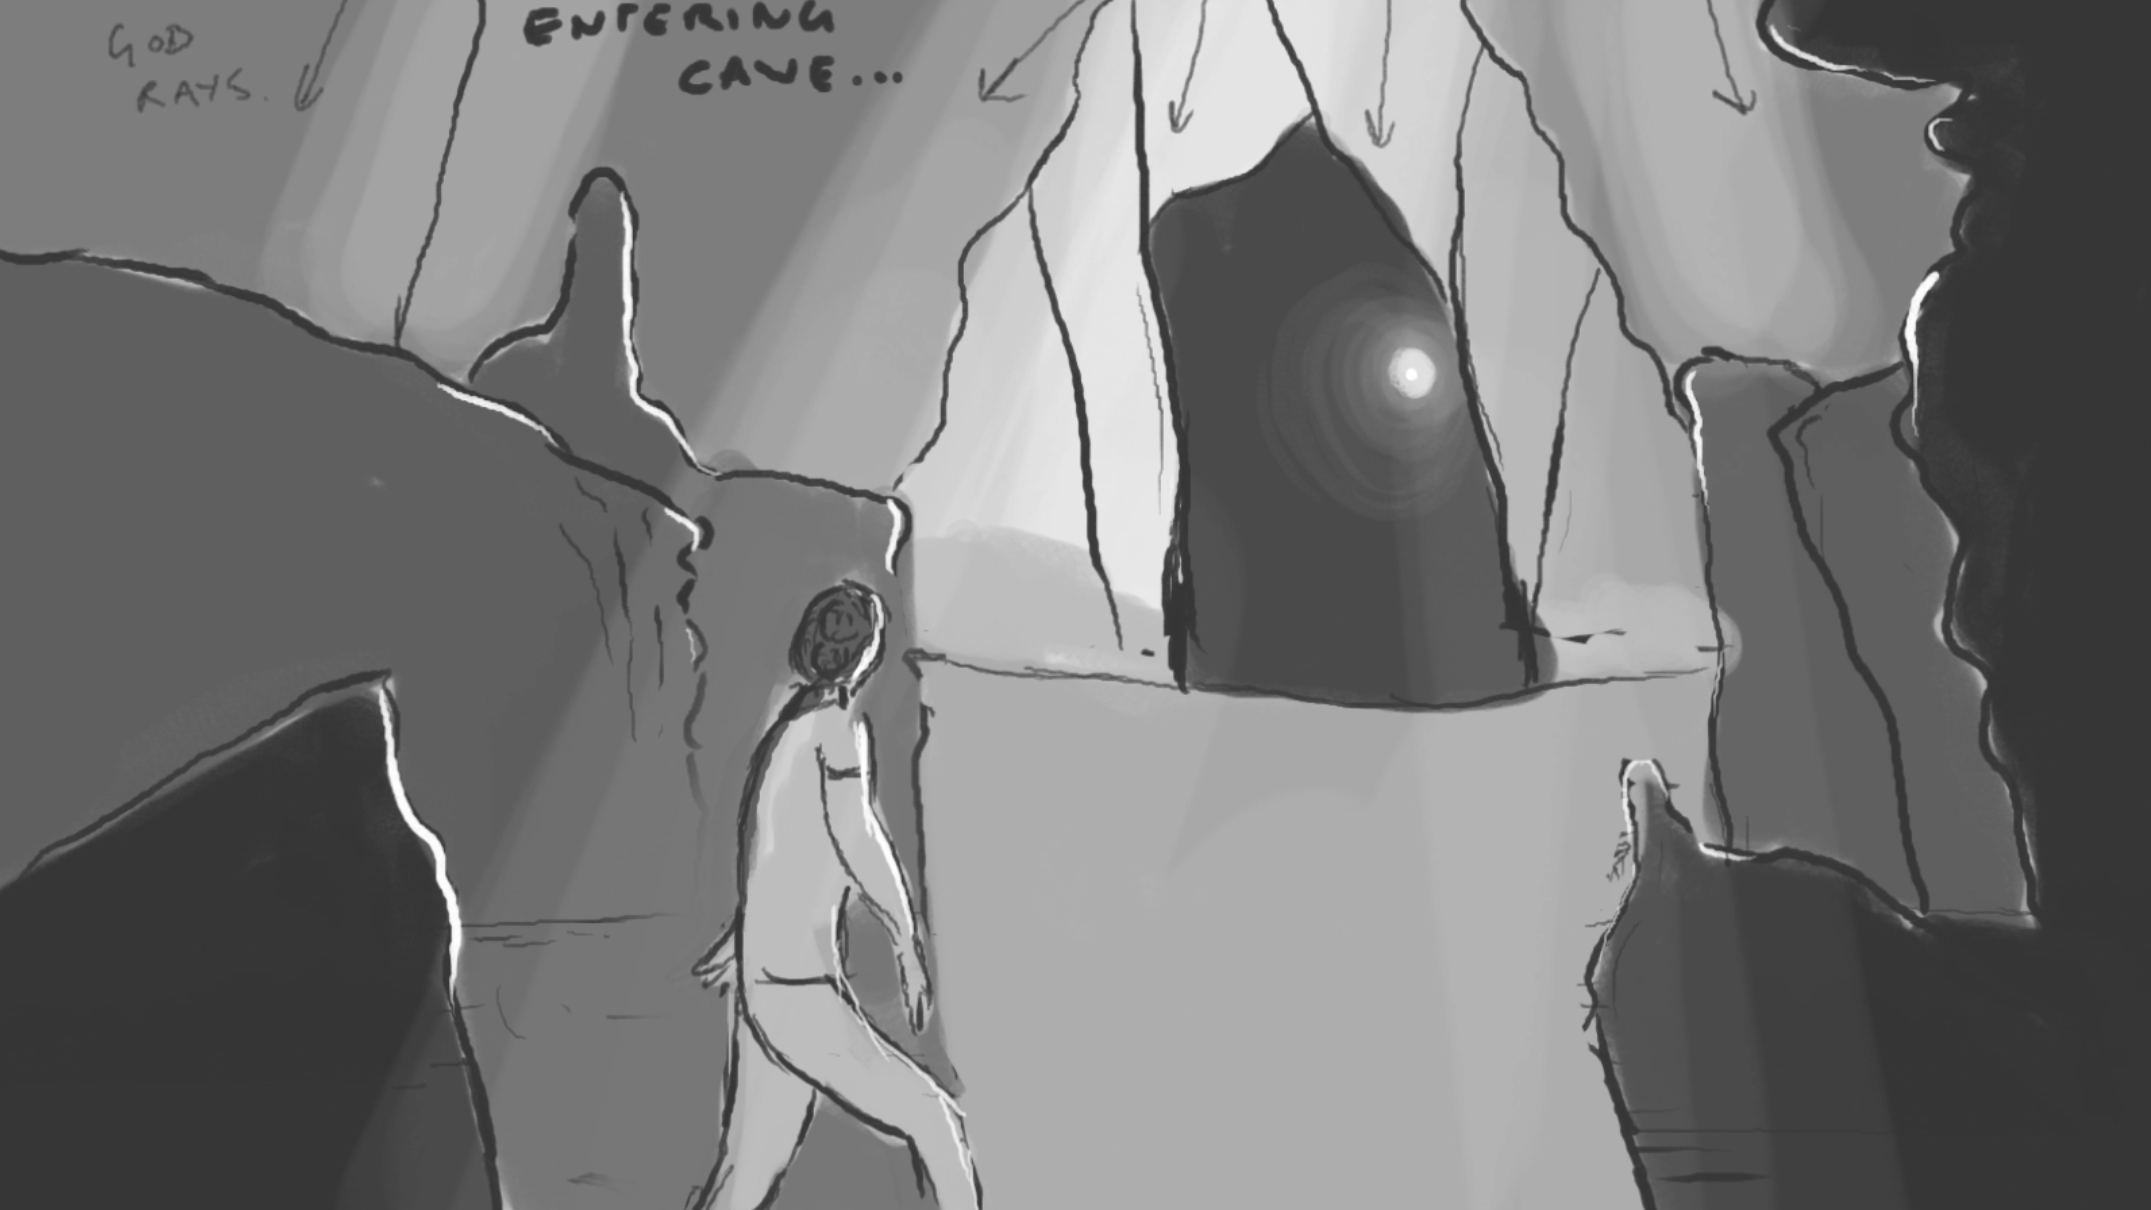
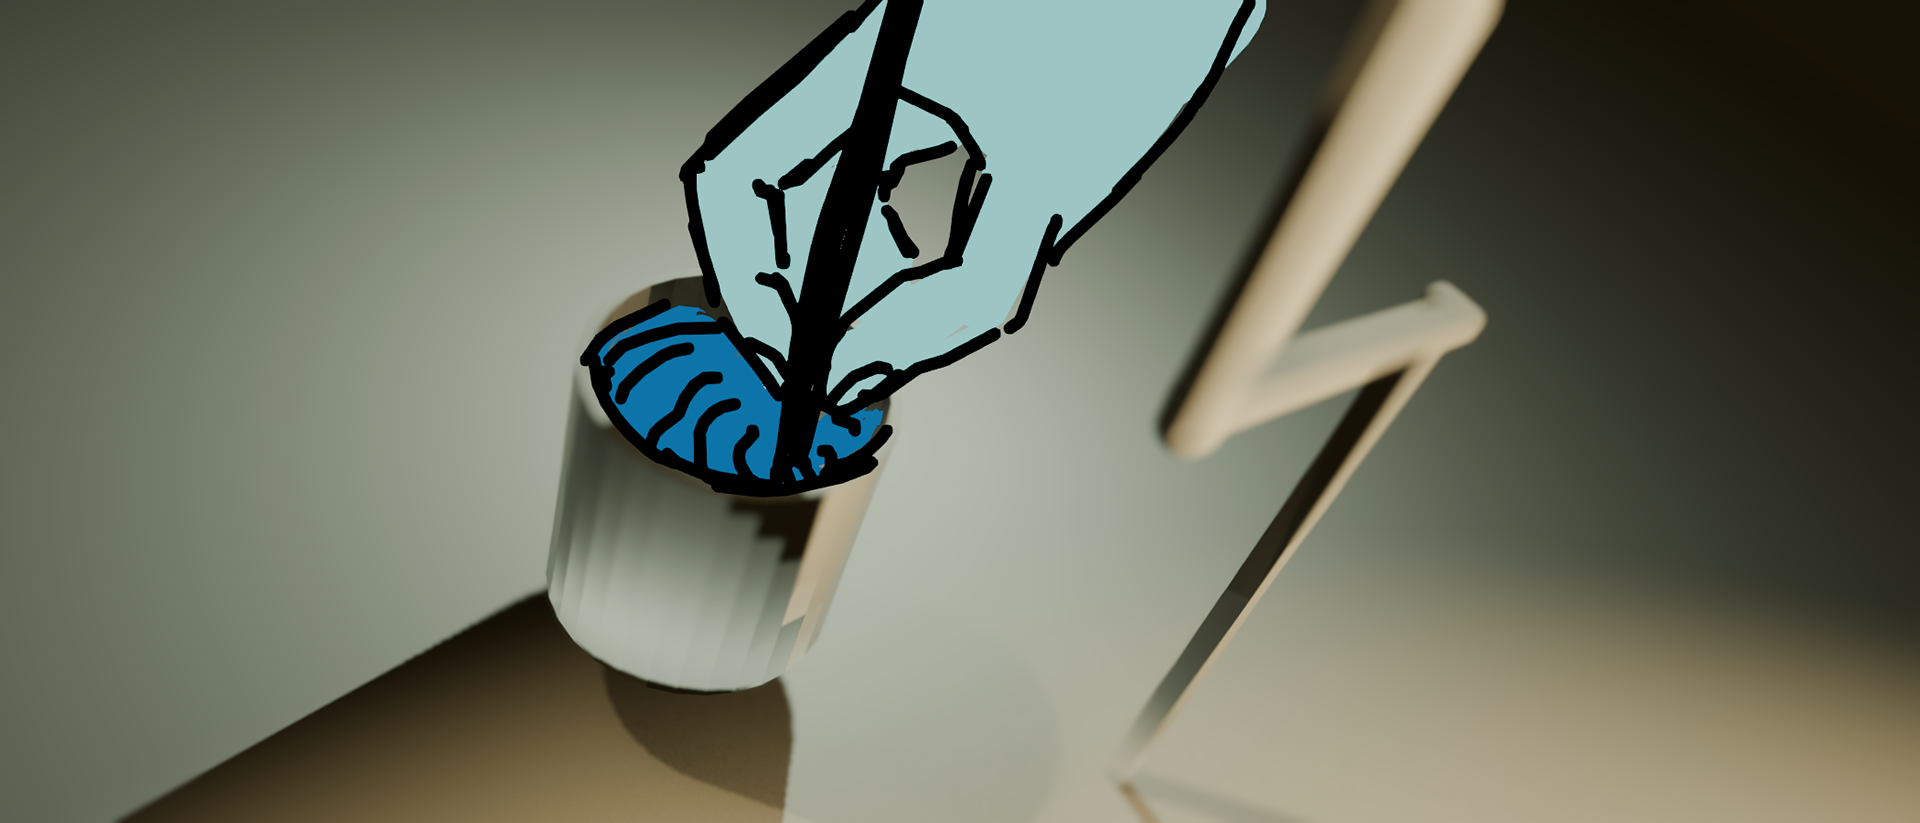
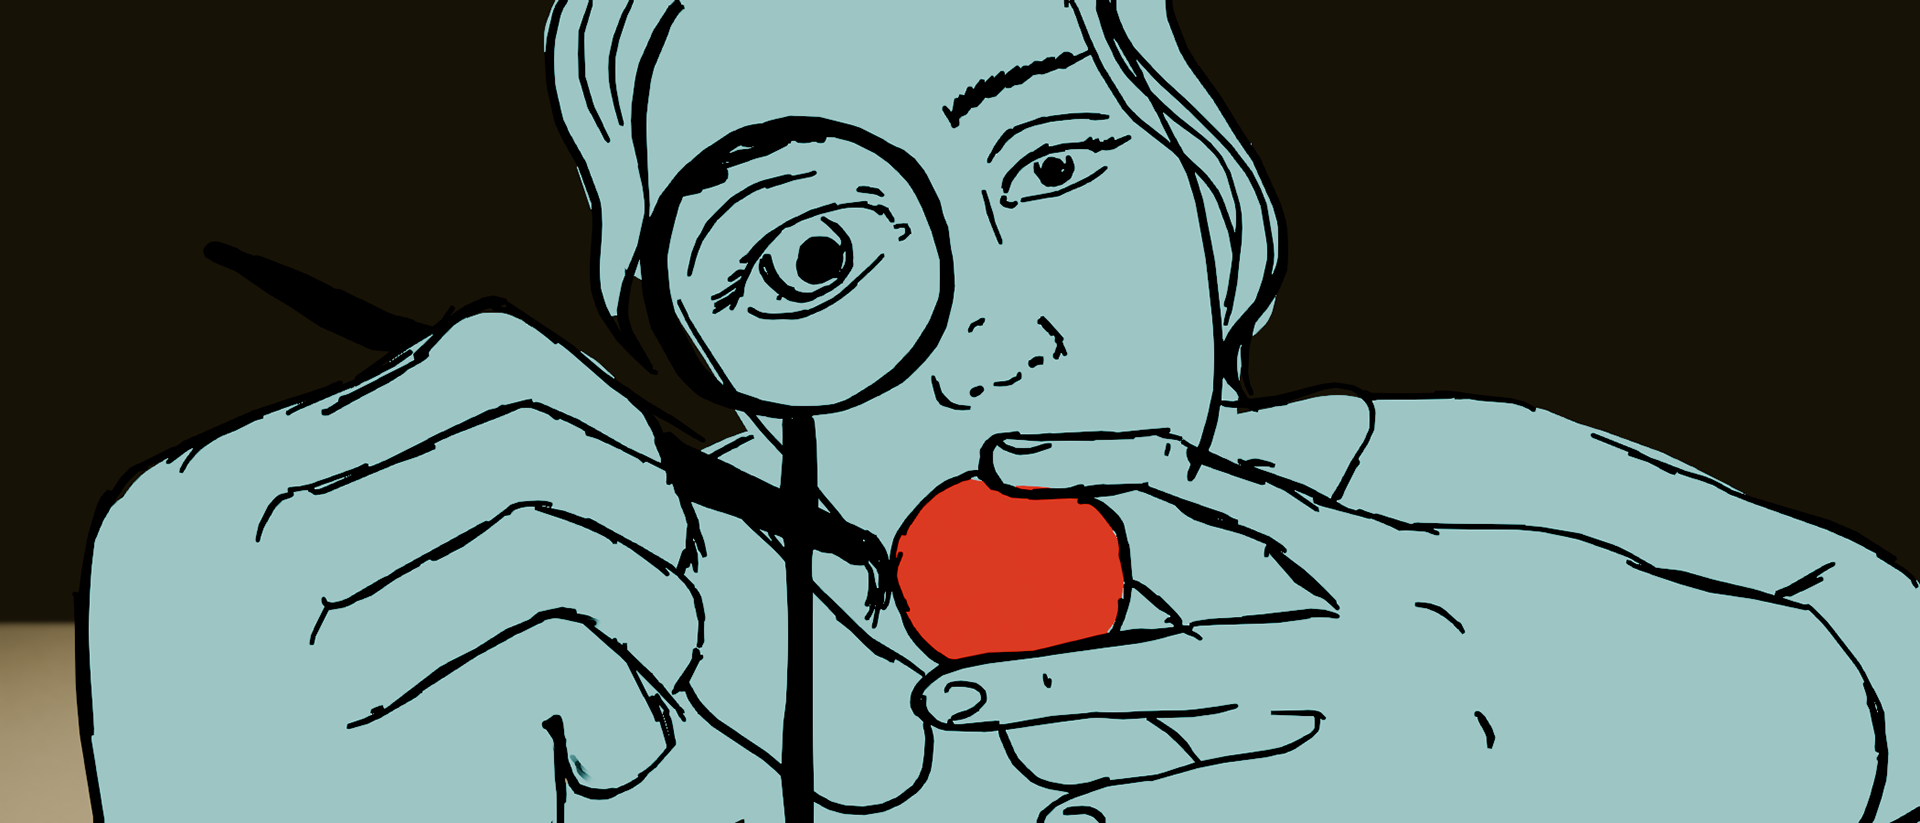
I decided to get a head start of this weeks tasks, and have begun to storyboard my cinematic.
Synopsis: A lonely skeleton inventor misses his wife in the living world, so he decides to invent his own in the underworld.
I have begun to block-out the scenes and roughly animate the pre-vis using Blender and Adobe After Effects to get a feel of what the final film might look like.
I am using a skeleton as I can find free fully rigged models easily and this will save me time later.